If you're an 80s horror fan, you'll love this Free "Horror Movies and Chill" SVG Cut File!

In my opinion, the 1980's were the peak time for horror movies. There are just so many iconic films that just can't be beat. I personally LOVED Gremlins as a kid, but as I've gotten older, movies like Friday the 13th, Halloween, Nightmare on Elm Street, and The Shining have become favorites that I watch year after year.
As an ode to one of the best decades in time, I'm sharing this FREE "
Horror Movies and Chill"
SVG cut file for you to create shirts, tote bags, and so much more. There are even
20 more FREE creative SVG cut files listed at the end of the post so that you can create even more 80s-themed projects. I can't wait to see what you create using this design and
your Cricut machine!To make your own "Horror Movies and Chill" shirt, you'll need these supplies:
Printables and cut files from Artsy-Fartsy Mama are for personal use only. You may use these in an educational setting, but you may not sell them. If you'd like to share this printable digitally, share a link to this post/website only. Do not share a direct link to the printable/cut file.

Upload the
"Horror Movies and Chill" cut file into Design Space and size the image to fit your
shirt. Select different parts of the design and change colors as necessary. Get creative using your favorite colors, or add some sparkle with
glitter HTV.
Select all parts of the design that are the same color, then click "Attach" in the bottom right menu to keep the image elements connected. If you don't attach them, all of the parts of the design will arrange themselves randomly to fit the mat instead.
Before cutting iron-on vinyl, make sure to mirror your image! If you don't, your design will be backwards when you put it on the shirt. To do this, select the mat thumbnail in Design Space before cutting, and click the "Mirror" toggle to reverse the image.
For my shirt, I cut white, black, gray, and red
HTV with my
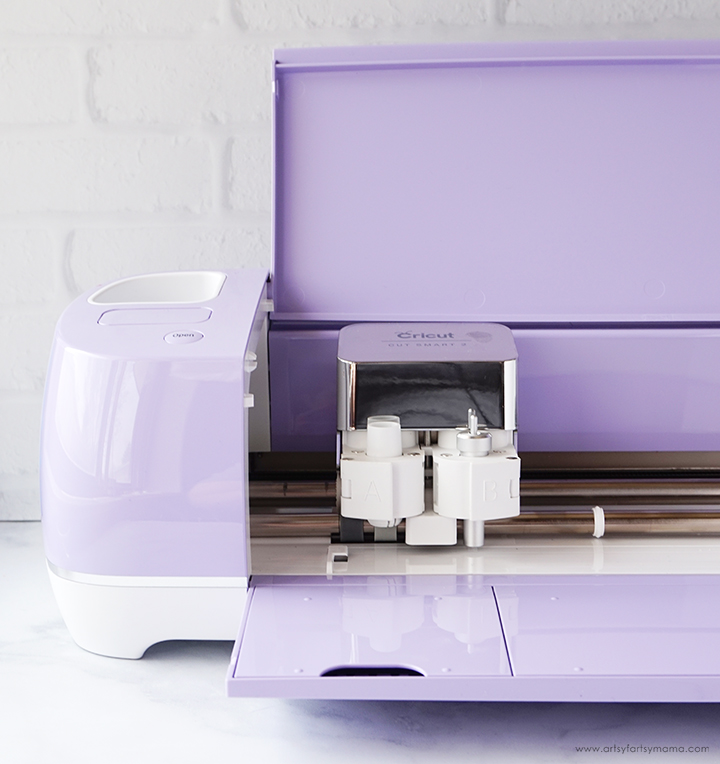
Cricut Explore Air 2 machine. Place the vinyl face-down on the mat, and load it into the machine. Change the material settings to the type of vinyl you are cutting, and then click the "Go" button to cut the vinyl.
"Weed" the excess vinyl by removing all of the parts that don't belong in the design. I usually peel away the outer edges first (starting at the corner), and then work my way around the design. Then I use
weeding tools to help remove the smaller pieces of the design.
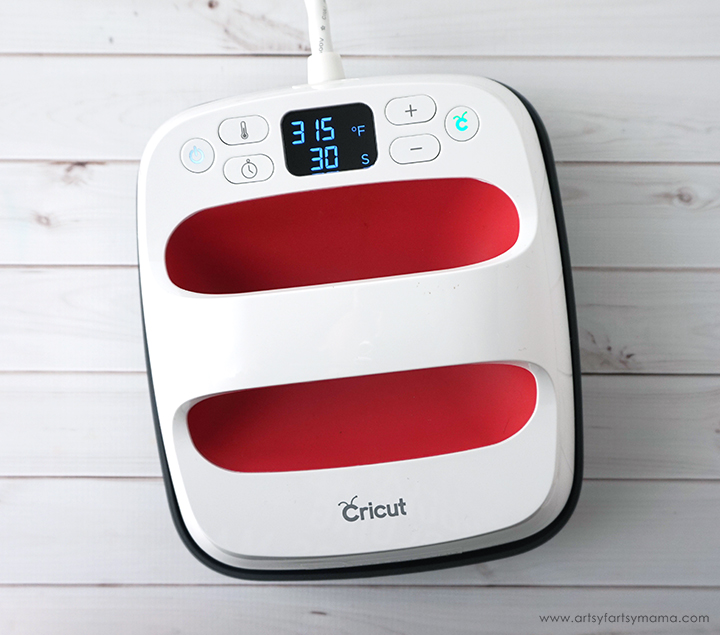
Plug in the EasyPress 2 and power it on. Each kind of HTV has a different heat and time setting, so be sure to check the recommended EasyPress settings before getting started. Adjust the heat and time setting to your shirt and vinyl specifications. Once the light turns green and the machine beeps, it's ready to use.
When the EasyPress is up to temperature, place your shirt on the EasyPress Mat and preheat the area for 5-10 seconds. Lay the HTV down on the shirt, with the clear carrier sheet facing up. Set the EasyPress over the vinyl and press the green "C" button. Hold firmly in place while the timer counts down. Turn the shirt over and press the EasyPress firmly again for 15 seconds.
Peel off the carrier sheet while the vinyl is still warm. If you are layering vinyl, repeat the process for each of the different colors of vinyl, but be sure to protect the vinyl that is already on the shirt with an Iron-On Protective Sheet.
The cut file comes with multiple file types, so you can cut the design with any vinyl cutting machine. I hope you enjoy using this cut file, and I would absolutely LOVE to see your creations!! Tag me on
Instagram and
Facebook, and leave a comment/photo on the project pin on
Pinterest!
Don't forget to Pin, Like, and Share!


