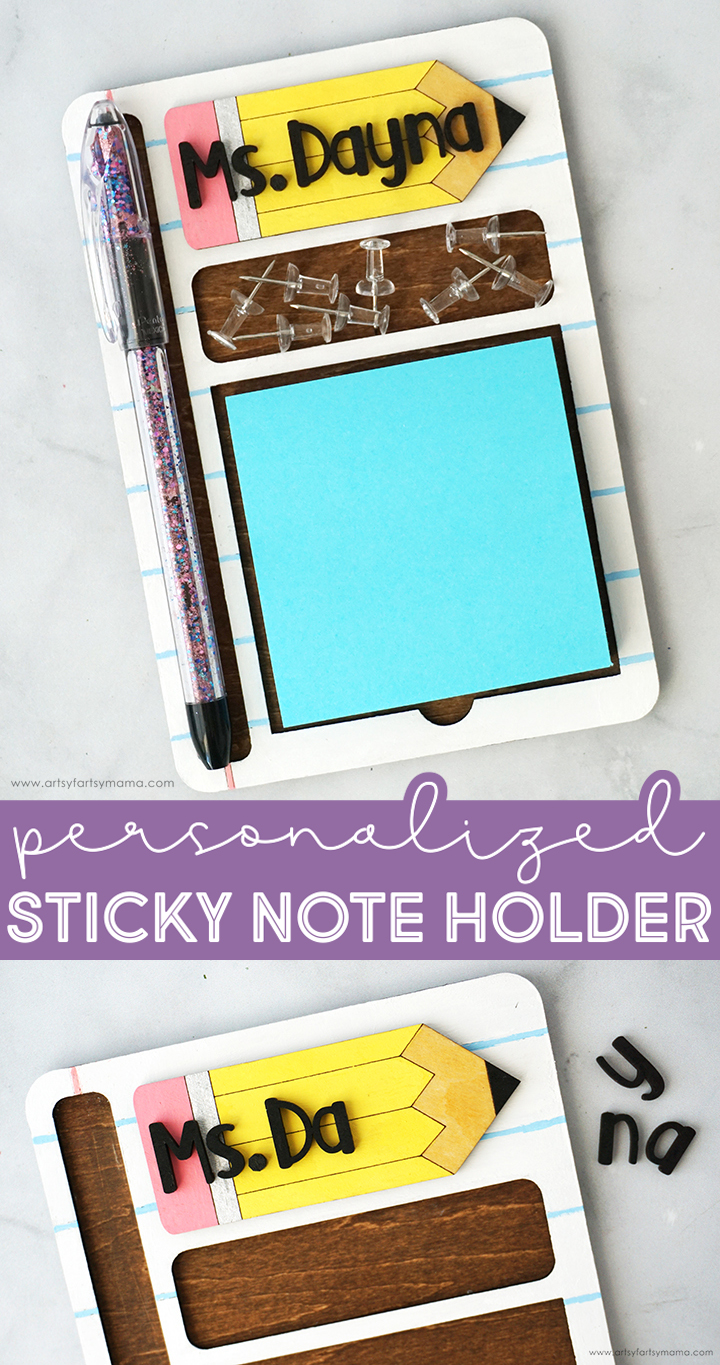
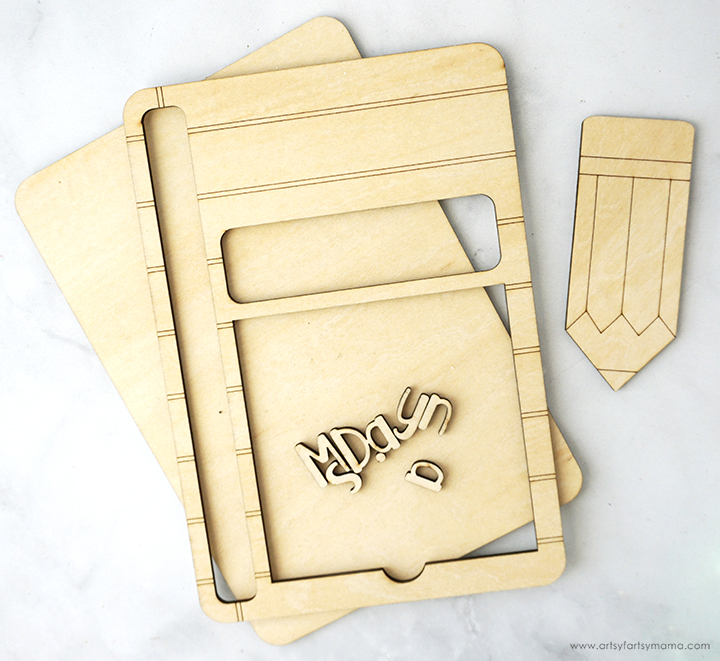
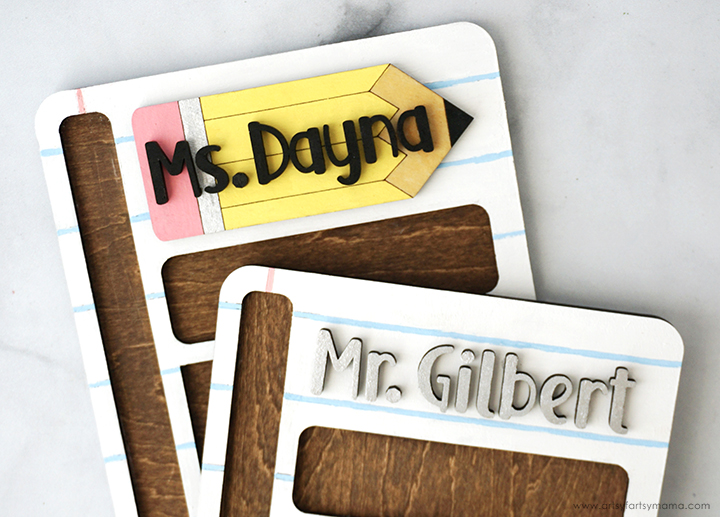
Help your favorite teachers stay organized with a Personalized Teacher Sticky Note Holder!
No matter how hard they try, teachers often misplace sticky notes and other small office supplies right when they need them. Not only is this Personalized Teacher Sticky Note Holder adorably eye-catching, but it's a great way to keep a pad of sticky notes, a pen or pencil, and paper clips all in one convenient place! Made of wood and painted to look like a sheet of paper, this holder is easy to make using the xTool S1 laser cutting machine. It's a lot of fun to to assemble, and will definitely make a great gift idea for your favorite teachers!
New to laser cutting? Be sure to check out how to get started with the xTool S1 Laser Machine!
The crafting possibilities are endless when it comes to using the xTool S1 laser cutting machine, and it's actually very easy to use! Once you have one of these, the hardest thing you'll have to do is decide what to make with it. If you want to learn more about how this incredible machine works, be sure to check out my complete xTool S1 review.
To make your own Personalized Teacher Sticky Note Holder, you will need these supplies:
- xTool M1 or xTool S1 laser cutting machine
- Sticky Note Holder Design (personal use only)
- 3mm Basswood
- Acrylic Paint Markers - yellow, pink, black, silver, light blue
- Stain or Chalk Paint Wax
- Strong Adhesive
- Clamps (optional)
- Clear Sealant
*Save extra 15% off on xTool selected materials: AFFMTRS15
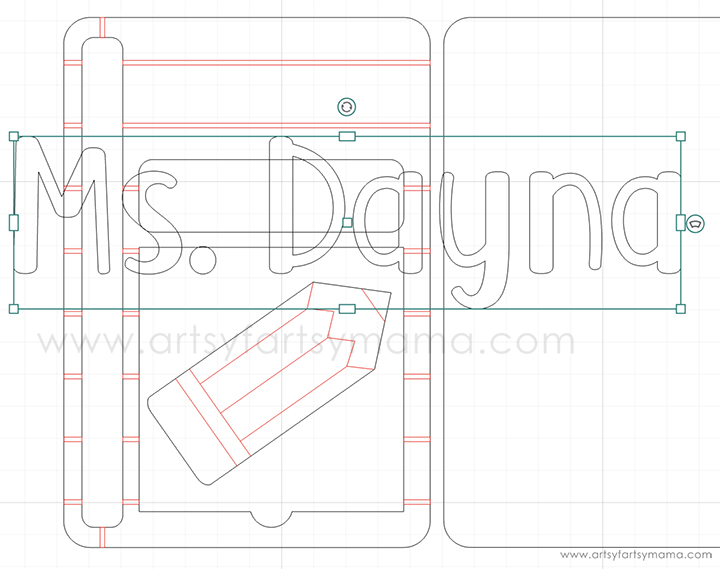
Upload the Sticky Note Holder design into xTool Creative Space. When you upload an SVG design, you need to make sure each part of the design is set for cutting, scoring, and/or engraving. For this project, everything in black needs to be set to cut, and the red needs to be scored. In the right menu bar, change the material setting to 3mm Basswood.
Now you need to add the teacher's name for personalization. Click on the "Text" tool and type out the name as you'd like to see it on the project. The default font is Helvetica, so click the drop-down menu to change the font (for this project, I used Affline). Resize the name to fit on the pencil. Make sure to set the text to be cut! Alternatively, you could have the name be engraved on the pencil if you don't want to deal with adding the letters onto the project later.
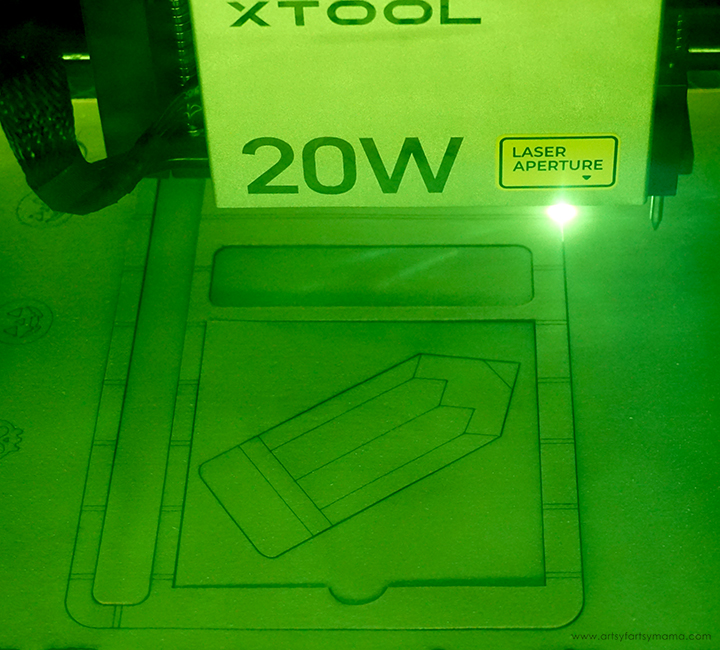
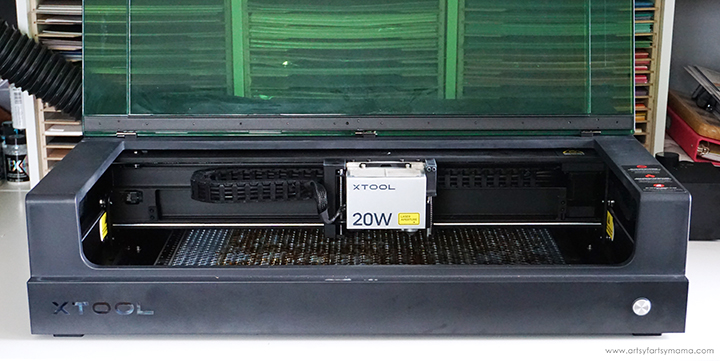
Place a piece of 3mm basswood into the xTool S1 machine. Manually pull the laser box with your hand so that the red "+" is located on the material - it doesn't have to be centered. In XCS, you will see "Distance (mm)" in the right menu bar. Click on the target icon to the right of that space, and the machine will automatically measure your material.
For more details on how to complete this step, be sure to check out my review of the xTool S1 Laser Machine!
Make sure that the design elements are within the marked bounding box in XCS, and then click the green "Process" button in the bottom right corner to proceed to cutting the project.
After removing the wood pieces from the machine, I would highly recommend cleaning the soot away from around the edges of the wood using a Magic Eraser or baby wipes to prevent making marks all over your hands and workspace.
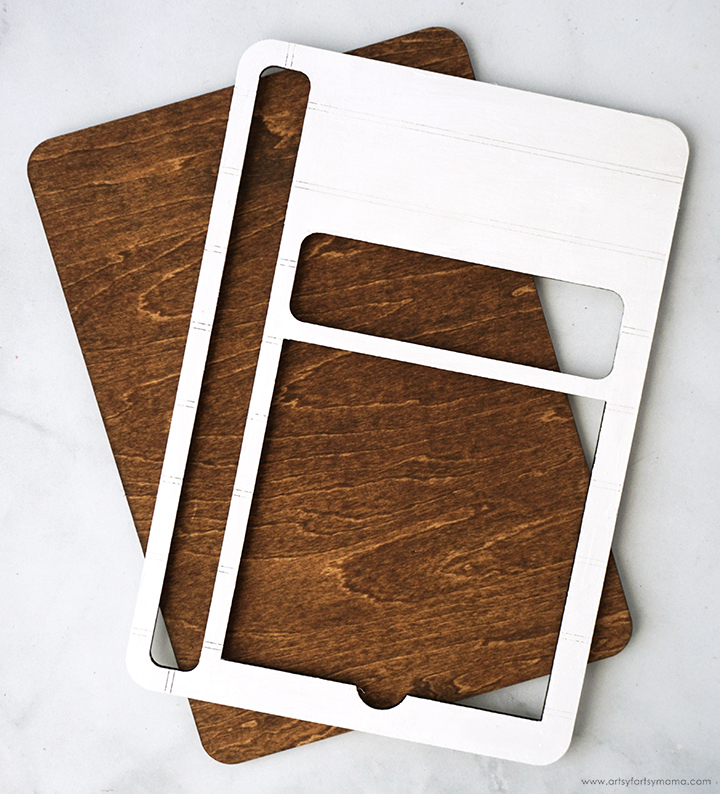
When creating with wood, I love seeing the wood grain! Pick out your favorite stain, or use an antique chalk paint wax like I did. If you're using the wax, paint a thick coat over the surface of the back piece and then use a paper towel to wipe the excess away. Cover the opposite side the same way. If you want it to be darker, you can apply multiple coats. Just make sure to let each coat dry completely before adding another.
Next, use white acrylic paint to cover just the front side (with the score lines) of the front piece with the cutouts. Allow the paint to dry completely.

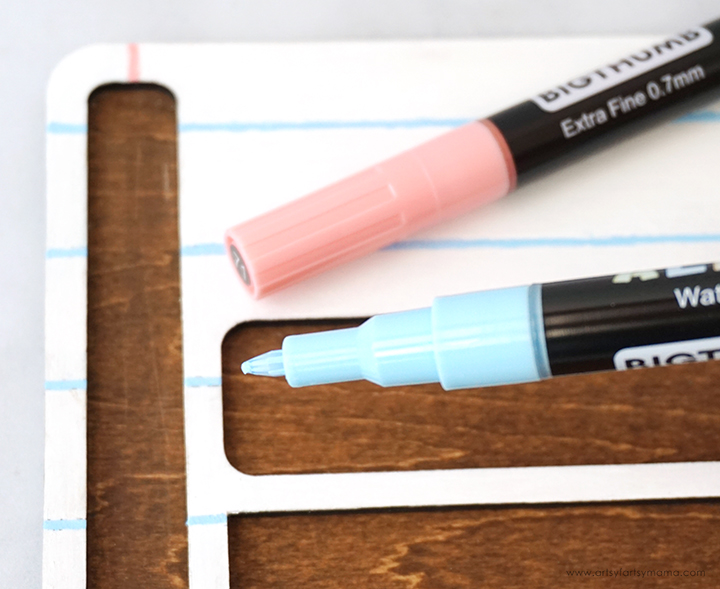
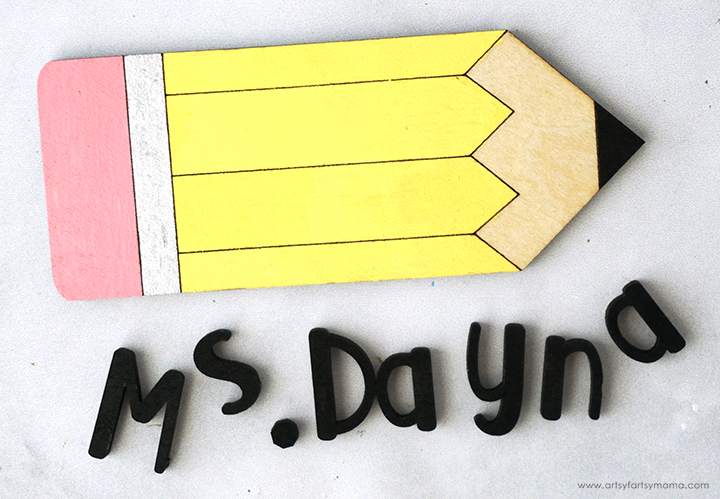
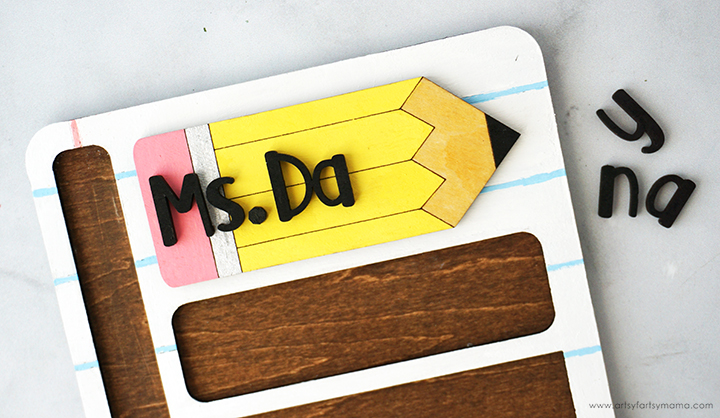
Next, color both the teacher's name and the pencil piece with acrylic paint markers (or a brush and acrylic paint) and allow it to dry. I left the "wood" part of the pencil as-is, or cover it with a light wood stain.
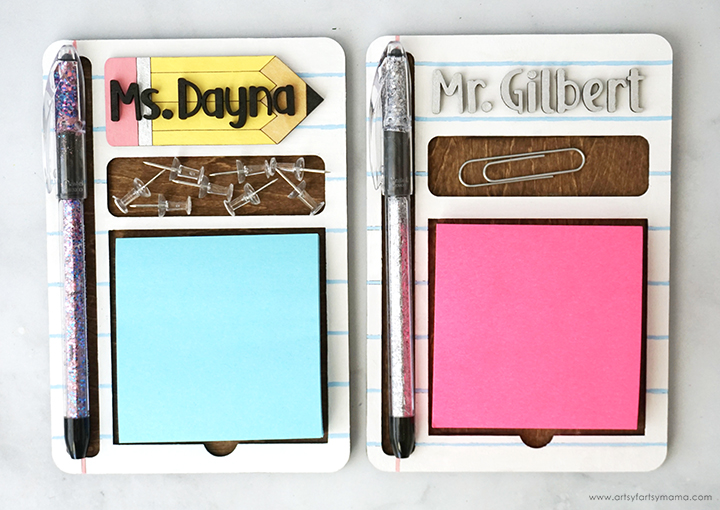
If you want to go for a different look, you can omit the pencil piece altogether and just add the teacher's name to the area instead. I like how it looks like the name is "written" on the paper!
Once the name is applied to the sticky note holder, I would recommend covering it with a coat of clear sealant. This will protect the paint and keep the holder looking good as new for years to come.
Place a fresh sticky note pad into the square opening of the holder. If you want it to stay in place, you can add a glue dot to the back of the pad before placing it in the holder. The upper opening is great for holding smaller office supplies, like thumbtacks and paper clips. Don't forget to add a sparkly glitter pen to write with!
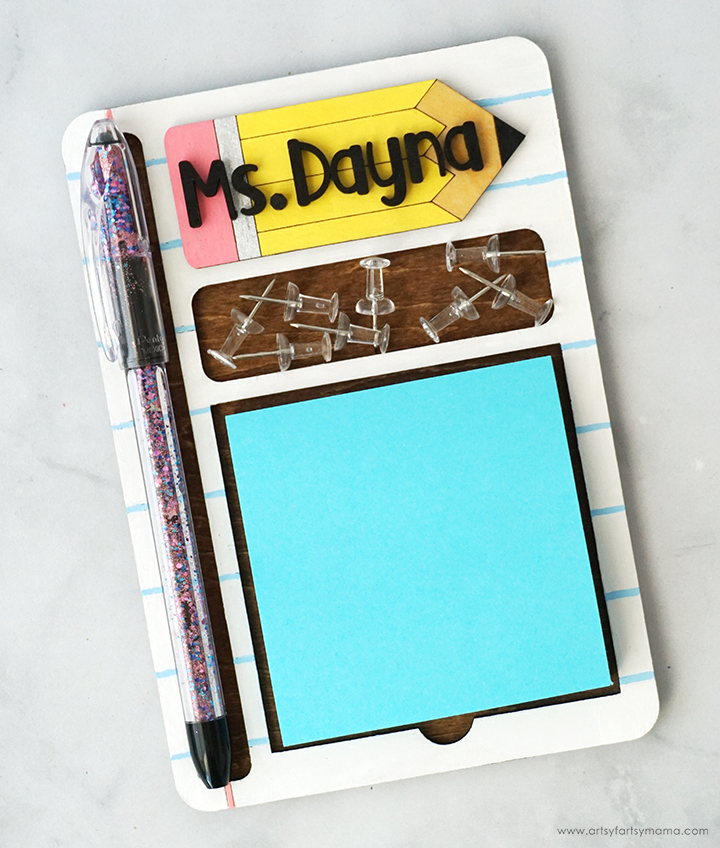
I absolutely delighted with how this wood Personalized Teacher Sticky Note Holder turned out! It's such a fun and simple project to make with the xTool, and I'm looking forward to making a bunch of these holders as a gift for teachers for Teacher Appreciation Week. As always, I would love to see what you're making! Share your creations on Instagram, Facebook, or leave a comment/photo on the project pin on Pinterest! #AFMCrafts
Don't forget to Pin, Like, and Share!