
These Spooky Daisy Earrings are going to be one of the cutest accessories you will wear this Halloween!

Are you ready to make the easiest Halloween earrings EVER?! These adorably spooky earrings are made out of wood using my the xTool S1 laser cutting machine, and couldn't be easier to assemble. If you are new to laser crafting, THIS is the project to start with! They are the perfect accessory for the entire Halloween season, and would definitely be a great Halloween gift to make for friends and family!
New to laser cutting? Be sure to check out how to get started with the xTool S1 Laser Machine!

The crafting possibilities are endless when it comes to using the xTool S1 laser cutting machine, and it's actually very easy to use! Once you have one of these, the hardest thing you'll have to do is decide what to make with it. If you want to learn more about how this incredible machine works, be sure to check out my complete xTool S1 review.

To make your own Halloween Spooky Daisy Earrings, you will need these supplies:
*Save extra 15% off on xTool selected materials: AFFMTRS15
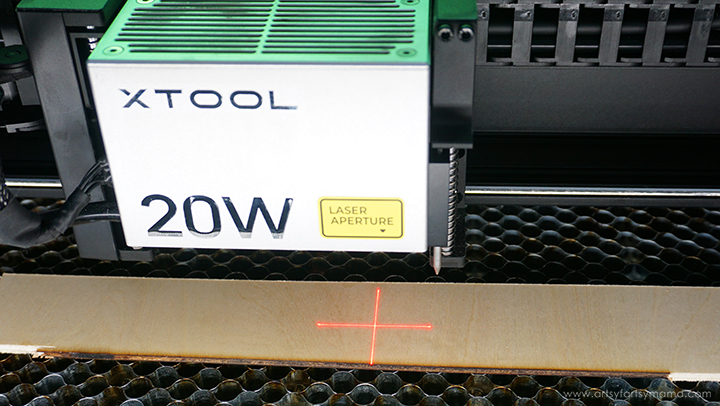
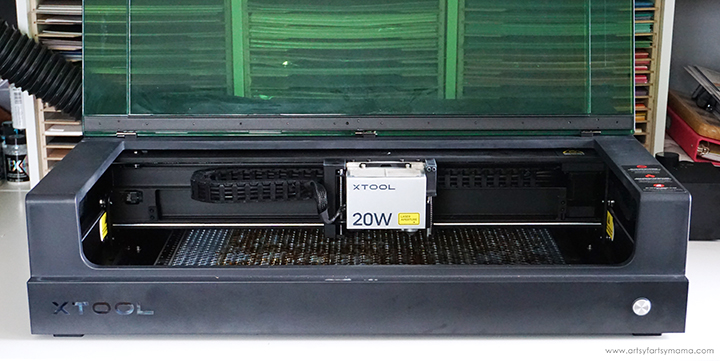
Place a piece of 3mm basswood into the xTool S1 machine. Manually pull the laser box with your hand so that the red "+" is located on the material - it doesn't have to be centered.
In XCS, you will see "Distance (mm)" in the right menu bar. Click on the target icon to the right of that space, and the machine will automatically measure your material.
For more details on how to complete this step, be sure to check out my review of the xTool S1 Laser Machine!

Upload the Halloween Spooky Daisy Earrings design into xTool Creative Space. When you upload an SVG design, you need to make sure each part of the design is set for cutting, scoring, and/or engraving. For this project, everything in black needs to be set to cut, and the purple needs to be scored. In the right menu bar, change the material setting to 3mm Basswood.
*Feel free to adjust the size of the earrings to suit your preferred earring length. The pieces I cut were about 1" tall.

Make sure that the earring design elements are within the marked bounding box in XCS, and then click the green "Process" button in the bottom right corner to proceed to cutting the project.
After removing the earring pieces from the machine, I highly recommend cleaning the soot away from around the edges of the wood using a Magic Eraser or baby wipes to prevent it from all over your hands and workspace or blending in with the paint.

I used a variety of acrylic paints for my earrings, but you can totally use acrylic paint markers if you're more comfortable using those. I painted the both sides of the daisies that pair with the pumpkins black, and then painted the front of the skull pieces white. Then, I used my favorite Color Shift paints (purple and orange) to add pops of color to the other daisies and the pumpkins.
Add the paint in thin coats for best results. For more coverage, add additional coats after the previous one has dried completely,

This step is totally optional, but I wanted to make sure that the face openings showed up black once the pieces were pieced together. I used a black paint marker to cover the scored faces on all of the daisy pieces. You don't have to color perfectly - remember that this area will be covered by the face pieces.

Next, add a small amount of adhesive to the back of the skull and pumpkin pieces. Carefully place them on top of their coordinating daisy pieces, aligning the edges up with the score lines. Gently press them into place and allow the adhesive to set completely.
Once dry, I would recommend covering the earrings with a coat of clear sealant or UV resin. This will protect the earrings and will keep them looking good as new for years to come.

Each earring needs one jump ring and one earring hook. Open the jump rings with jewelry pliers and hook them through the top hole of each daisy piece. Attach the earring hook to the ring and close it to keep in in place. Repeat the same process for the second earring, and then they are ready to wear!

Aren't these spooky daisy earrings with the pumpkins the cutest?! I have a hard time deciding which pair of earrings are my favorite - which is why I'm sharing both sets in this tutorial! I would love to hear which ones are YOUR favorite!

I just adore these little Spooky Daisy Earrings and think they will be so fun to make as gifts for friends, teachers, and family to wear during this Halloween season (and maybe more). I would love to see if you make some for yourself using this tutorial. Leave me a comment, or tag a photo on Facebook, Twitter, or Instagram! #AFMcrafts
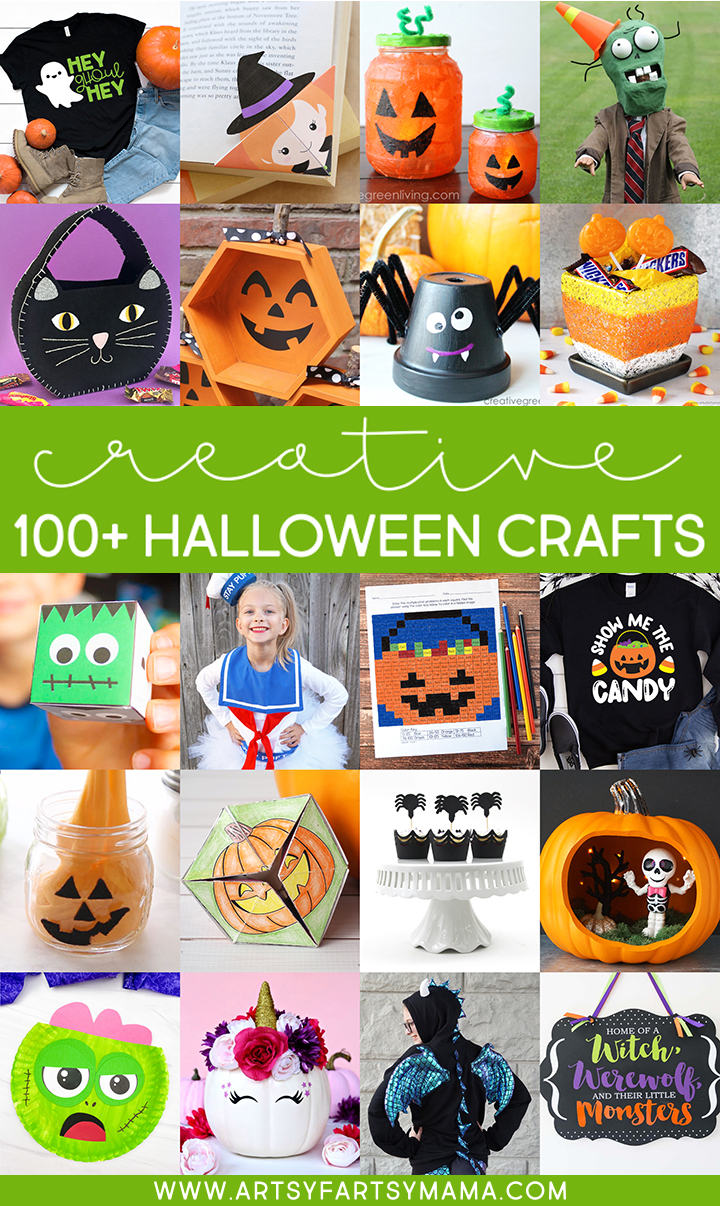
Looking for more Halloween craft inspiration?
Check out this collection of OVER 100 creative Halloween craft ideas!!
Don't forget to Pin, Like, and Share!


