This handmade teacher Resin Crayon Pencil Cup looks great on a desk and is the perfect gift for teachers!

The kids will be heading back to school soon, and you may be looking for ways to organize supplies or want something unique to gift to the new teacher. Made with just resin and REAL crayons, this vibrant Crayon Pencil Cup is a great project for resin beginners, and makes such a statement when placed on display on a desk. You can fill the cup with your favorite school supplies, like pencils, pens, colored pencils, crayons, or even use it as a vase. It's also fun to fill with all kinds of treats and other surprises before gifting to a teacher for Teacher Appreciation Week or back to school night!

To make your own Resin Crayon Pencil Cup, you will need these supplies:
*Save 10% on resin supplies when you shop Polytek with code AFM
SAFETY FIRST: Before getting started, wear disposable gloves, protect your workspace, and be sure to work in a well-ventilated area!

Before getting started, you will need 20 crayons. I wanted a rainbow of colors, so I used the colors from the box and a few duplicates from another and left out the white, black, brown, and gray.

Carefully place the crayons into the sides of the pencil cup mold with the pointed side facing down. It's important that the crayons are upside down, because when you remove the resin from the mold, the crayons will be standing upright. By the time you get to the last couple of crayons, you may need to work carefully to squeeze them into place. Gently squeeze the mold if you need to adjust the crayon placement.
This was also a personal preference, but I also made sure to turn all of the crayons so that they all had the Crayola logo facing out.

Prepare about 6 oz (180ml) of Amazing Deep Pour epoxy according to package directions. Pour in a 2:1 ratio of resin and hardener to a large mixing cup. Slowly stir the resin together with a stir stick for two minutes or until combined. If the resin looks cloudy or has any streaks running through it, you need to keep stirring it until it becomes clear.

Use the stir stick to help slowly pour the resin into the pencil cup mold until you get about halfway.


Alternate pouring resin and working the bubbles out until you have filled the mold to the top. Do NOT overfill.
Let the mold sit for a few minutes and then spritz with 91% alcohol one more time to remove any surface bubbles. Leave the resin to cure in an undisturbed, well ventilated area for at least 24 hours.

Now for my favorite step in the process: demolding! Since resin is poured into a mold and built upside-down, the finished product is always a surprise once removed from the mold. I love how vibrant the colors shine through and how it looks like they are floating in the crystal clear resin. Of course, I also enjoy how they are arranged in rainbow order.
You will know that the resin is cured and ready to remove from the mold when it is no longer tacky to the touch and easily pulls away from the edges of the mold. Carefully remove the cured crayon pencil cup mold. Trim away any excess resin with scissors or a craft knife. Sand down edges, if necessary, and bring back the shine with clear spray sealant.

Looking for more back to school inspiration?
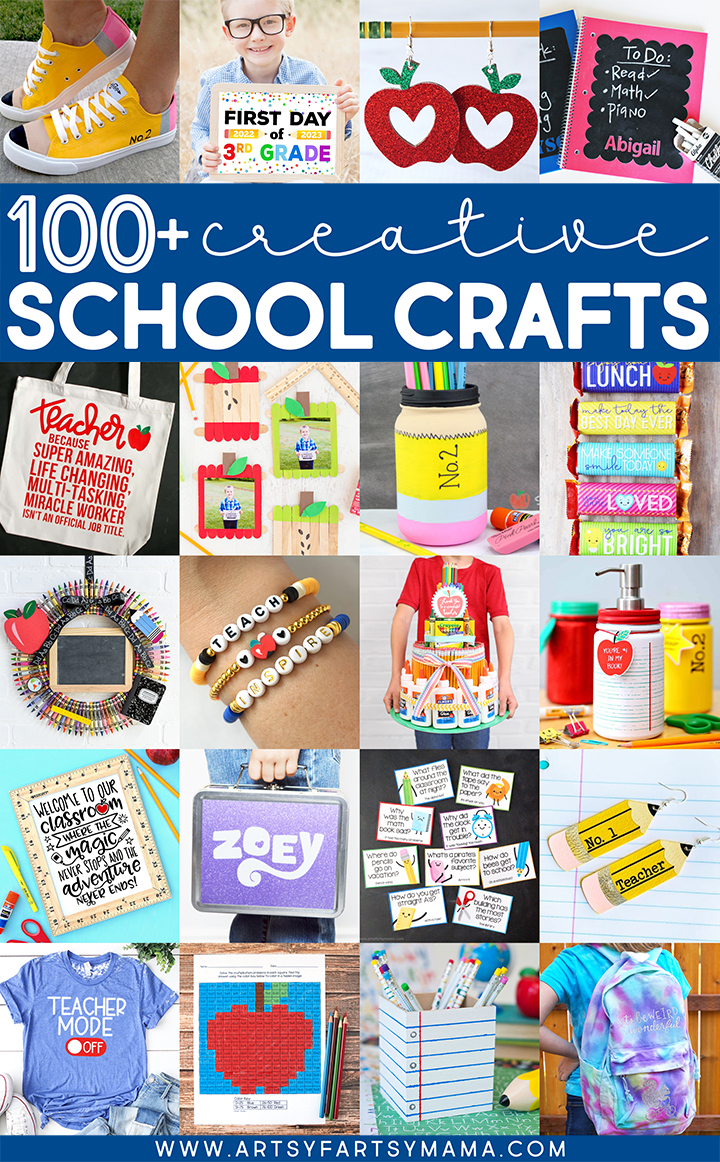
Check out this collection of OVER 100 creative back to school craft ideas!!

Don't Forget to Pin, Like, and Share!


