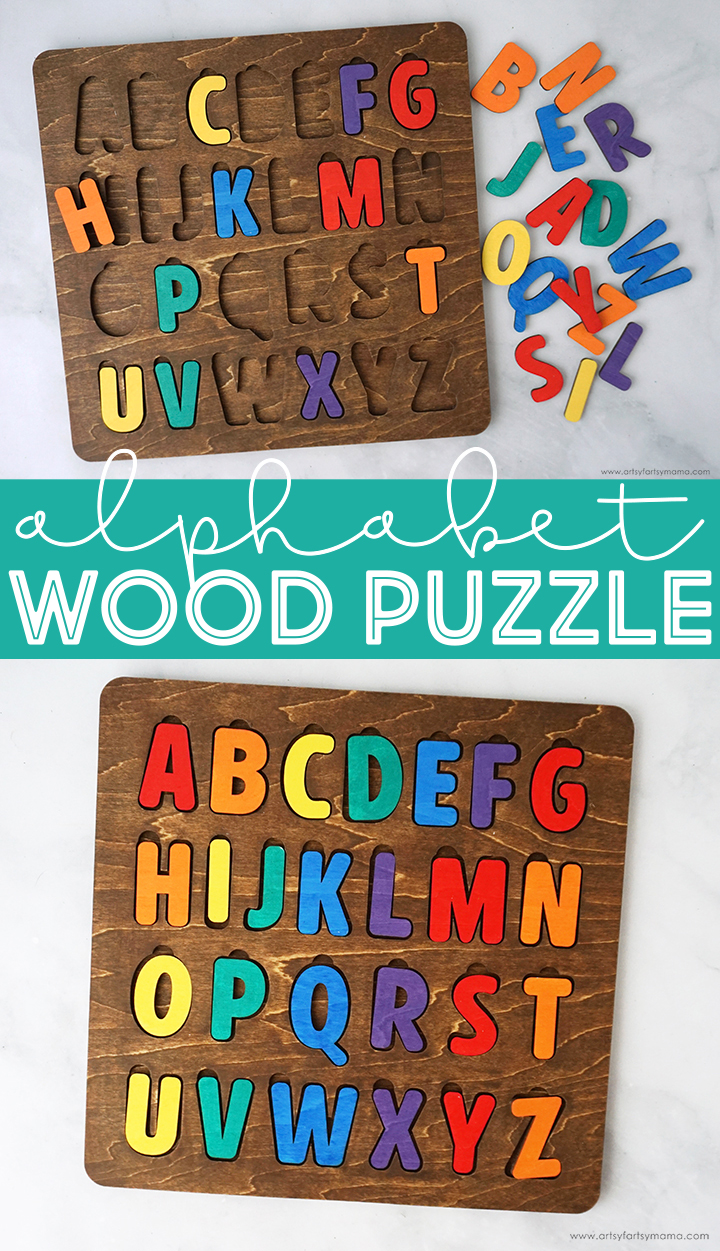
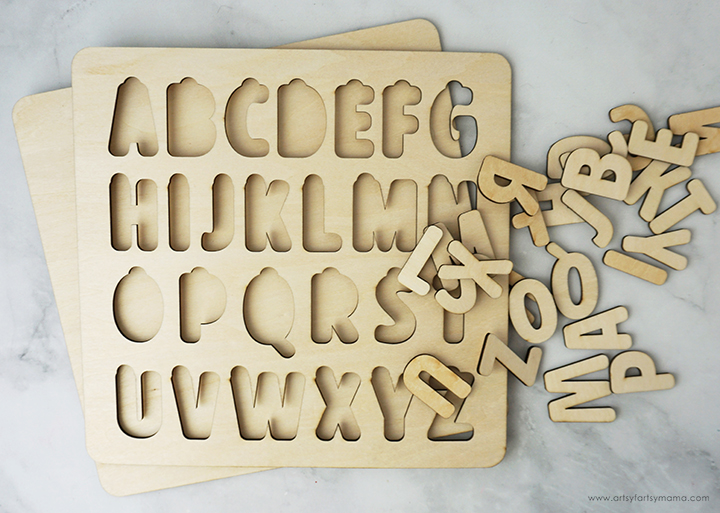
Learning the ABC's has never been more fun than with this handmade Wood Alphabet Puzzle!
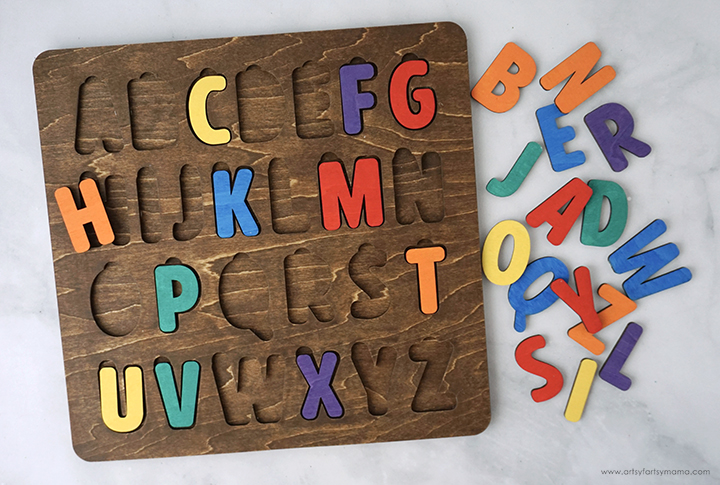
My little nephew just had a birthday, and I wanted to give him something special that would also help him learn (I'm a homeschool mom, after all). He's the perfect age for puzzles, but nothing at the store really stood out - so I decided to make my own! Made of wood and painted with a vibrant array colors, this Alphabet Puzzle is easy to make using the xTool S1 laser cutting machine. This project is a lot of fun to to assemble, and makes a great gift for birthdays and baby showers! Hopefully this tutorial will inspire you to give laser cutting a try.
New to laser cutting? Be sure to check out how to get started with the xTool S1 Laser Machine!
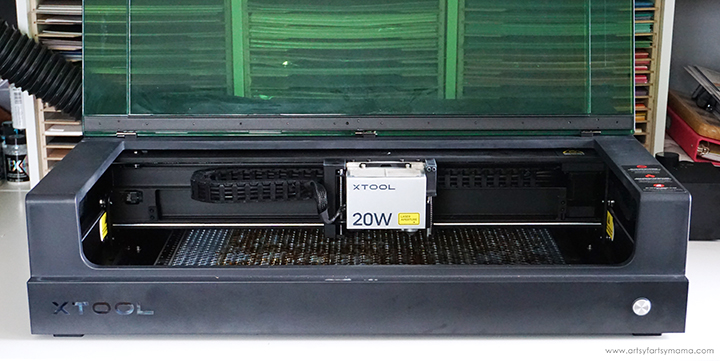
The crafting possibilities are endless when it comes to using the xTool S1 laser cutting machine, and it's actually very easy to use! Once you have one of these, the hardest thing you'll have to do is decide what to make first. If you want to learn more about how this incredible machine works, be sure to check out my complete xTool S1 review.
To make your own Wood Alphabet Puzzle, you will need these supplies:
- xTool M1 or xTool S1 laser cutting machine
- Wood Alphabet Puzzle Design (for personal use only)
- 3mm Basswood
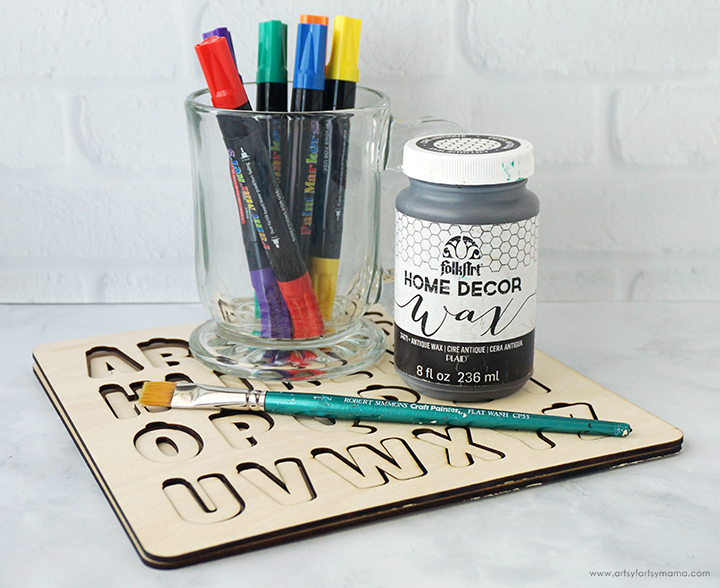
- Acrylic Paint Markers
- Stain or Chalk Paint Wax
- Strong Adhesive
- Clear Sealant
*Save extra 15% off on xTool selected materials: AFFMTRS15
Printables and cut files from Artsy-Fartsy Mama are for personal use only. You may use these files for personal projects, but you may not sell them. If you'd like to share this project digitally, share a link to this post/website only. Do not share a direct link to the file.
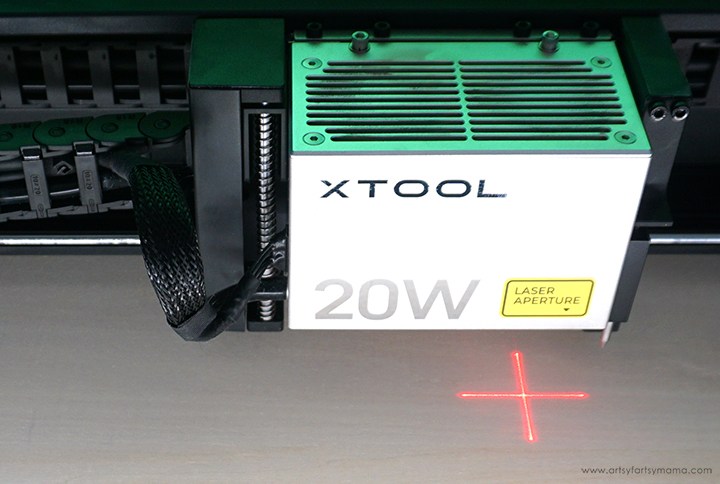
Place a piece of 12"x18" 3mm basswood into the xTool S1 machine. Manually pull the laser box with your hand so that the red "+" is located on the material - it doesn't have to be centered.
In XCS, you will see "Distance (mm)" in the right menu bar. Click on the target icon to the right of that space, and the machine will automatically measure your material.
For more details on how to complete this step, check out my review of the xTool S1 Laser Machine!
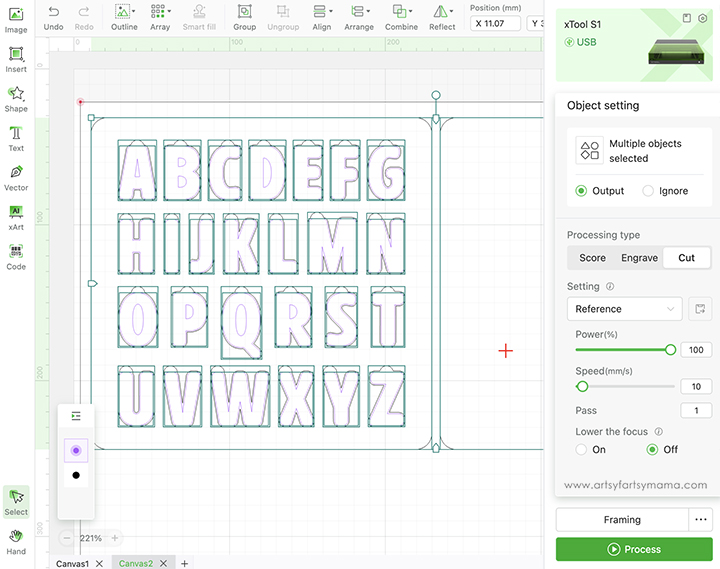
Upload the Alphabet Puzzle design into xTool Creative Space. When you upload an SVG design, you need to make sure each part of the design is set for cutting, scoring, and engraving. For this project, you only need to cut, so don't even worry about scoring or engraving this time! In the right menu bar, change the material setting to 3mm Basswood.
Make sure that the alphabet design elements are within the marked bounding box in XCS, and then click the green "Process" button in the bottom right corner to proceed to cutting the project.
IMPORTANT: If you want to resize the puzzle, you MUST have EVERYTHING selected first! Otherwise the puzzle will not fit together correctly after being cut.
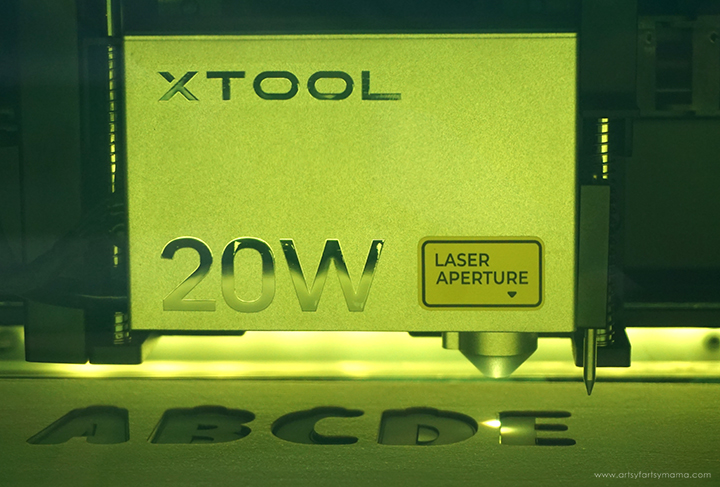
Close the green laser hood, and watch the xTool S1 go to work. The cutting process took less than 20 minutes, which is SO much quicker than I expected! Whenever we're cutting larger projects, the whole family loves to come in and watch it in action, which makes me want to make even more things!
After removing the pieces from the machine, I would highly recommend cleaning the soot away from around the edges of the wood. Use a Magic Eraser or baby wipes to lightly wipe it away to prevent making marks all over your hands and workspace.

Use a variety of acrylic paint markers (or a brush and acrylic paint) to cover the front of all the alphabet letter pieces. Apply a second, or even third, coat of paint to ensure that they look as vibrant as possible. Just make sure to allow each coat to dry completely before adding another one on top.
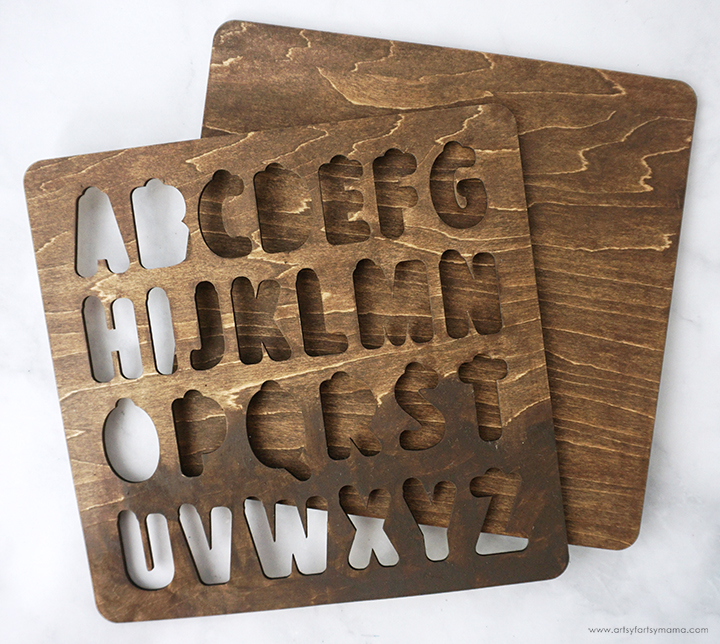
Personally, I love seeing the wood grain in these projects. Pick out your favorite stain, or use an antique chalk paint wax like I did. If you're using the wax, paint a thick coat over the surface of both puzzle board pieces (cutout and solid) and then use a paper towel to wipe the excess away. You can see the difference of before/after wiping the wax away on that front puzzle board piece in the image above.
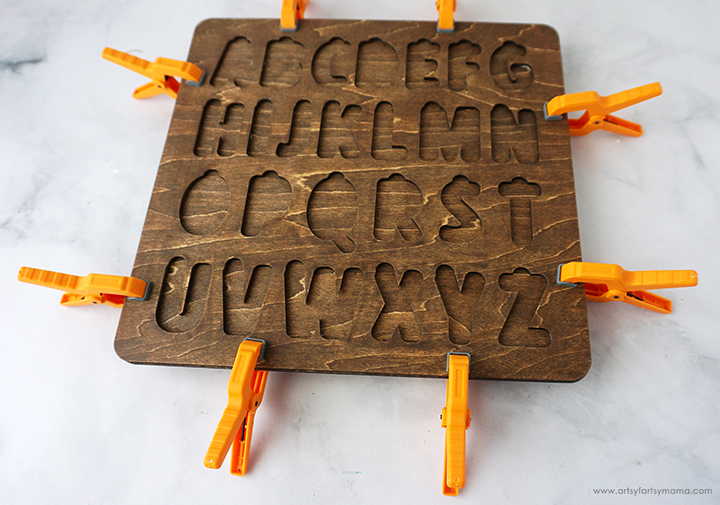
Apply a thin line of strong adhesive all around the back side of the front puzzle board. Carefully place it on top of the back puzzle board piece, making sure the edges are lined up perfectly. Use small clamps to hold the pieces together while the adhesive sets. Use a cotton swab to wipe away any adhesive that seeps out around the edges or inside the open letter areas.
To protect the paint and keep the alphabet puzzle looking good as new for years to come, I would recommend covering all of the pieces with a coat of clear sealant. Allow the pieces to dry completely before assembling the puzzle!
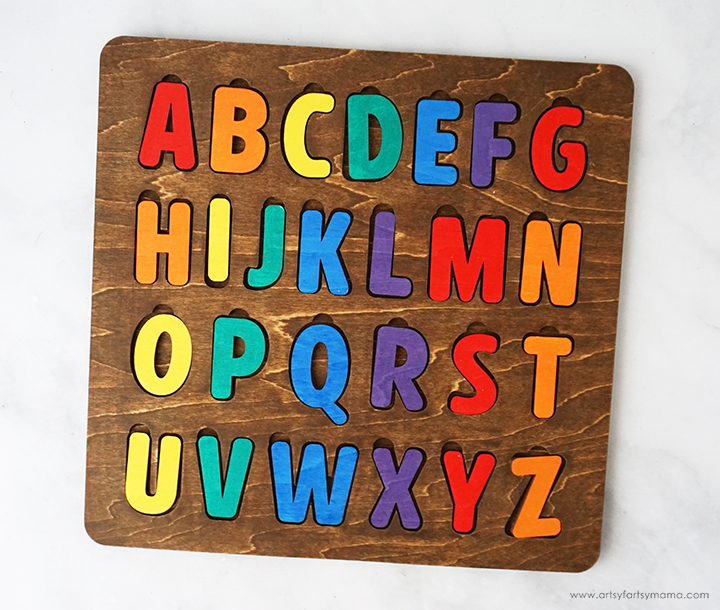
I absolutely delighted with how this Wood Alphabet Puzzle turned out! This is a pretty simple project to make for your kids, and would make a fantastic baby shower or a younger child's birthday gift. As always, I hope you feel inspired to give this project a try. I would love to see what you're making! Share your creations on Instagram, Facebook, or leave a comment/photo on the project pin on Pinterest! #AFMCrafts!
Don't forget to Pin, Like, and Share!