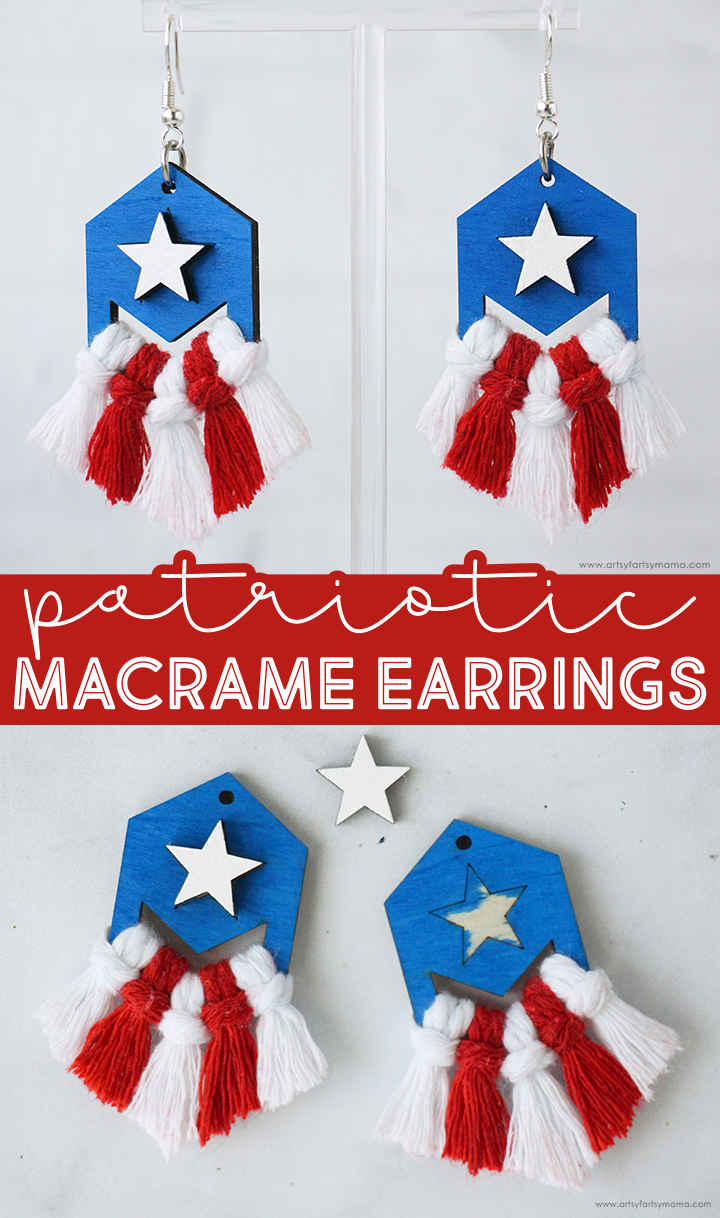
Show off your pride for the red, white, and blue with these handmade Patriotic Macrame Earrings!
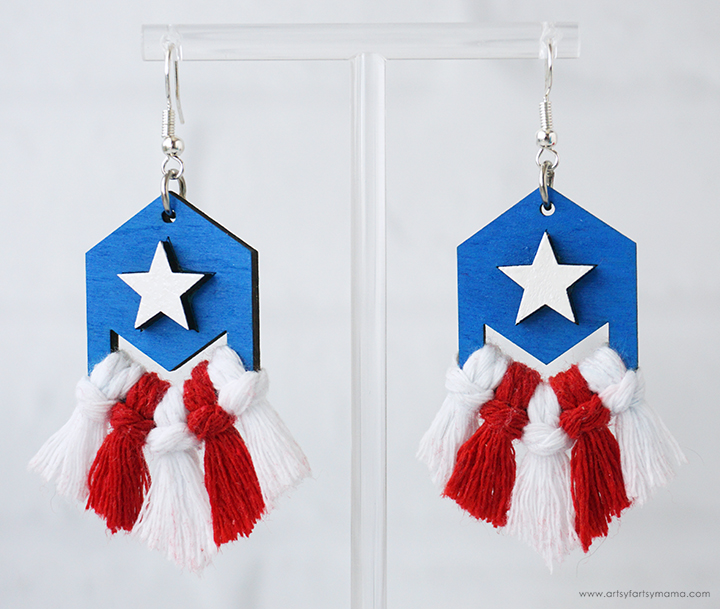
The 4th of July is right around the corner, and these Patriotic Macrame Earrings are going to be the perfect accessory for the big day! Made of wood and combined with macrame cord, these earrings are a lot of fun to assemble and make a great gift. I'm going to walk you through the process step-by-step, and sharing the laser cut file so that you can make some for yourself and everyone you know! I've been having a lot of fun making jewelry lately using the xTool S1 laser cutting machine, and hopefully this tutorial will inspire you to give it a try.
New to laser cutting? Be sure to check out how to get started with the xTool S1 Laser Machine!
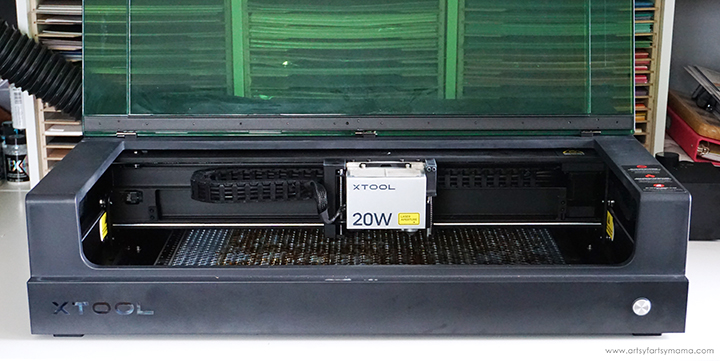

The crafting possibilities are endless when it comes to using the xTool S1 laser cutting machine, and it's actually very easy to use! Once you have one of these, the hardest thing you'll have to do is decide what to make first. If you want to learn more about how this incredible machine works, be sure to check out my complete xTool S1 review.
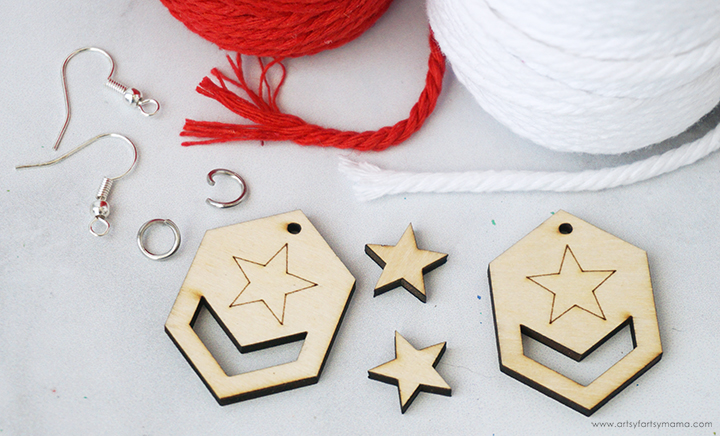
To make your own Patriotic Macrame Earrings, you will need these supplies:
- xTool M1 or xTool S1 laser cutting machine
- Patriotic Macrame Earring Design
- 3mm Basswood
- Acrylic Paint Markers - white, blue, silver
- 2mm Macrame Cord - red, white
- Scissors
- Macrame Comb
- Adhesive
- 2 10mm Jump Rings
- 2 Earring Hooks
- Jewelry Pliers
*Save extra 15% off on xTool selected materials: AFFMTRS15
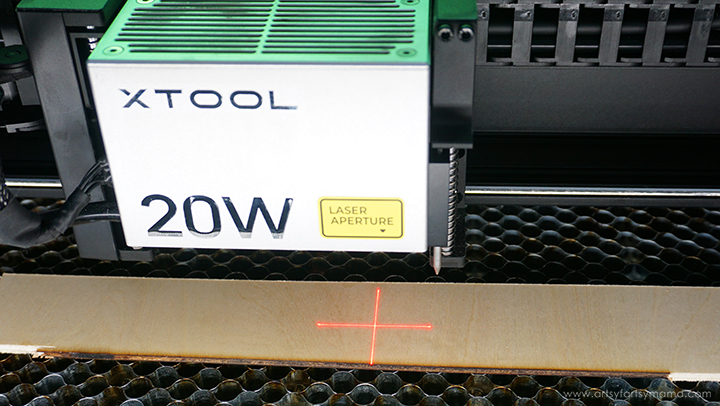
Place a piece of 12"x18" 3mm basswood into the xTool S1 machine. Manually pull the laser box with your hand so that the red "+" is located on the material - it doesn't have to be centered.
In XCS, you will see "Distance (mm)" in the right menu bar. Click on the target icon to the right of that space, and the machine will automatically measure your material.
For more details on how to complete this step, be sure to check out my review of the xTool S1 Laser Machine!
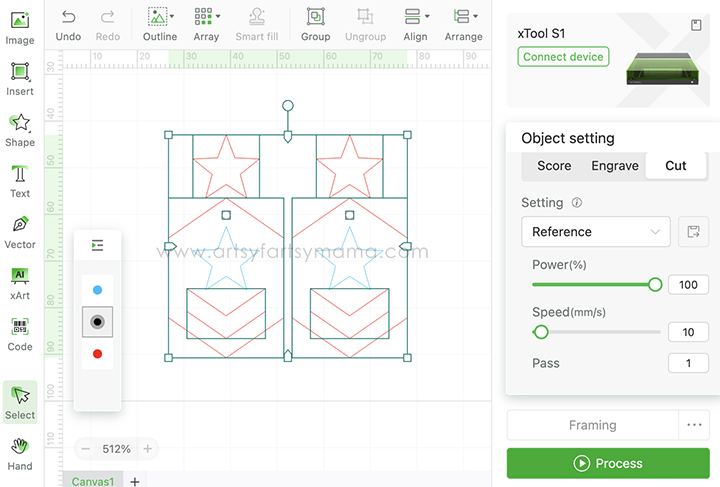
Upload the Patriotic Macrame Earring design into xTool Creative Space and duplicate the design once to create a second earring. When you upload an SVG design, you need to make sure each part of the design is set for cutting, scoring, and/or engraving. For this project, everything in red needs to be set to cut, and the blue needs to be scored. In the right menu bar, change the material setting to 3mm Basswood.
Make sure that the earring design elements are within the marked bounding box in XCS, and then click the green "Process" button in the bottom right corner to proceed to cutting the project.
After removing the earring pieces from the machine, I would highly recommend cleaning the soot away from around the edges of the wood using a Magic Eraser or baby wipes to prevent making marks all over your hands and workspace.
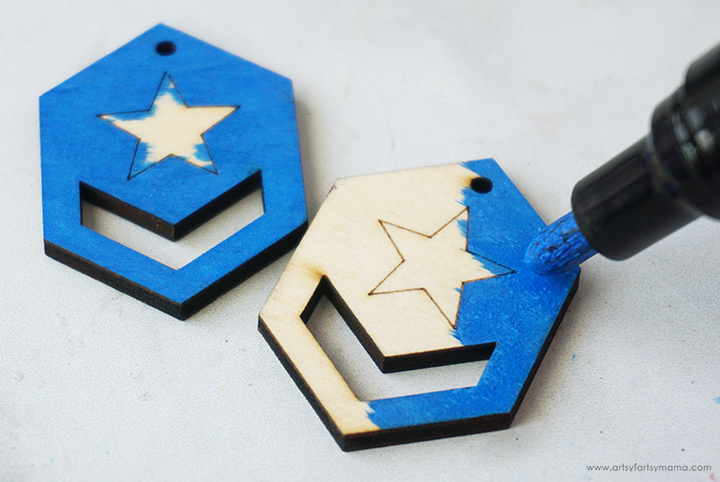
Use a blue acrylic paint marker (or a brush and acrylic paint) to cover the front and back of the earring pieces. If necessary, add another coat for full coverage. Just make sure to let the first coat dry completely before adding another.
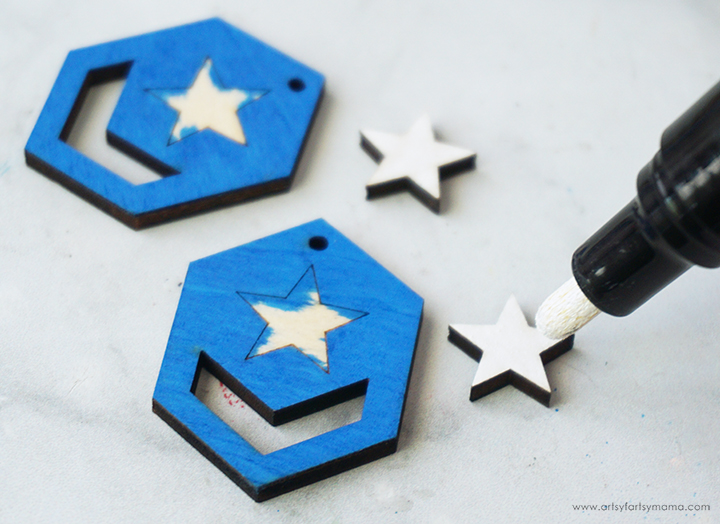
Next, color the front of the star pieces with a white acrylic paint marker. The white paint is pretty transparent, so it will likely need more coats. Again, just make sure each coat is completely dry before painting on another.
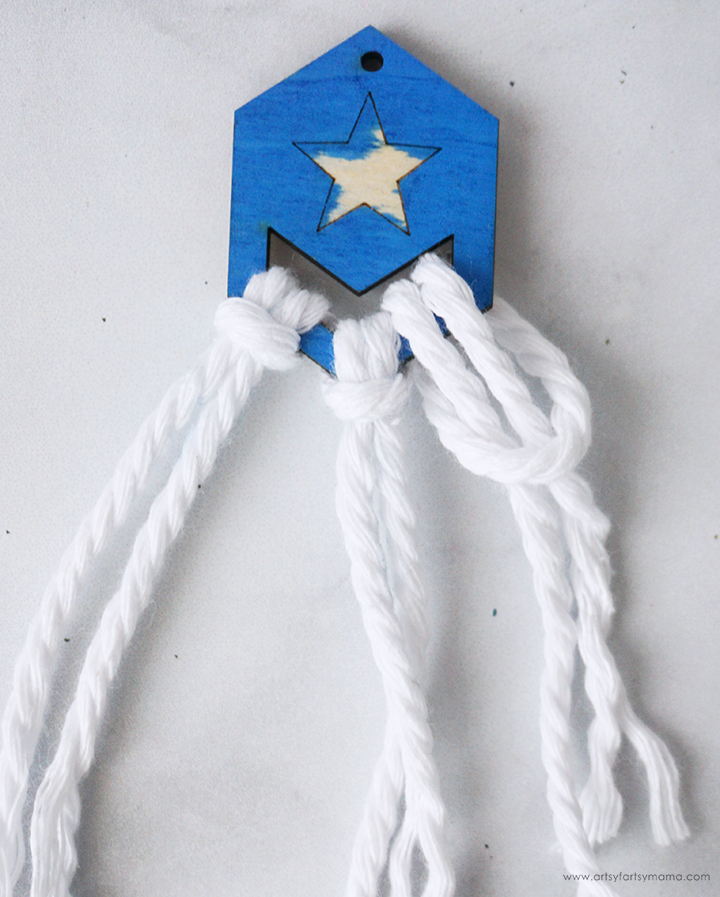
Cut six pieces of white 2mm macrame cord measuring about 6 inches long. Fold the cords in half, and then push the folded end of the cord through the front of the earring. Pull the fold down a little, and then put the opposite ends of the cord through the "loop". Pull the ends tight to create a lark's head knot. Repeat this two more times so that you have a total of three knots on each earring: one on each end, and one in the center.
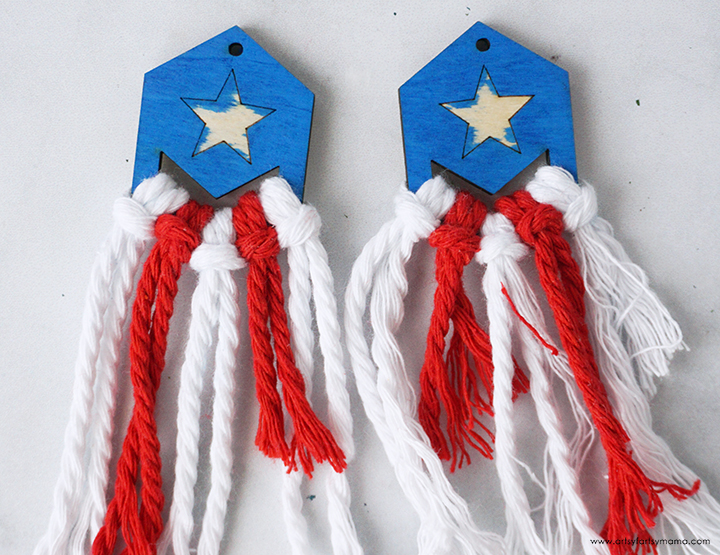
Knot two more red macrame cords to each earring, and place them in between the white cords.
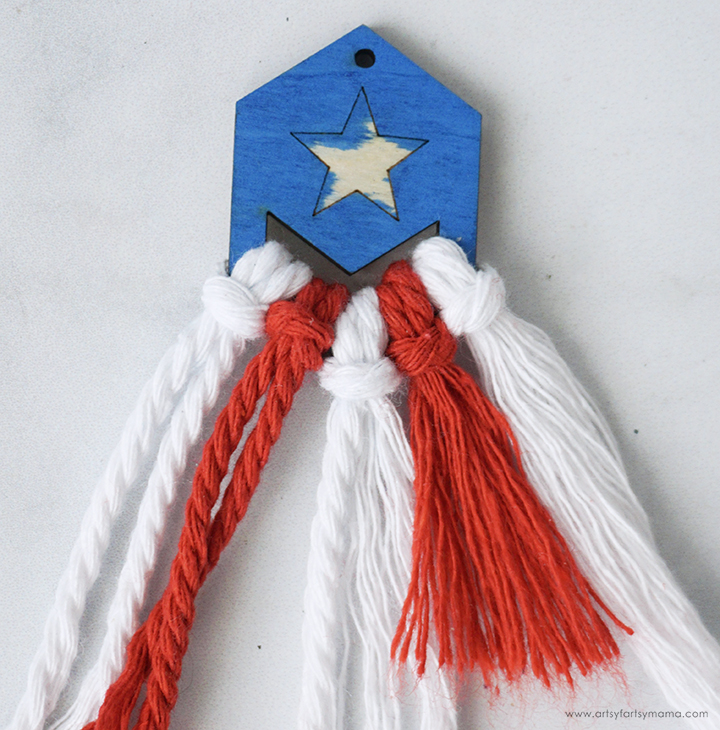
Untwist the cords and comb through the threads using a macrame comb. If you have a hard time smoothing them out, you can dampen the cords with a little bit of water.
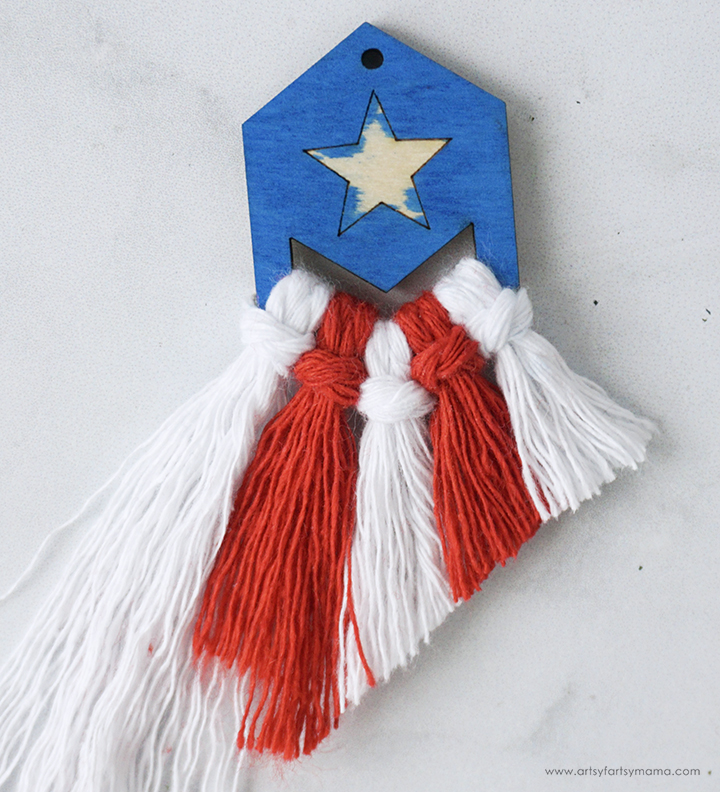
If you want the threads to keep their shape, I would recommend coating them in something like Mod Podge Ultra. This will help the threads to stick together, and stiffens them up at the same time.
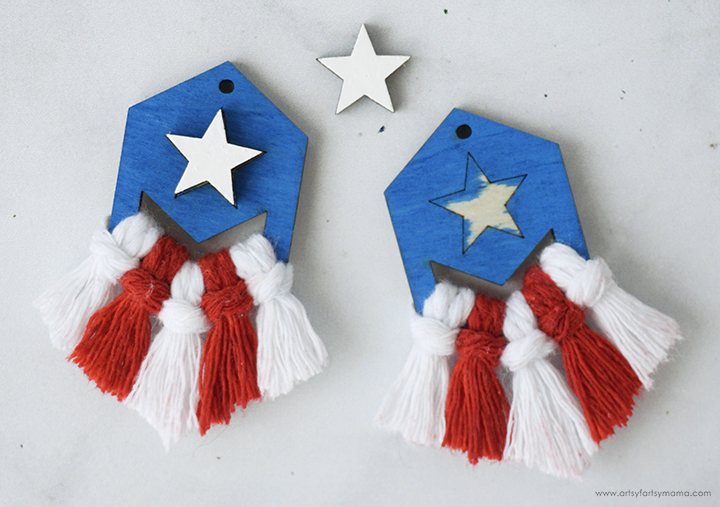
Apply a small drop of strong adhesive to the center of the star on the earring. Gently press the star piece on top, lining it up with the scored star outline, and then allow the adhesive to set completely.
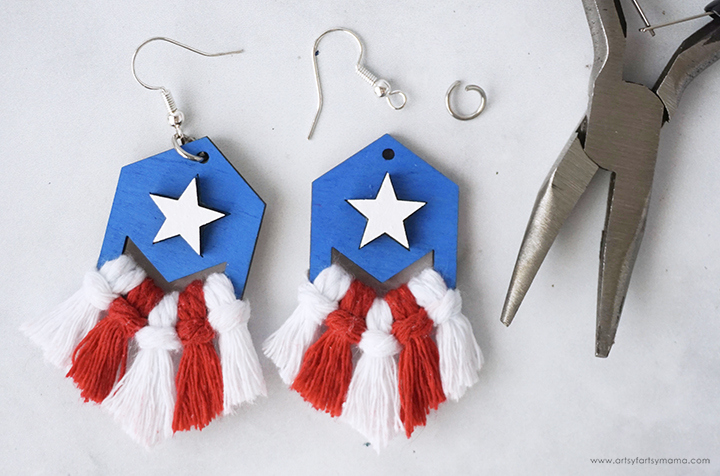
Last, but not least, attach the findings to the earrings. Use pliers to open a jump ring for each earring. Hook the rings through the holes in the top of the earring pieces.
Next, attach the earring hooks to the jump rings. Close the jump rings with the pliers. Make sure they are completely closed so that the hooks don't come off!

I absolutely LOVE how these earrings turned out, and think they are just the thing for Captain America fans and for celebrating the 4th of July! As always, if you make any of these projects for yourself, I'd love to see your creations! Tag me on Instagram and Facebook, or leave a comment/photo on the project pin on Pinterest!
Looking for more 4th of July inspiration?
Check out this collection of OVER 100 creative 4th of July crafts and recipes!!
Don't forget to Pin, Like, and Share!
