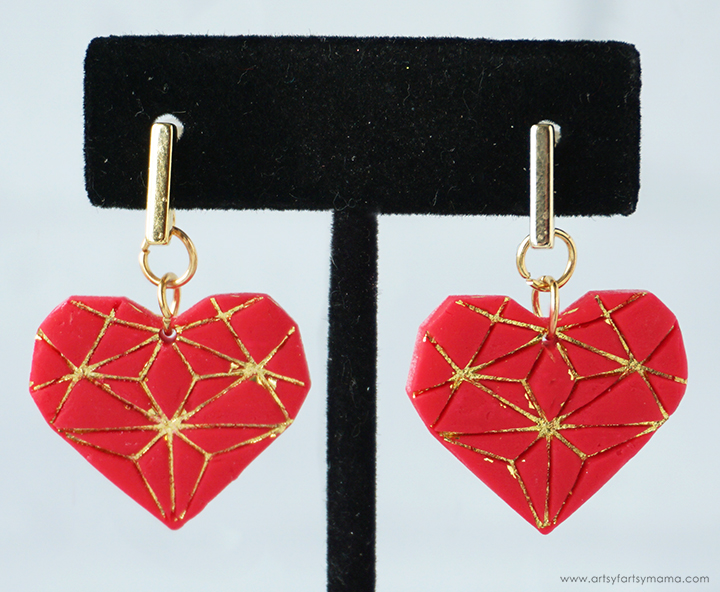
Use polymer clay and foil to create a stunning pair of Geometric Heart Earrings!
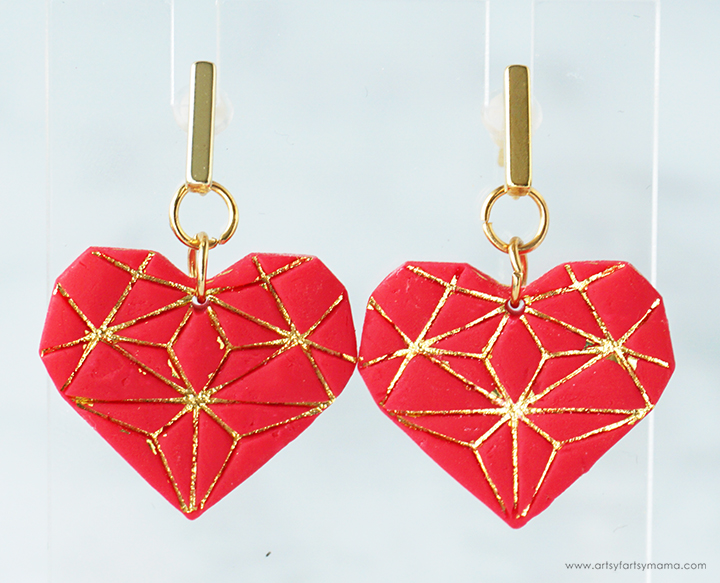
I love that there are so many things you can make with polymer clay, but one of the easiest is jewelry! This stunning pair of Geometric Heart Earrings are made using a fun technique to apply foil to the impression in the clay. The berry pink clay paired with the shimmery gold foil are a simple and romantic look that can be worn with anything in your wardrobe. These earrings are a simple project that can be customized with different colors of clay and foil to fit your personal style, and make a great gift idea.

To make your own set of Polymer Clay Geometric Heart Earrings, you will need these supplies:

Take one section of polymer clay and knead it well to get it into a smooth, pliable texture. Use a clay roller with 3mm thickness roller guides (or 2 craft sticks parallel to each other with the clay in between) to flatten the clay into a large oval or rectangle.
Tip: If you work directly on a baking mat or ceramic tile, you don't have to worry about transferring your project when it's time to bake the clay. This also helps reduce the chances of you accidentally ruining your project in the process.
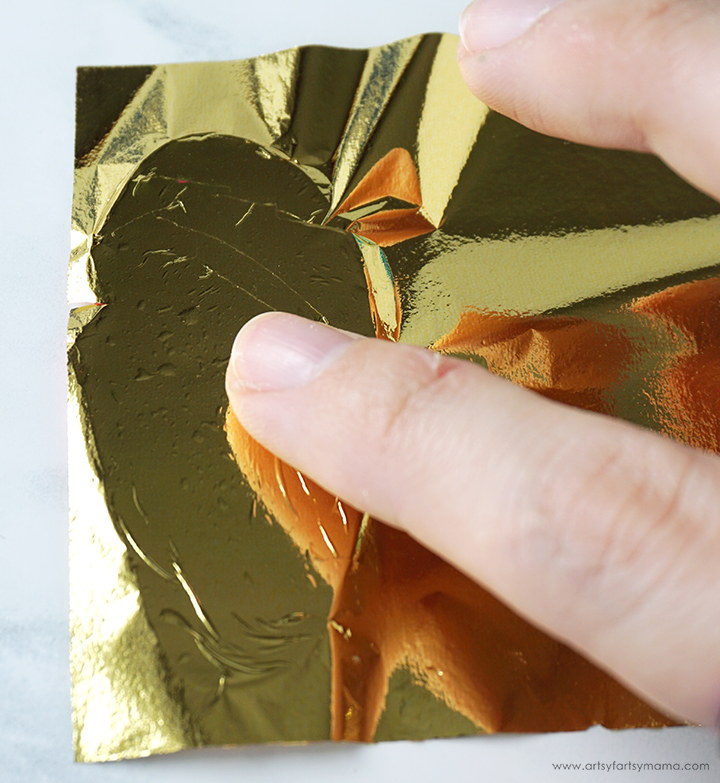
Lay a gold foil sheet on top of the clay and gently press it down so that it's smooth against the surface of the clay. Remove the excess foil to save for another project.

Place the geometric heart clay cutter over the foiled clay and press it straight down, then slowly pull it back up. Cut two hearts out of the clay.
Here's a few tricks & tips for cutting clay that have worked for me:
- Place a piece of plastic wrap over the clay first, and then cut the clay.
- Dip the cutter in corn starch, talcum powder, or even water before cutting.
- Your clay or workspace might be too warm. Put the clay in the fridge or freezer to cool it down before cutting.
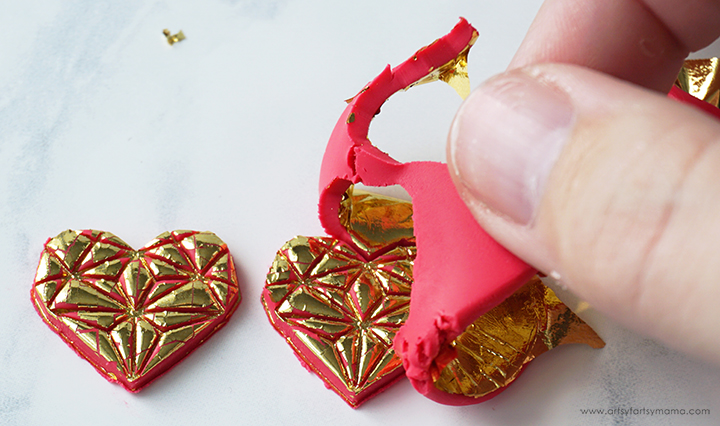
Peel away the excess clay. Save this extra foil-covered clay to use on another shiny project!

For these earrings, I only want foil in the impression of the clay. Removing the foil from the surface of the clay is surprisingly simple! Place a piece of packaging tape over the clay and gently press it onto the surface. Pull the tape away, and the foil comes up along with it.
Use a clean section of tape or even a new piece of tape to remove any foil that you may have missed. I found it best to use the corners of the tape to pick up around those small areas near the indentations.

Use a toothpick or a small circle cutter to make holes at the top of the earring pieces to easily connect the posts.
Preheat your oven and bake both hearts pieces. Most polymer clays are usually baked at 275º for 15 minutes per quarter inch thickness, but refer to your specific clay packaging directions to make sure. Once baked, let the pieces cool completely before handling.

Use a fine sandpaper to clean up the edges of the earring pieces. To give the earrings a shiny and professional-looking finish, you can apply a coat of gloss glaze or UV Resin to the surface with a toothpick.
Use pliers to open a 10-12mm jump ring for each earring. Hook the rings through the holes in the earring and then through the loop in the earring posts to connect them together. Close the jump rings with the pliers.
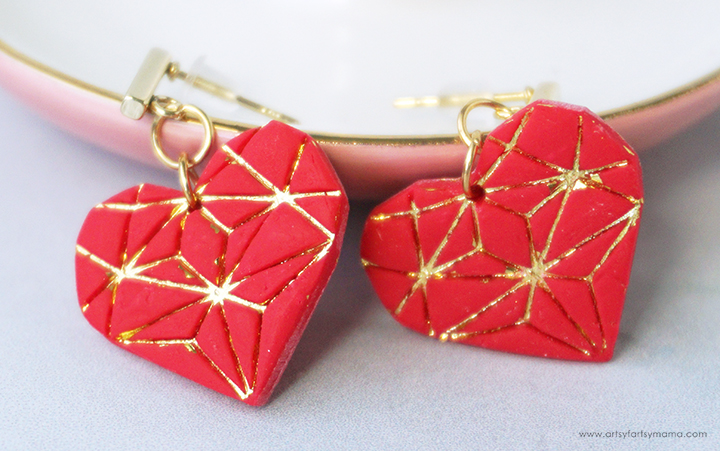
These earrings are so simple, but make such an impact! I love the way the foil shimmers and shines when it hits the light.
Making jewelry out of polymer clay is a lot of fun, and so easy! Not to mention they would be a fantastic gift idea. I would love to hear what you think about this technique of adding foil to create these Geometric Heart Earrings. As always, I would love to see your polymer clay creations! Tag me on Instagram and Facebook, and leave a comment or photo on my project pin! #AFMcrafts
Don't forget to Pin, Like, and Share!


