Get the kids involved this holiday season by making adorable Mini Christmas Gift Boxes (with Free Printable Template)!
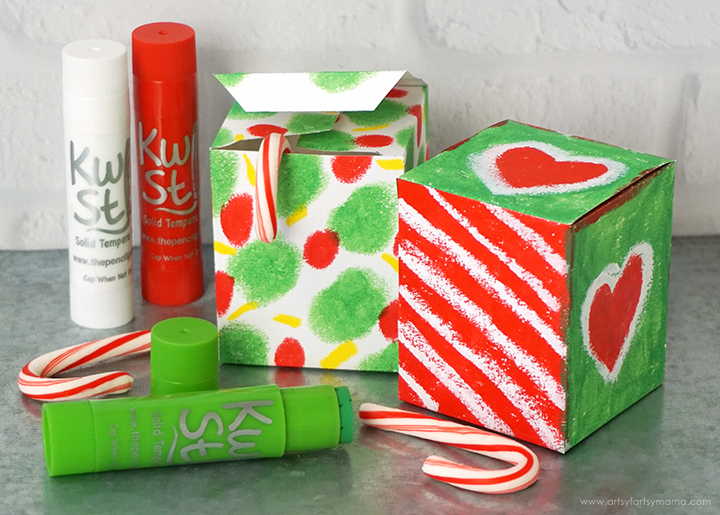
The holidays are such a fun time to get crafty with the kids! These Mini Christmas Gift Boxes are a great way to help get them excited about gift-giving this holiday season, and they are so easy to make. Kids can decorate the free printable gift box template using Kwik Stix Tempera Paints for a mess-free holiday activity at home or in the classroom.
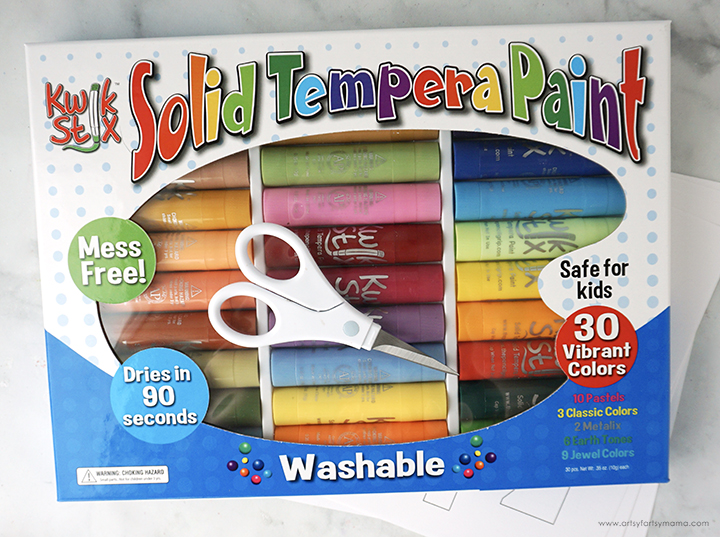
To make some Mini Christmas Gift Boxes, you will need these supplies:
- Free Printable Mini Gift Box Template (personal use only)
- White Cardstock
- Kwik Stix Tempera Paints
- Scissors
- Scoring Tool (optional)
- Paper Adhesive
Printables from Artsy-Fartsy Mama are for personal use only. You may use these in an educational setting, but you may not sell them. If you'd like to share this printable digitally, share a link to this post/website only. Do not share a direct link to the printable.

Download the paper gift box template and print them out on heavy cardstock for best results.
Next, get creative and start coloring! When it comes to painting with kids, I'll always recommend using Kwik Stix Tempera Paints. The semi-solid paint comes in a variety of vibrant colors, goes on smoothly, and dries in just 90 seconds! Simply uncap the tube, twist (like a glue stick), enjoy mess-free painting. No need for paint brushes, smocks, or water cups!
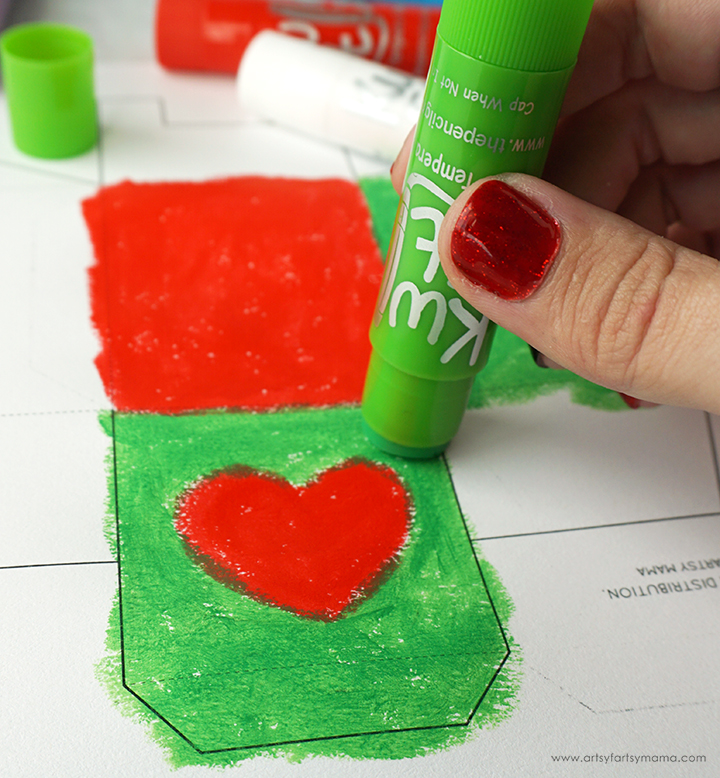
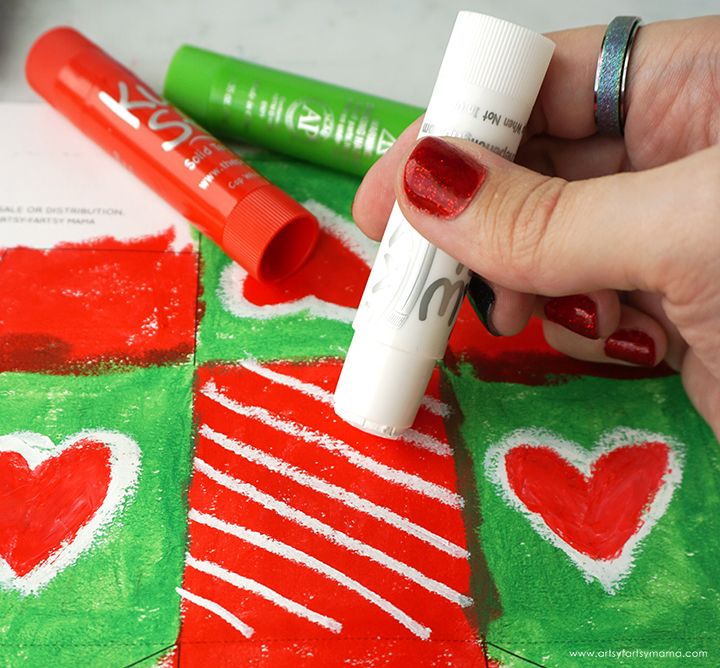
Look at how vibrant that white Kwik Stix is when layered on top of the red and green! As long as the first layer has dried (it only takes 90 seconds), the next layer goes on beautifully.
Keep in mind that other colors, like green on top of red for example, will blend the colors together. To see what I mean, look at the borderline between the two squares on the right. This isn't always a bad thing - I would recommend showing it to kids to help explain color blending!
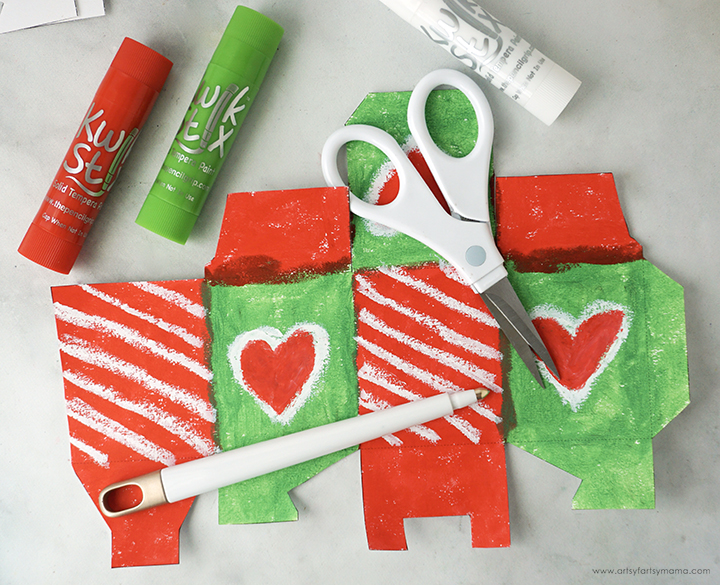
Once the box template has been completely colored, use scissors to cut it out. The solid guidelines on the template are for cutting, and the dotted guidelines are for folding. To make folding easier, I would recommend using a scoring tool and a ruler over the lines to make a score in the paper.
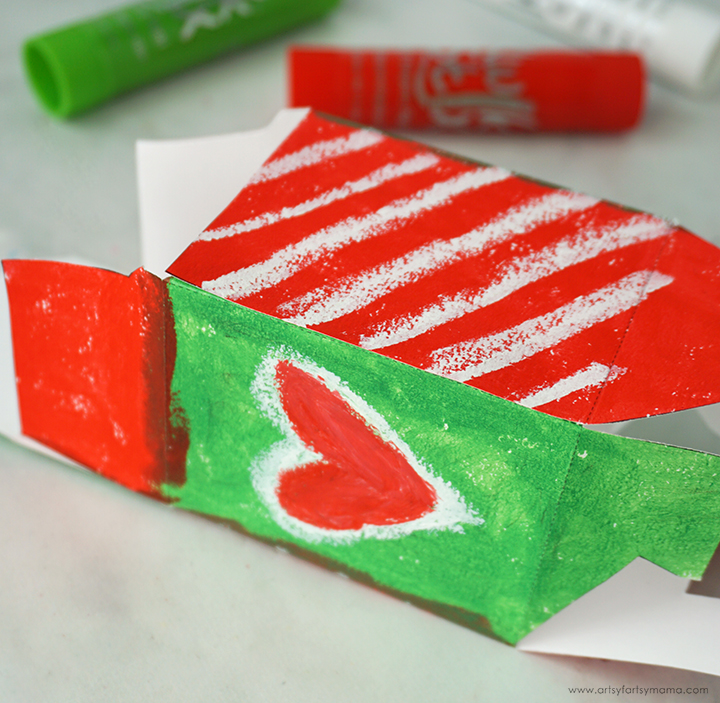
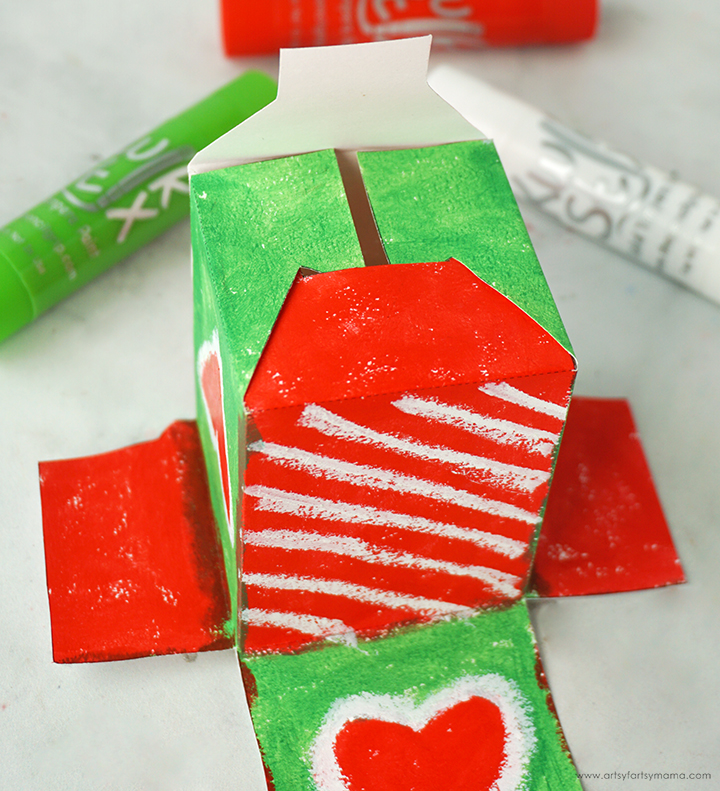
You don't need any adhesive to put the bottom of the box together. Fold in the "U" shaped tab in first, and then bring the side tabs in. Tuck the pointed edges into the center of the "U" tab to hold them in place. Lastly, fold the top tab in, and carefully slide the smaller square end under the "U" tab in the center.
If you want to make the bottom of the box a little more sturdy, you can add a piece of tape over the seam.

Now the box is ready to be filled with small gifts, party favors, stickers, and of course, Christmas candy! Fold the top of the box over, and stick the tab down into the box to close it.
To secure the closure of the box, you can wrap ribbon around it or tape it closed.

Making Mini Christmas Paper Gift Boxes is such a fun activity for kids at home or in the classroom. Plus, it's always so sweet when kids put their hard work into making a gift extra special. As always, I would love to see your creations! Share yours on Instagram, Facebook, or leave a comment/photo on the project pin on Pinterest! #AFMCrafts
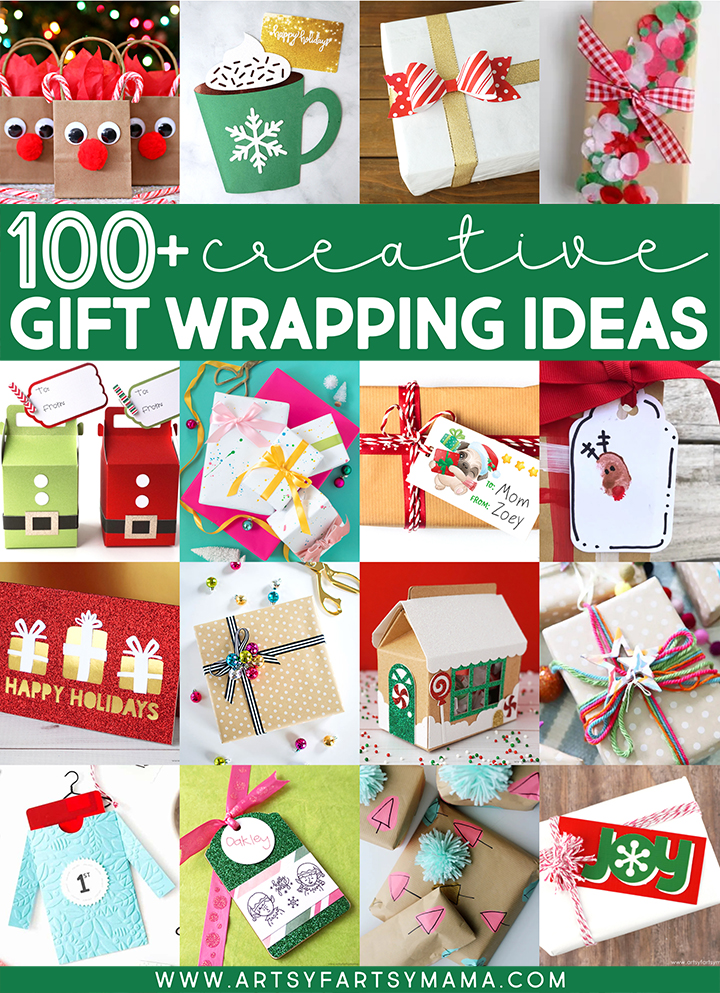
Looking for more holiday gift inspiration?
Check out this collection of OVER 100 creative holiday gift wrapping ideas!!
Don't Forget to Pin, Like, and Share!


