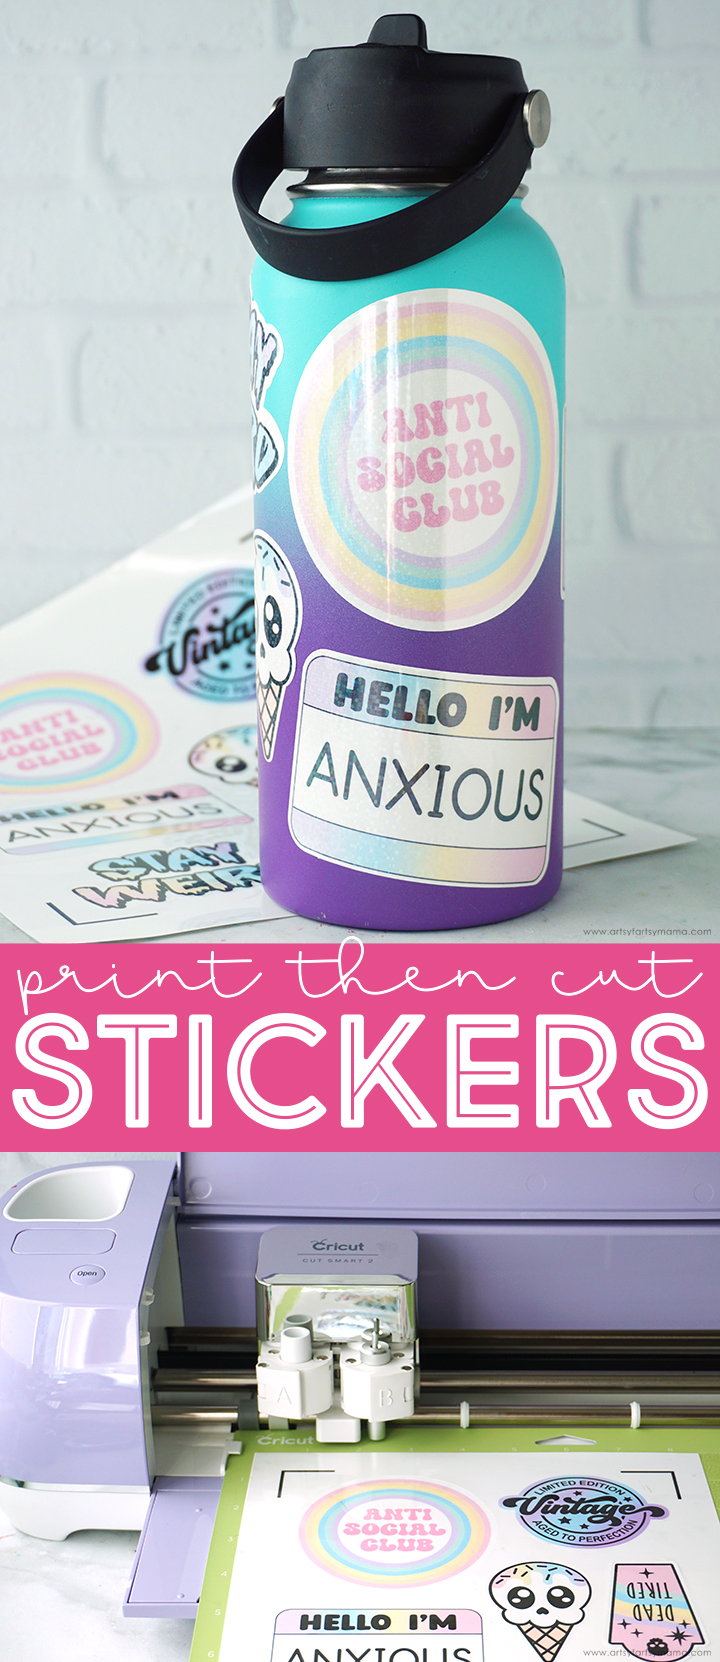
Easily make your own stickers using Print Then Cut with your Cricut machine!
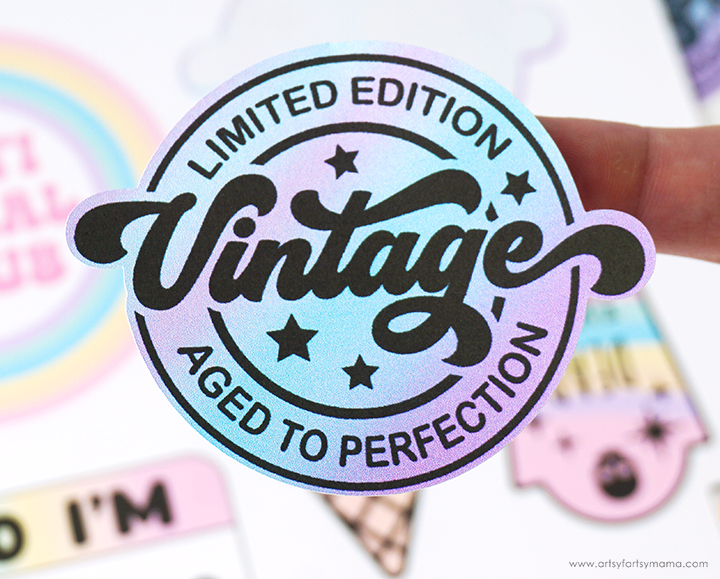
Have you tried the Print Then Cut feature with your Cricut machine yet? I don't know why it has taken me so long, but I finally gave it a try to test out some sticker making. I tested out multiple types of Cricut sticker paper, and the stickers look so professional! The Print Then Cut process was so simple, and I'm excited to show you how you can make your own stickers using your Cricut machine in just minutes.
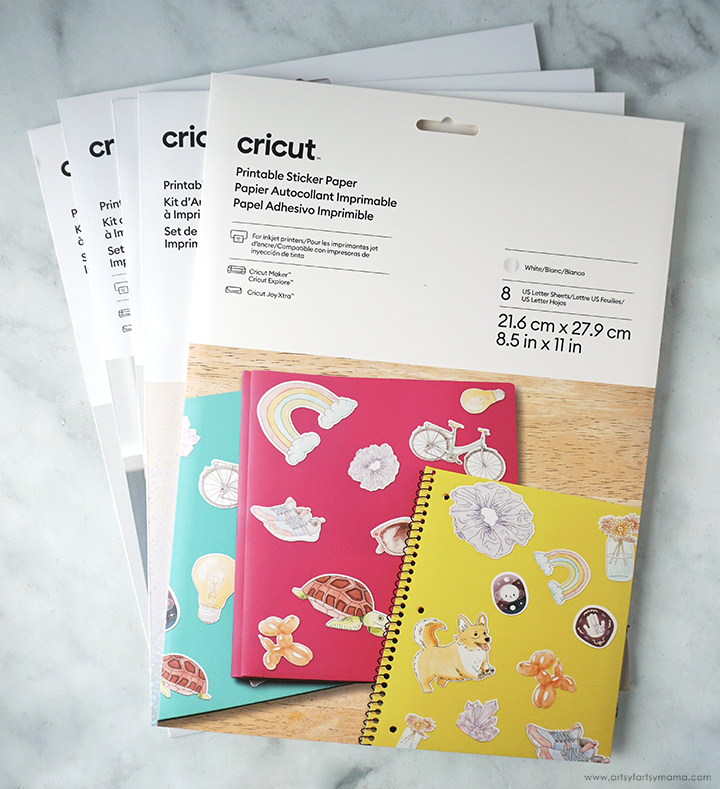
I decided to give making stickers a try using different Cricut sticker papers to help you know what kind(s) you will need for the sticker projects you are looking to make.
Below are the five different printable Cricut sticker papers I used. They all must be used with an inkjet printer and a Cricut Maker, Cricut Explore, or Cricut Joy Xtra machine.
- Printable Sticker Paper - white
- Printable Waterproof Sticker Paper - white
- Printable Waterproof Sticker Paper - transparent
- Printable Waterproof Holographic Sticker Paper - white
- Printable Waterproof Holographic Sticker Paper - transparent
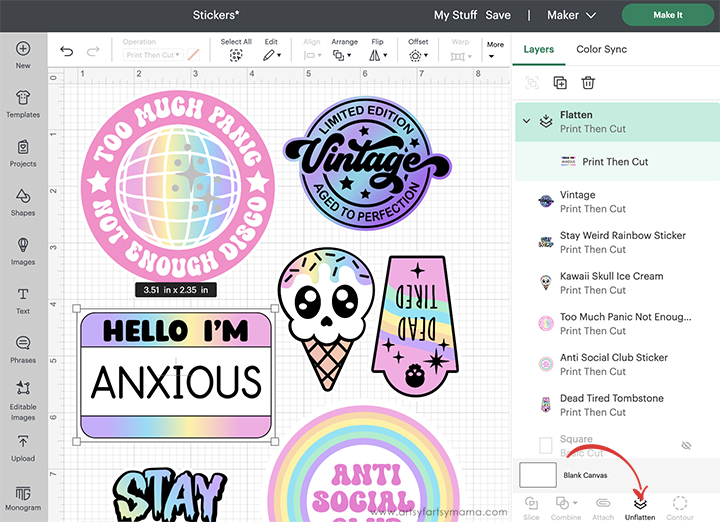
To make this same set of stickers that I made, you can open up my Print Then Cut Stickers Project in Design Space. Everything is sized to fit the Cricut Sticker Papers. The "Hello I'm" name tag image has the name area blank. For this sticker, I typed "anxious" (because I am!) and sized it to fit the space. Next, I selected both the text and the name tag and clicked "Flatten" in the bottom right menu to make the image one piece. If you simply "Attach" them together, the Cricut will cut each of the text letters out, which isn't what you want to do.
If you want to create your own set, search for "Print Then Cut" images from the "Images" tab on the left side. There are a ton of great options in the Design Space Library, and more are being added everyday! You can also upload your own PNG images to turn into stickers. The options are truly endless.
To keep your images placed exactly the same as your screen shows, select all of the images and "Attach". Once you are happy with your project, click the green "Make It" button in the top right corner.
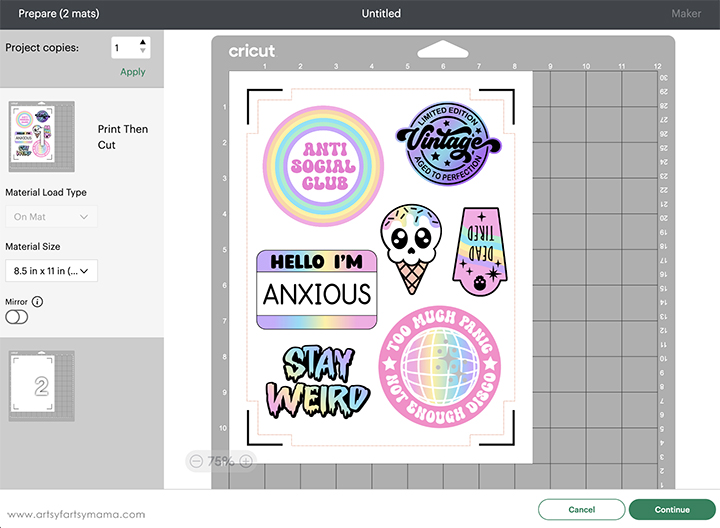
When you get to the mat preview screen, your stickers should show up like this. If you didn't "Attach" your images together, they will be automatically arranged by the Design Space program, sometimes on multiple pages. Make sure all of your stickers are inside the red dotted lines. The black lines in each corner are for the Cricut machine to read later for the cutting process.
Once you are happy with the sticker arrangements on the mat(s), click the green "Continue" button in the bottom right corner.

The next screen will direct you to print your project. Remember to print using an inkjet printer only. The sticker paper will ruin a laser printer. For printing on multiple pages, just click on the first step again and click on the "Send to Printer" button as many times as needed.
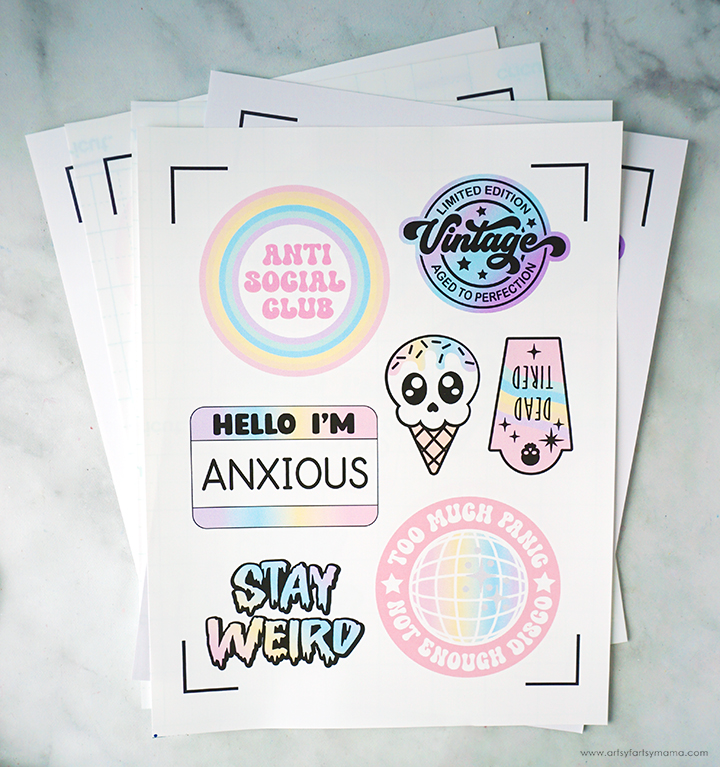
Make sure all your prints look right, and reprint if necessary. If you printed on different sticker papers, be sure to keep them separated.
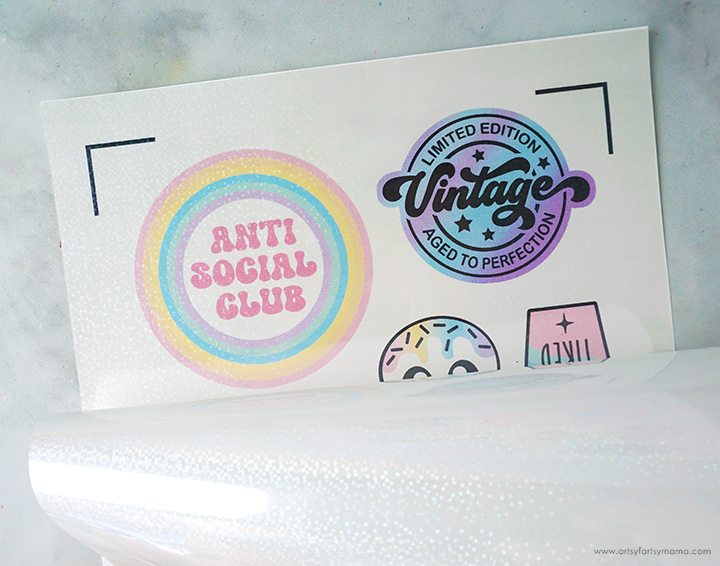
Each set of the waterproof sticker paper and the holographic sticker paper come with the printable sticker paper and a vinyl laminate to layer on top of the paper. Line the laminate up with the top edge of the sticker paper, and carefully lay it down on top.
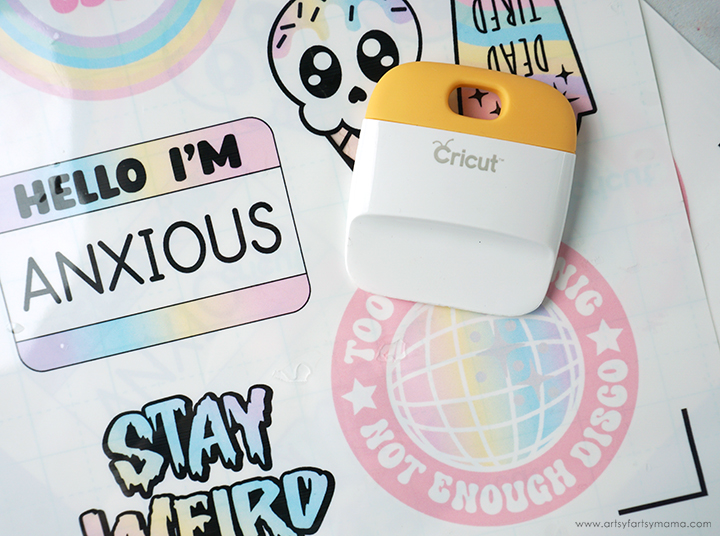
Use a scraper tool to remove bubbles from underneath the laminate down as you go. If you get trapped bubbles on your stickers (like I did here on that bottom one), it's hard to get rid of them. So trust me when I say to take your time!
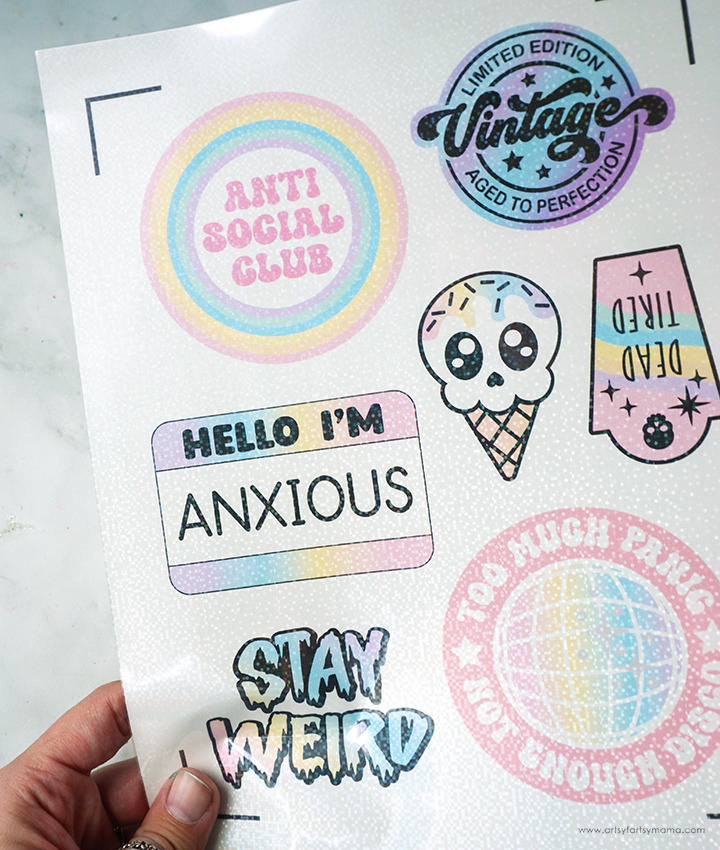
Once covered, the sticker paper is ready for cutting! Make sure to cover all of the sticker papers as necessary at this time.
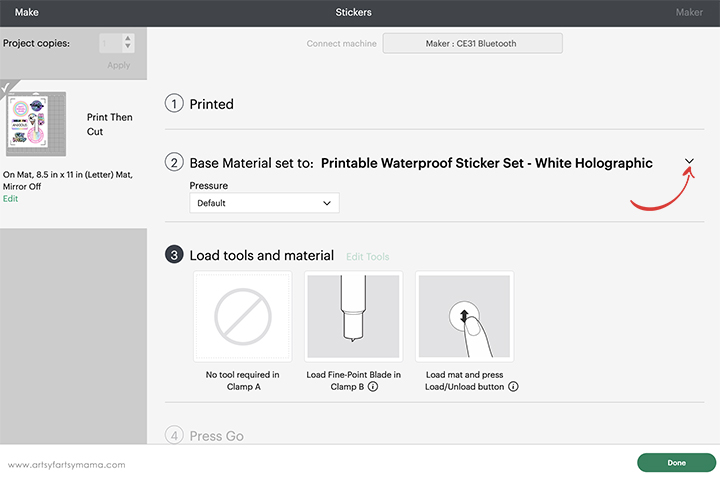
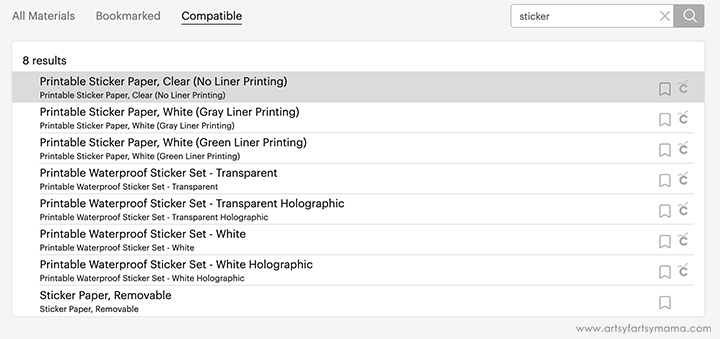
When you're ready to cut, select the specific Cricut sticker paper you are using from the materials dropdown menu.
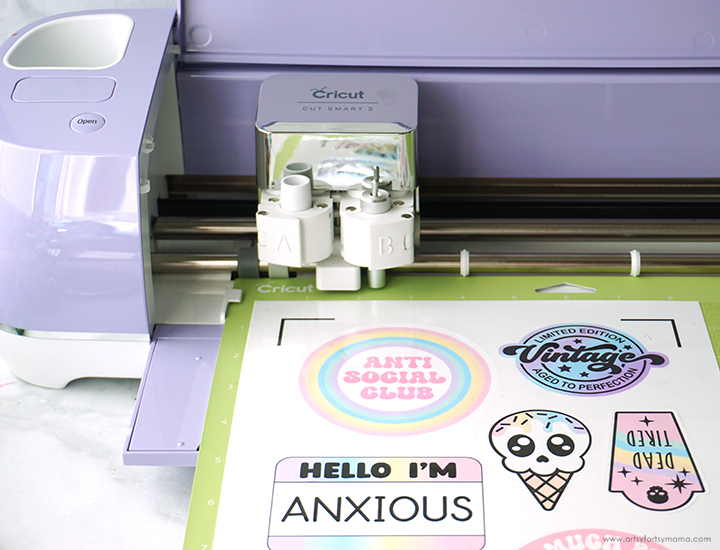
If you haven't calibrated your Cricut machine before, do this first before cutting stickers. That way your stickers will be cut correctly! Place the sticker page on a Cricut mat and load it into the machine and cut the stickers out.

The stickers from the Cricut Printable Sticker Paper printed beautifully, and cut perfectly. The paper is high quality, and sticks to surfaces just as it should! The only downside is that there is no protective coating on the stickers, so the ink would likely bleed if they got wet. These stickers are a lot of fun, and would be great for the classroom!
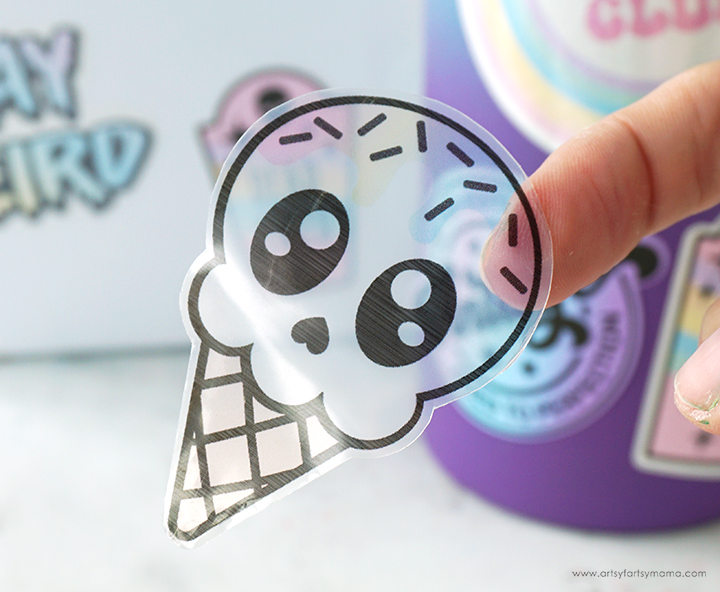
The Cricut Waterproof Printable Sticker Paper is a lot of fun to work with, and the stickers look so professional! I love that you can print both transparent and white stickers that are sturdy, vibrant, and waterproof. These would be great for creating your own stickers to sell and for gifting!
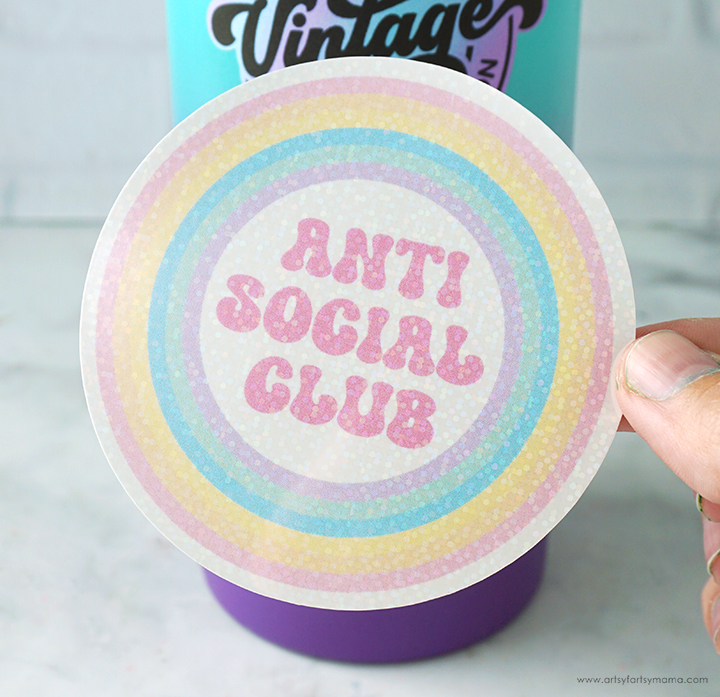
Of course, my favorite stickers were printed on the Cricut Waterproof Holographic Printable Sticker Paper! They have the same high quality feel as the regular waterproof stickers, but have that little extra sparkle that really push these stickers over the top. I would definitely recommend using this paper to create professional stickers to sell in your shops, and to share with others as gifts.
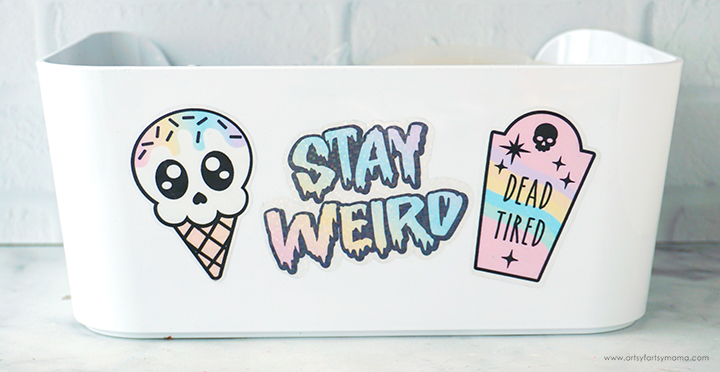
The transparent stickers look best on white, or much lighter, backgrounds. These stickers are more pastel color scheme, so they didn't really show up well on anything other than this white container from my craft room. They do look amazing though, and love how well they stick to practically any surface.
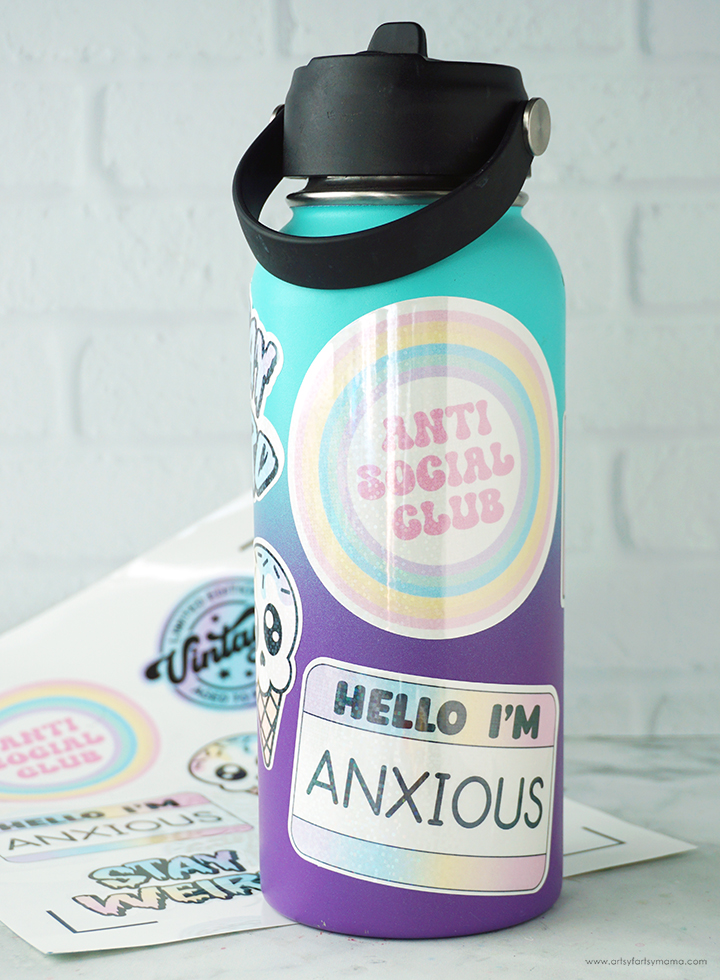
All of the white waterproof stickers, both regular and holographic, are the perfect addition to my tumbler! They stick extremely well, hold up to washing, and look so professional! This DIY sticker experiment was a lot of fun for me, and I learned a lot along the way. If you're looking to start your own sticker business, or just want to make a fun collection to keep all to yourself, I definitely recommend giving the Cricut sticker papers a try!!
Don't forget to Pin, Like, and Share!
