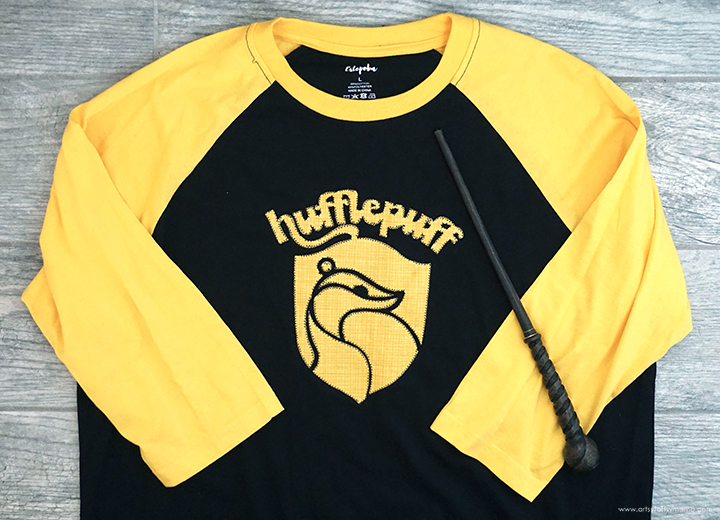
Make your own magical Harry Potter Hogwarts House Crest Shirt using a Cricut and colorful fabric!

It's no secret that I adore everything Harry Potter - I even wrote a book about it!! There are so many ways to display your Hogwarts House pride, and I decided to make a shirt featuring Hufflepuff for my latest trip to the Wizarding World of Harry Potter. This is a simple project crafters of any level, and I'm sharing the FREE set of cut files for ALL the Hogwarts Houses so that you can make one of these shirts for yourself!
To make your own Hogwarts House Crest Shirt, you will need these supplies:
- Hogwarts House Crests Cut File - PERSONAL USE ONLY
- Blank Shirt
- Cotton Fabric - in Hogwarts House color
- HeatnBond Lite
- Fabric Scissors
- Tape Measure
- Cricut Maker or Cricut Explore machine
- Iron or EasyPress 2
- EasyPress Mat
- Sewing Machine
Printables and cut files from Artsy-Fartsy Mama are for personal use only. You may use these files for personal projects, but you may not sell them. If you'd like to share this project digitally, share a link to this post/website only. Do not share a direct link to the file.

Each Hogwarts House has their own color representation: Gryffindor is red, Ravenclaw is blue, Hufflepuff is yellow, and Slytherin is green. Cut a 10"x10" square of cotton fabric in the color of your house. This can be a fabric in either a solid color or pattern.
To attach the fabric to the shirt, use HeatnBond Lite*. This is a sewable, double-sided adhesive that doesn't add any extra bulk to your projects. Cut a 10"x10" square of the HeatnBond. Turn the fabric face-down on the EasyPress Mat and place the piece of HeatnBond with the paper/liner side up on the back of the fabric. Use an iron or EasyPress 2 on medium heat to bond the pieces together.
*If you would prefer to not sew the shirt, you can use HeatnBond Ultrahold instead.

Upload the cut file for your Hogwarts House Crest into Design Space and size the image to fit the shirt. When you're done editing, click the green "Make It" button in the top right corner. Make sure to mirror the image before cutting!!
Place the bonded fabric onto the pink FabricGrip mat with the fabric facing down. Use the Bonded Fabric Blade to cut the design out of the fabric with either the Cricut Maker or Cricut Explore machine.

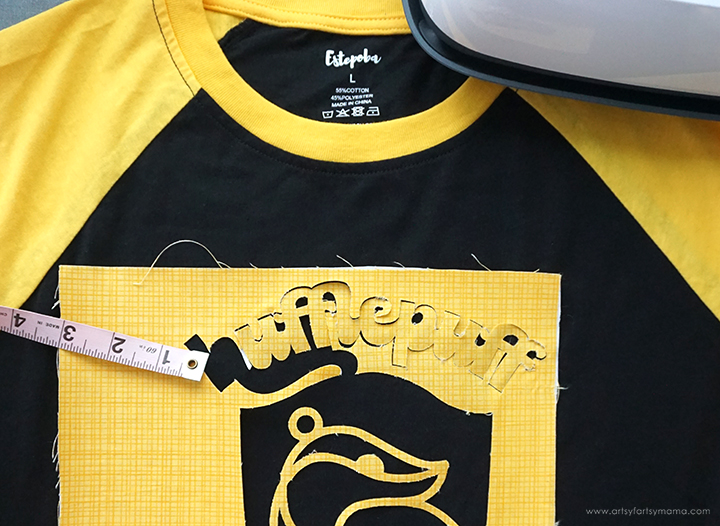
Lay your shirt flat on the EasyPress Mat. Peel the backing paper off of the adhesive. Center the design on the front of the shirt using a tape measure to help you get it placed evenly.

If you are having a hard time getting the design pieces placed correctly, here's a little trick: Use the "negative" piece of fabric as a guide! Place the negative on first, and then place the design pieces into the open spaces. Once everything is in place, carefully peel the negative fabric away to leave your design in place.
Use an iron or EasyPress 2 on medium heat to press the design onto the shirt. Refer to packaging directions for specific times.

Thanks to the HeatnBond Lite, the fabric is now adhered to the shirt. However, this type of adhesive doesn't hold up well to multiple washes without being sewn on along the edges. If you would like to make this project without needing to sew, you can use HeatnBond Ultrahold instead.
You can either hand-stitch or use a sewing machine to sew around the edges of the design. The fabric is easy to sew through, and can be held in place with any type of stitch. For my shirt, I went along the edges of the fabric with small zig-zag stitch using my machine. It took me a bit of time to sew, but I did go really slow! I also used a black thread on my shirt, but would probably use a color to match my fabric instead for the next one I make.

I would love to hear what you think of this DIY Hufflepuff House Crest Shirt in the comments below. As always, if you make any of these projects for yourself, I'd love to see your creations! Tag me on Instagram and Facebook, or leave a comment/photo on the project pin on Pinterest #AFMCrafts!

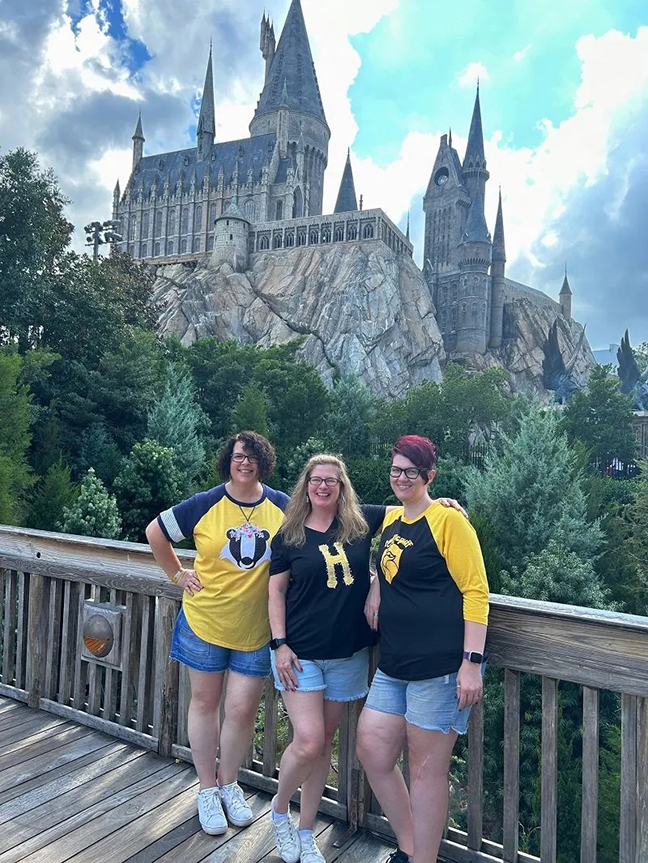
We had the best time testing out our new Hufflepuff shirts together in front of Hogwarts Castle in Universal Orlando! Creatively Beth used HeatnBond Ultrahold for her adorable Hufflepuff Badger Shirt, and Me & My Inklings made her Hufflepuff Letter Shirt using HeatnBond UltraHold for dark fabrics!!


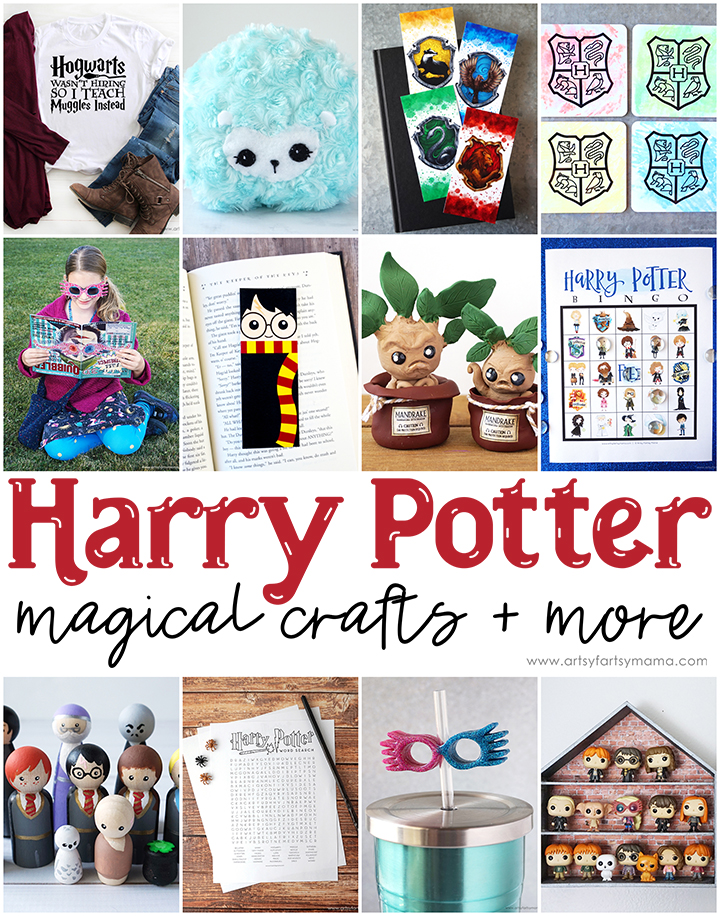
Looking for more Harry Potter inspiration?
Check out this collection of OVER 100 creative Harry Potter craft ideas!!

Don't Forget to Pin, Like, and Share!


