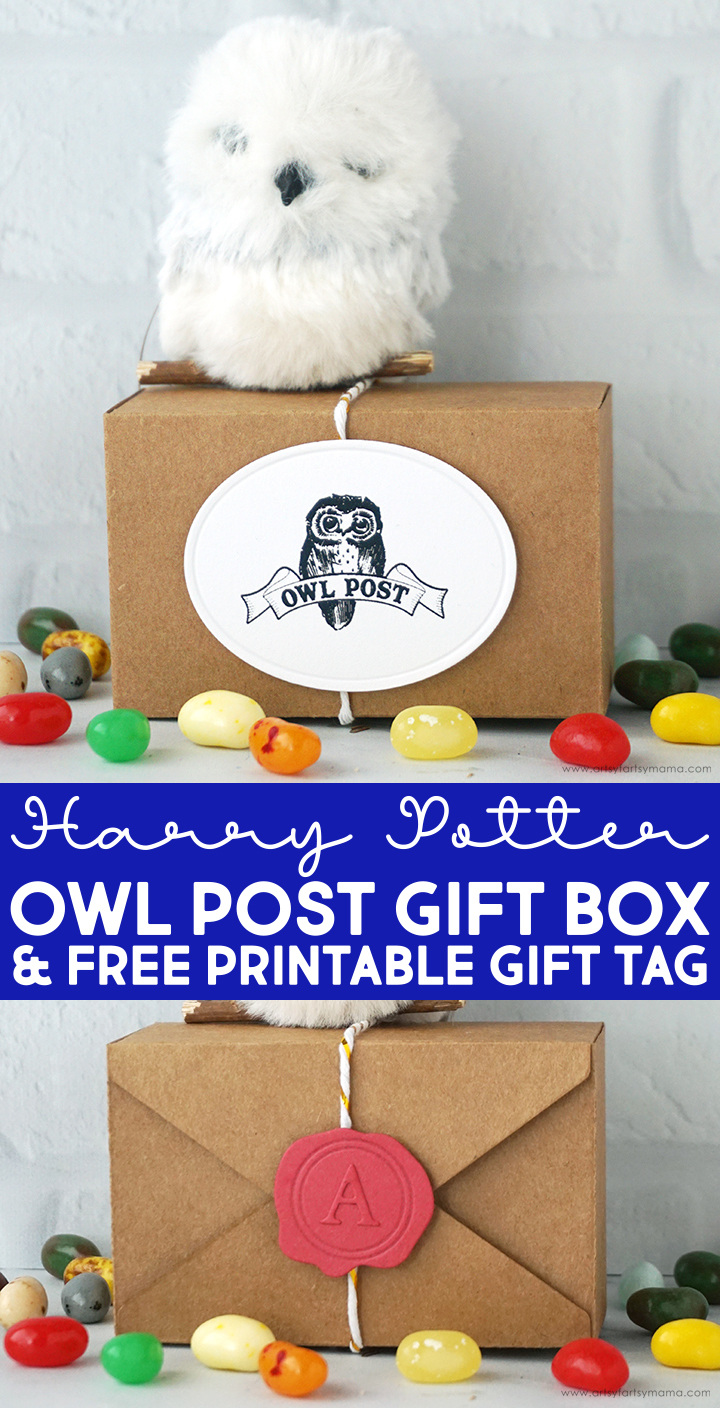
Share an enchanting Harry Potter-Themed Gift Box via Owl Post with this clever tutorial and FREE printable gift tag!

I've always wanted to send a package to friends via Owl Post. Unfortunately, I live in the Muggle world and our owls just aren't as cooperative. I've decided to take things into my own hands and created this adorable Owl Post Gift Box with free printable gift tag that looks just like packages that come straight from the Wizarding World! This little box is fun and easy to make using my Sizzix machine, and it can hold all kinds of magical treats. Fellow Potterheads are going to love receiving one of these gift boxes, and I've been so excited to show you how to make one!

To make your own Harry Potter Owl Post Gift Box, you will need these supplies:
Printables from Artsy-Fartsy Mama are for personal use only. You may use these in a personal or an educational setting, but you may not sell them. If you'd like to share this printable digitally, share a link to this post/website only. Do not share a direct link to the printable.


Once the box has been filled, close it up by placing an adhesive dot to one of the top flaps. Carefully close the box, and press down lightly to attach the box flaps together.



There are 10 dies included in the Sizzix Thinlits Envelope Box set, but you will only need 4 of them for this project:
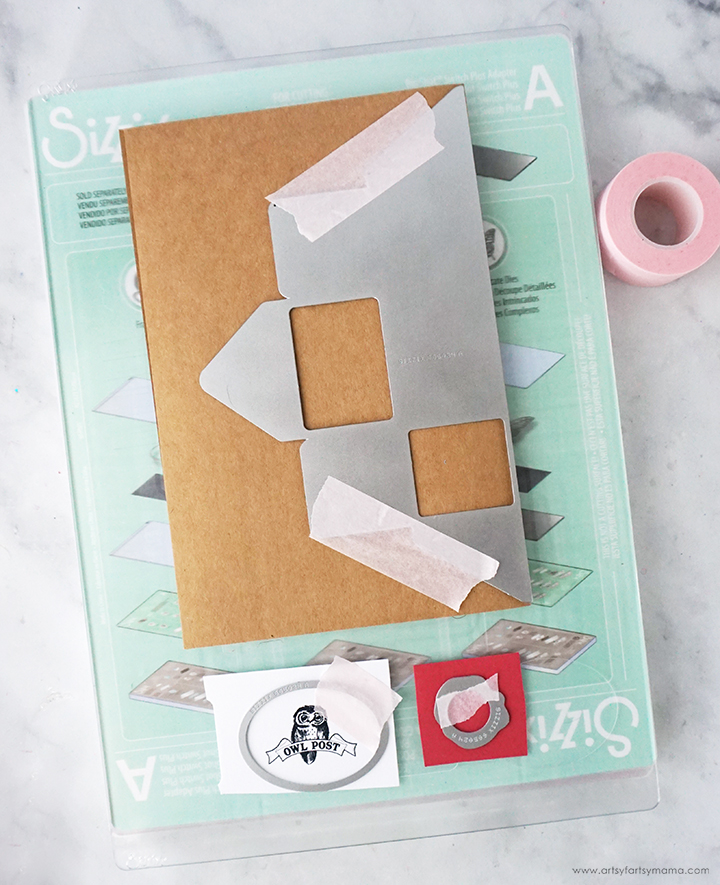
1. Fold a piece of kraft paper in half horizontally. Line the straight edge of the box die up with the fold of the paper, and use pieces of removable tape to hold the die in place.
2. Download and print the Owl Post Labels on white cardstock. Use scissors or a paper trimmer to cut one of the labels out, leaving extra space that is larger than the oval label die. Use a piece of removable tape to hold the die in place over the center of the label.
3. Cut a small piece of red cardstock and place one of the seal dies over the top with tape to hold it in place. Use another scrap of the same paper to cut letters out with the alphabet die (not pictured).
Arrange the papers and dies on the cutting plates and run them through either a Sizzix Big Shot or Sizzix Big Shot Switch Plus machine.

Now you should have four pieces. Unfold the box piece and flatten it out, and set the other pieces aside to use later.

Fold all of the score lines of the box so that it will be easier to assemble. Add an adhesive dot to the small tabs on the sides of the box, and use that to stick them together. Add another dot to the outside of the tabs. Bring up the sides of the box and stick them to the tabs.

Now that the box is assembled, it's time to fill it up! The box can fit gift cards perfectly, and leaves lots of room for all kinds of other goodies, like Bertie Bott's Every Flavour Beans, Jelly Slugs, Harry Potter Hershey Kisses, and so much more!


Cut a length of bakers twine (I found some with a bit of gold!) to fit around the box. Not only does this make it look cute on the box, but it will hide the fold line down the center! Add an adhesive dot to the flap of the box. Place one end of the twine on the adhesive and then wrap it around the box. Place the other end of the twine on the adhesive and press it down well.

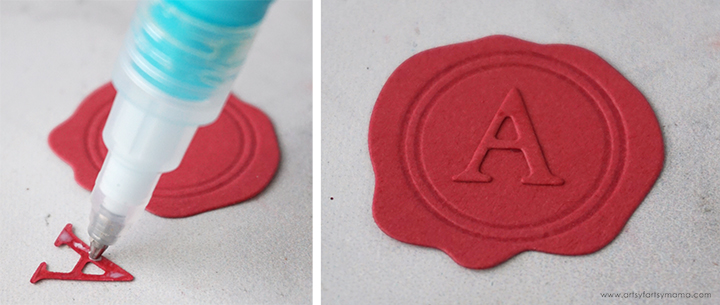
Now it's time to put the seal together! Add a thin line of adhesive to the back of a letter cut out of red cardstock and place it over the center of the circle seal. Let the adhesive dry before moving on to the next step (it shouldn't take long).

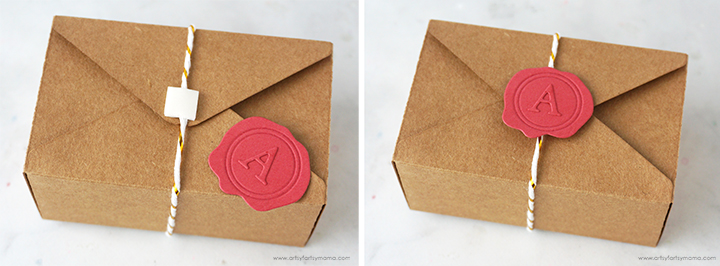
Place a foam square over the twine ends on the back of the box. Center the seal on top of the square and gently press it into place so that it is stuck on well.

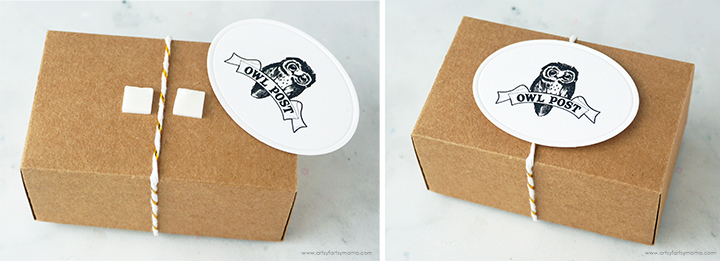
Turn the box over, and place a foam square on either side of the twine. Center the Owl Post label on the front of the box an press it down gently so that it sticks together well.

I love this little gift box, and think it would be great to use as a fun surprise for birthdays, thank you gifts, and just for fun! I would love to hear what you think of this Harry Potter Owl Post Gift Box and who you would share one of these with. As always, if you make any of these projects for yourself, I'd love to see your creations! Tag me on Instagram and Facebook, or leave a comment/photo on the project pin on Pinterest #AFMCrafts!
Don't forget to Pin, Like, and Share!
