Make a miniature Harry Potter-inspired "Happee Birthdae Harry" Cake Charm using polymer clay!


To make your own Happee Birthdae Harry Cake Charm, you will need these supplies:
- Sculpey III - Chocolate, Berry, Peach, Spring Green, Emerald
- Sculpey Clay Softener & Thinner
- Ceramic Tile or Oven-Safe Work Mat
- 1" Circle Cutter
- Disposable Mixing Cup
- Craft Stick
- Dotting Tool
- Toothpick
- Jewelry Eye Screw
- Key Ring with Chain
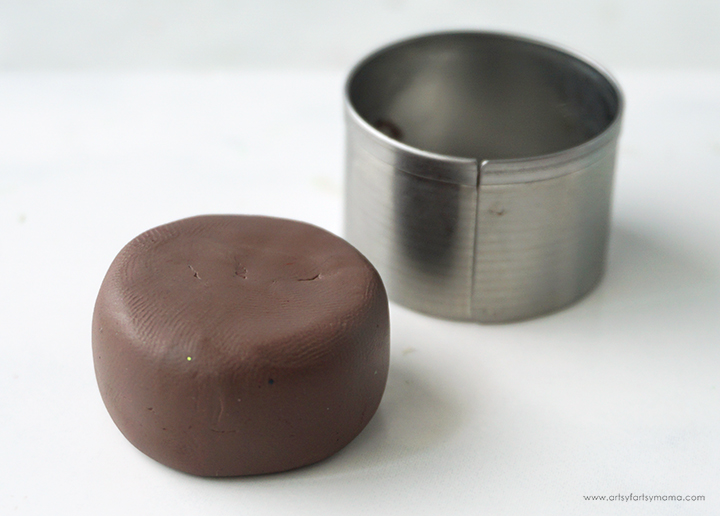
Knead about 1/2oz of chocolate Sculpey III until it becomes soft and pliable. Use the 1" circle cutter to help shape the clay into a round cake shape.
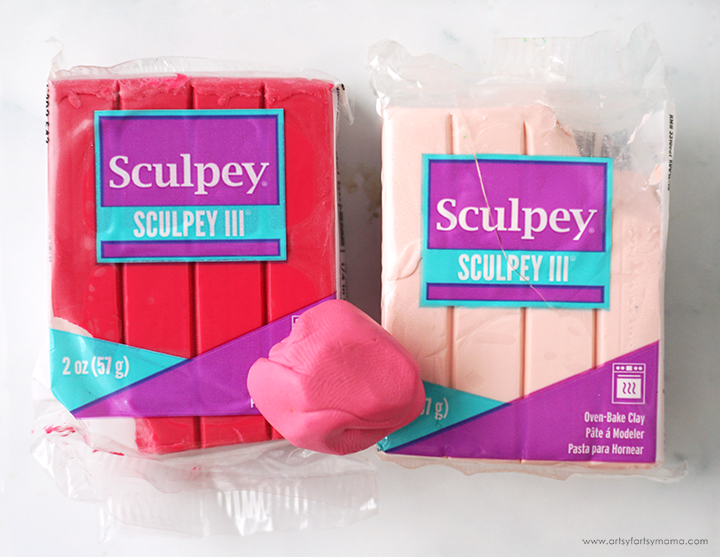
To make the pretty pink color of frosting, you're going to mix small pieces of Sculpey III in berry and peach together. Knead the clays together between your fingers until you have a consistent bubblegum-pink color.

Break off a small piece from the pink clay mixture and put it into a small disposable mixing cup. Pour a little bit of Sculpey Clay Softener & Thinner into the cup. Use a craft stick to combine the thinner with the clay until the mixture is at an icing consistency.
If you make the icing too thin, add in a little more clay. If it's too thick, mix in a little more thinner.
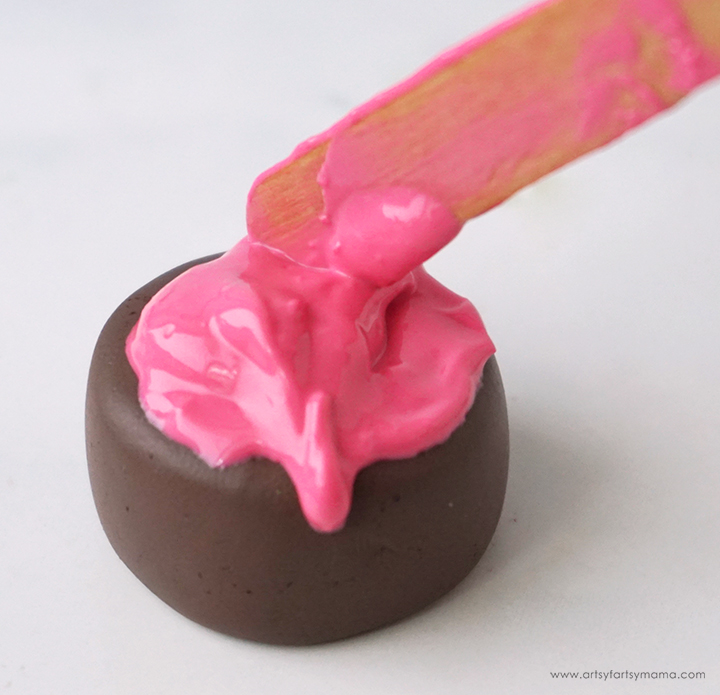
Use the stick to carefully ice the chocolate brown "cake". To make things easier, make sure to build your cake on the ceramic tile or oven-safe work mat so you don't have to worry about moving it around. Like icing, the liquified clay can get messy!
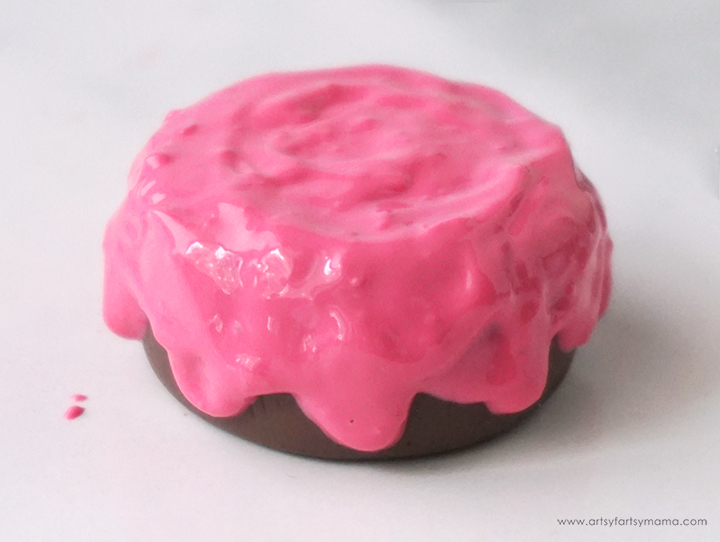
Feel free to completely cover the cake in icing, or have it dripping down the sides like I did. Either way, smooth out the icing on the top as best as you can.
Preheat the oven to 275º and bake the cake on the ceramic tile or oven-safe work mat for about 10 minutes. Once baked, let the cake cool completely. Do NOT touch the icing!

At this point the cake has only been partially baked, so the icing thickens enough to stay in place, but it is still soft enough to manipulate. Think of the consistency changing from a glaze to a buttercream frosting! I was nervous about free-handing the lettering on the cake, so this partial baking step makes it easy to add (and erase) the details to the cake using a toothpick!
Don't forget to add the crack through the cake!

To make the perfect color of icing for the lettering, combine small pieces of Sculpey III in spring green and emerald. Knead the clay together until you get a consistent color.

Tear off a small piece of the new green clay and roll it into a thin snake-like roll. Cut off a small piece of the roll and carefully put it into place using a small dotting tool to create the letters on the cake to spell out "Happee Birthdae Harry". If you carved the letters into the icing earlier using a toothpick, just fill in along those drawn lines. Don't worry about making it perfect! Harry's cake was a bit of a mess, too.

Now the cake is ready to be FULLY baked! Preheat the oven to 275º and bake the cake on the ceramic tile or oven-safe work mat for about 30 minutes around 15 minutes per 1/4"). Once baked, let the cake cool completely before handling.
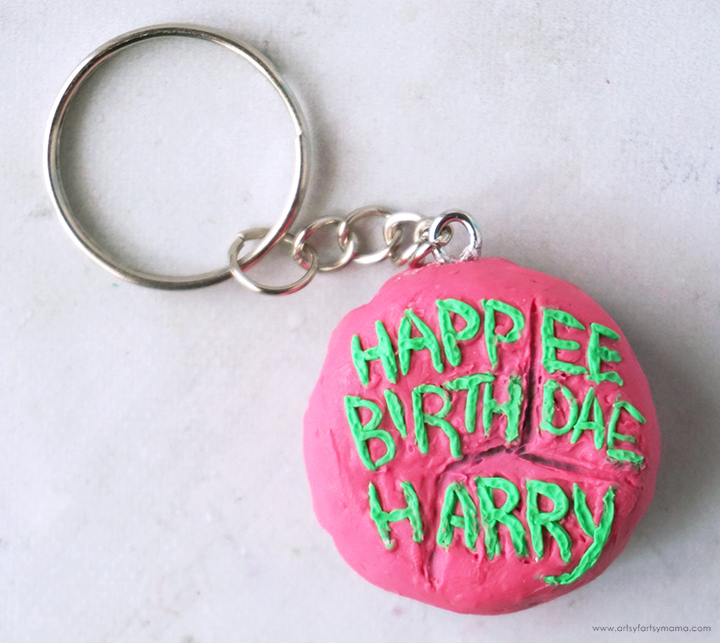
Use pliers to hook a jump ring through the eye screw, and then attach the key ring chain to the jump ring. Close the jump ring to connect the key ring to the charm.

Want more Harry Potter polymer clay inspiration? Check out these adorable projects that Laura and Beth made using Sculpey III! Beth from Creatively Beth made an adorable Honeydukes Lollipop Jewelry Set, and Laura from Me & My Inklings created Luna Lovegood Radish Earrings!


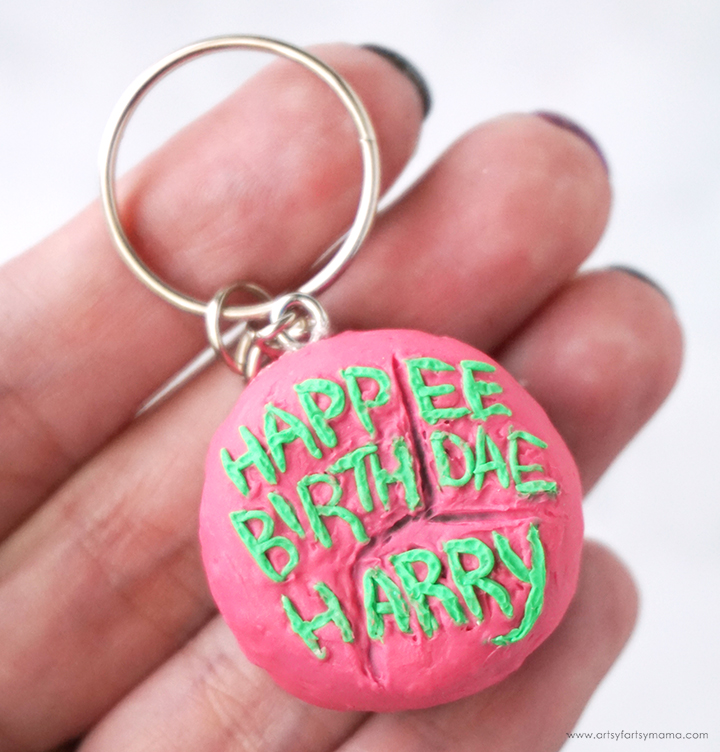
Making this polymer clay "Happee Birthdae Harry" Cake Charm is so much fun, and I love how it turned out. This is such an adorable keychain to attach to purses, backpacks, and more! As always, if you make any of these projects for yourself, I'd love to see your creations! Tag me on Instagram and Facebook, or leave a comment/photo on the project pin on Pinterest! #AFMCrafts

Looking for more Harry Potter inspiration?
Check out this collection of OVER 100 creative Harry Potter craft ideas!!

Don't Forget to Pin, Like, and Share!


