Upcycle an old t-shirt into a new no-sew Pillowcase Dress for your 18 inch doll!
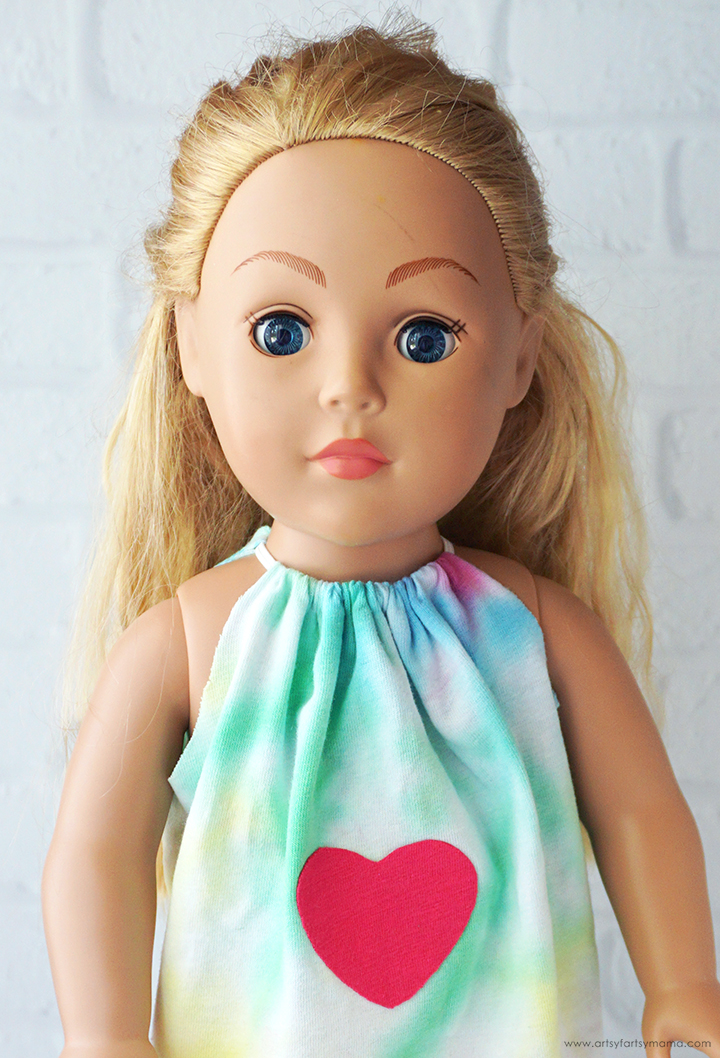
Making clothes and accessories for 18 inch dolls is so much fun! My daughter had a Dolly & Me Tie-Dye Party, complete with matching pillowcase dresses made from t-shirts for all the girls. We had the best time, and the kids loved making the custom matching outfits with their tiny BFFs. After the party, my daughter has spent hours making more dresses for her dolls using old shirts, which has saved us so much money! This 18" Doll Pillowcase Dress is SO easy to make, and has both a sewing or no-sew option so that anyone can make one with ease.
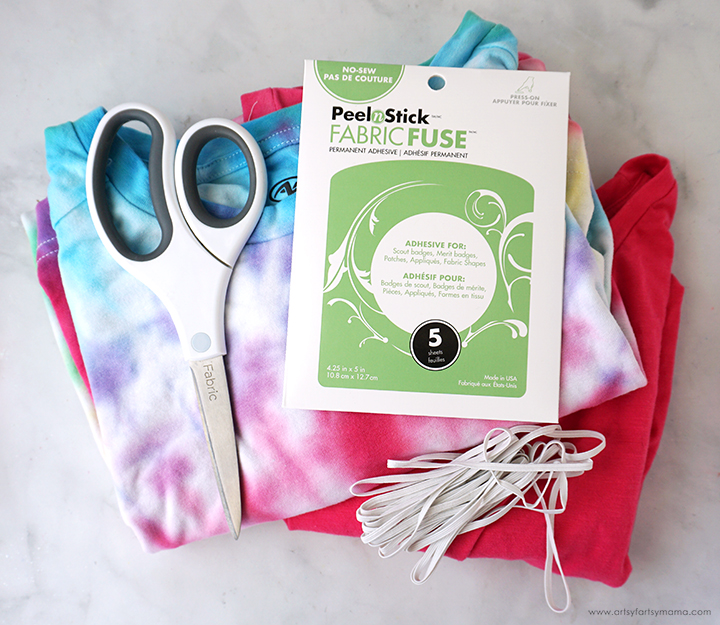
To make your own No-Sew 18" Doll Pillowcase Dress, you will need these supplies:
- T-shirt - any size or color
- Fabric Scissors
- Tape Measure or Quilting Ruler
- Water Soluble Marker
- PeelnStick Fabric Fuse Sheets
- Elastic - ⅛"-¼" wide
- Safety Pin

First, you will need a t-shirt. Any kind will do! You can use a freshly tie-dyed shirt (like we did), an old one with a hole or stain, or grab something from the thrift store. The shirt can also be any size - I would just make sure that it's no smaller than something for a toddler.
Use a tape measure or quilting ruler and a water soluble marker to mark out a rectangle measuring about 10 ¼" wide and 10" long. Follow the marked lines to carefully cut through both layers of the shirt with fabric scissors. It's okay if the rectangle isn't perfect - it just needs to be close to the measurements.
*To save you some work, I recommend working at one of the bottom corners of the shirt. This will make it so that you only have to attach one side of the dress and won't have to hem the bottom!

The next step is cutting the arm holes. Measure about 2" from the edge of the fabric and make a mark at the top. Next, measure down about 2 ½" from the top and make another mark. Draw a curved line from one mark to the other using a water soluble marker. Use the fabric scissors to cut the piece out.
Flip the piece over and line it up on the opposite side of the fabric. Trace around the cutout using the marker and cut it out.
*Again, these measurements don't need to be exact, just close.

This is how the "dress" should look with the top corners cut out. You can sew the dress together, or use PeelnStick Fabric Fuse Sheets for a quick and simple no-sew option! Take out one sheet from the package, and cut five* ¼"-½" x 5" strips.
I love these sheets for projects like this. It's a washable, double-sided, press-on adhesive that is designed specifically for use with fabric. The sheets can be easily cut with scissors or a paper trimmer, and can also be torn by hand.
*If you aren't using the finished edges of the t-shirt, you will need more strips of adhesive.

Turn the fabric inside out and line up the edges. Peel away the backing from one side of a PeelnStick Fabric Fuse strip and carefully press it down along the side edge of the bottom piece of fabric (right-side up). Add another strip to finish lining to the arm cutout, and cut or tear away the excess. Press the strip down well, rubbing it with your fingers - no ironing needed!
Peel the other piece of backing away to reveal the adhesive. Carefully line the edges of fabric together and press the seam well with your fingers. The harder you press, the better the bond.
*If you are sewing the dress, sew the fabric together along the side edge(s) with a ¼" seam allowance.
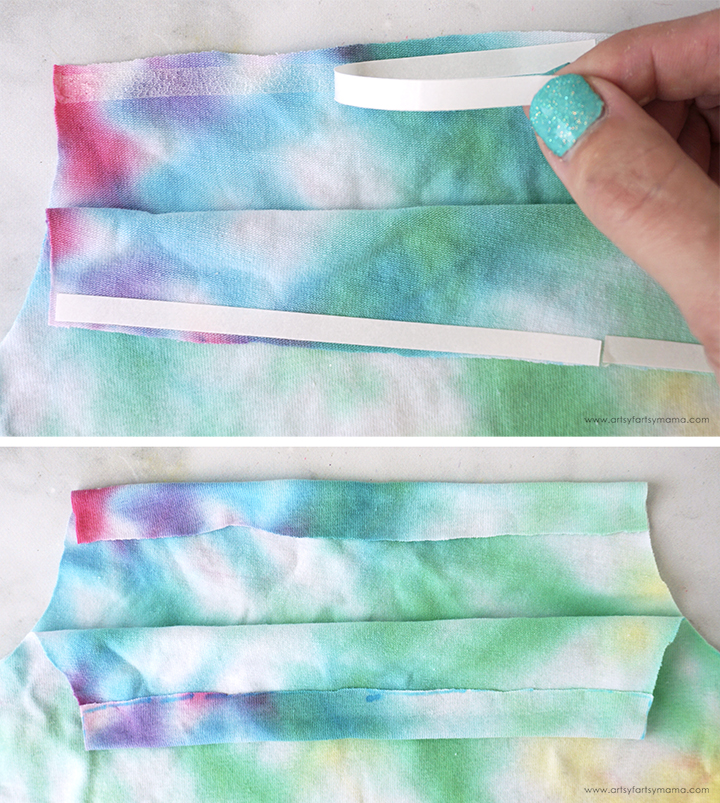
Turn the dress right-side out. Fold the top edge of the top piece of fabric over. Remove the backing and place a PeelnStick Fabric Fuse strip along the top edges of the fabric. Add another strip and cut or tear away any excess so that the entire edge is covered.
Peel away the other backing piece and fold the fabric over about ½". You want to leave some space, like a tube, at the top of the dress (back and front) to have room to thread elastic through. Press the fabric down well over the adhesive. Repeat for the other layer of fabric.
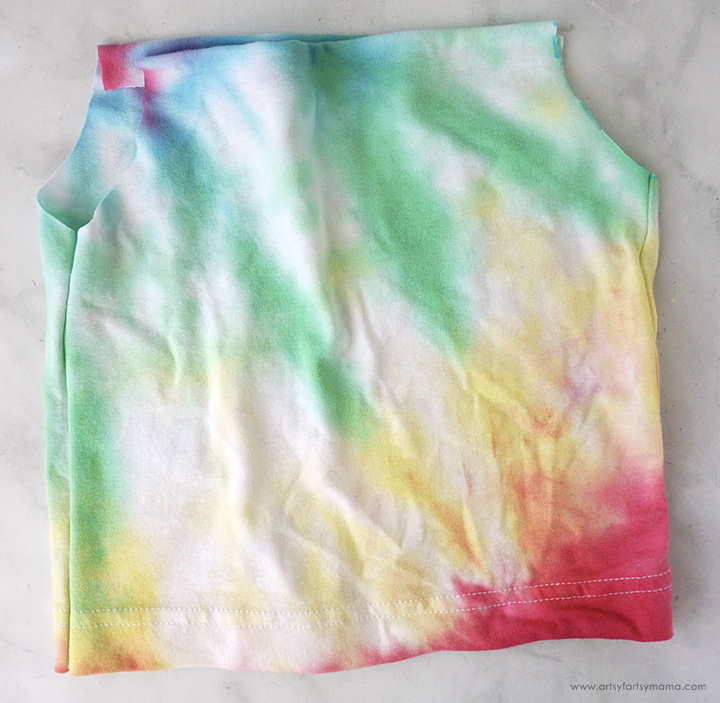
Once all of the edges are closed up, this is how the dress should look.
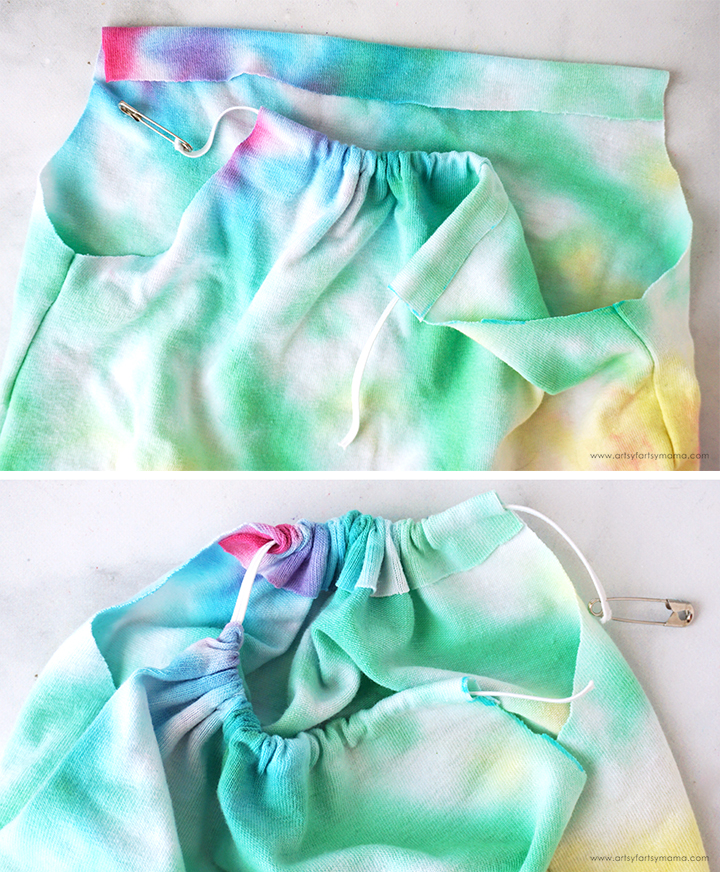
Cut a piece of ⅛"-¼" wide elastic measuring about 7 inches long. Attach a safety pin to one end. Thread the safety pin through the opening/tube through the top edge of the front of the dress. Once all the way through, thread the pin and elastic through the back piece. Be careful to not pull the other end of the elastic through!

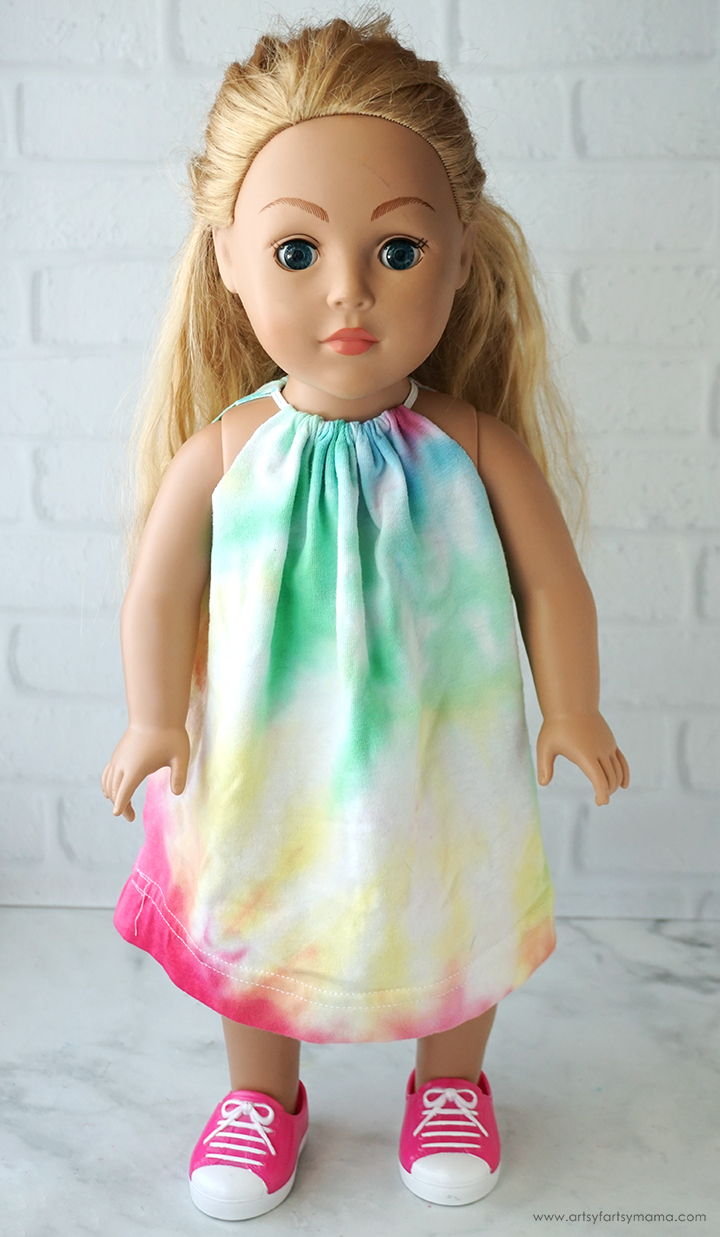
Now the Pillowcase Dress is ready to be worn by your 18 inch doll! If you used a plain white t-shirt, check out the fun tips from our Dolly & Me Tie-Dye Party to add some color!!

If you want to add some decorations to the dress grab a colored t-shirt or some fabric. Draw a shape or letters using a water soluble marker and cut it out with fabric scissors. For this dress, we wanted to add a simple heart using fabric from an old pink shirt.

Cut a piece of PeelnStick Fabric Fuse that is the same size and shape of the fabric. Peel away one piece of backing, and place the adhesive to the back side of the fabric. Press it down well using your fingers.

Peel the other piece of backing away from the fabric to reveal the adhesive. It's VERY sticky, so be careful to not let the fabric piece get stuck to anything!

Center the heart on the front of the dress. Press the fabric down using pressure so that the adhesive sticks well to the fabric of the dress. The harder you press, the better the bond. Turn the dress inside-out and repeat for the opposite side.

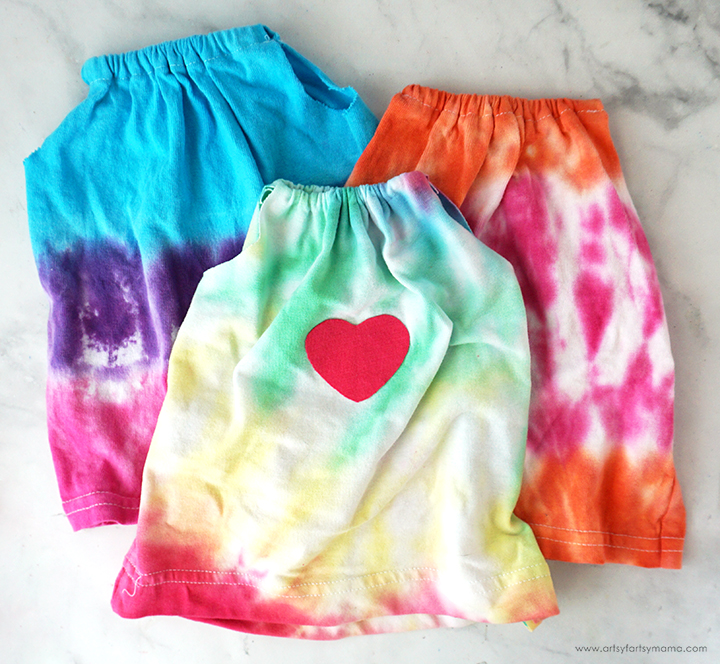

Want more craft inspiration using PeelnStick Fabric Fuse (from Thermoweb)? Beth from Creatively Beth created a cute Pencil Tote Bag, and Laura from Me & My Inklings made an adorable Flower Apron!!
Don't forget to Pin, Like, and Share!


