Use resin to create a handmade pair of trendy Pastel Mushroom Earrings!

New to resin? Be sure to check out Resin 101: Getting Started with Resin!
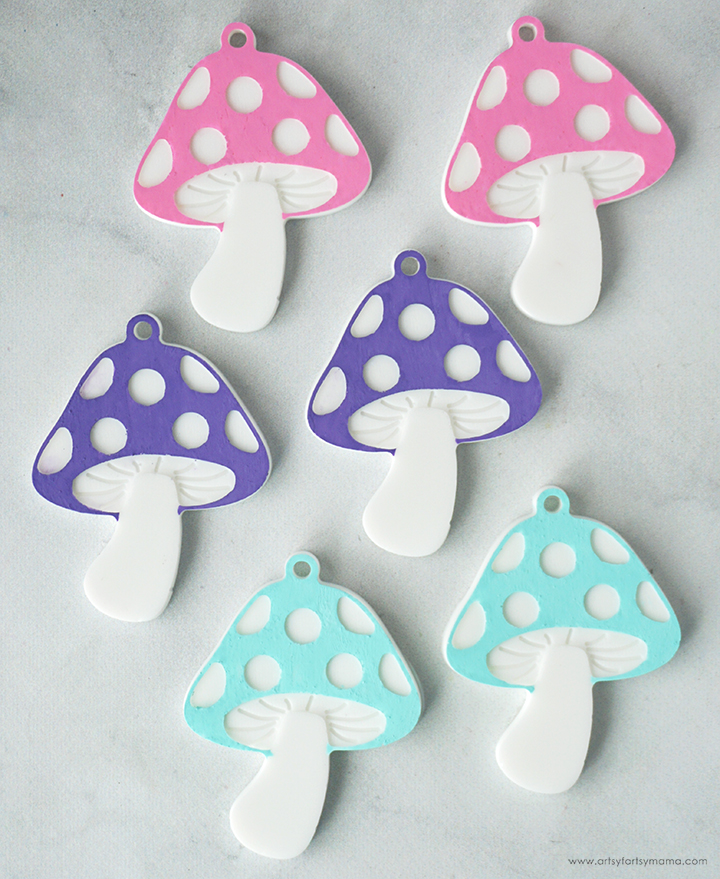
Don't you love these pretty pastel colors of mushroom earrings?! They make me so happy!

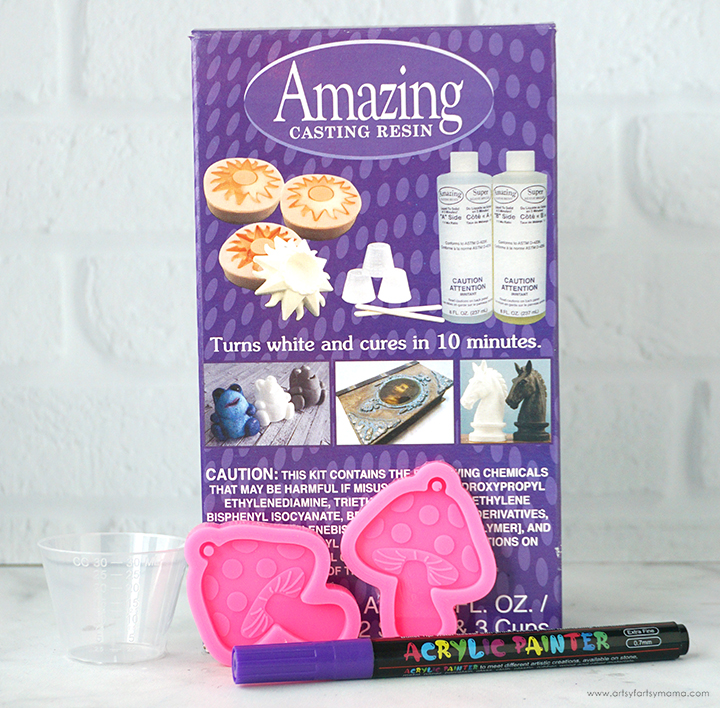
To make your own Pastel Resin Mushroom Earrings, you will need these supplies:
*Save 10% on resin supplies when you shop ETI with code AFM
SAFETY FIRST: Before getting started, wear disposable gloves, protect your workspace, and be sure to work in a well-ventilated area!

Next, prepare 5-7ml of Amazing Casting Resin according to package directions. Pour in equal parts of resin and hardener into a clean mixing cup. Stir the resin together with a stir stick until it becomes clear, meaning without any streaks running through it.
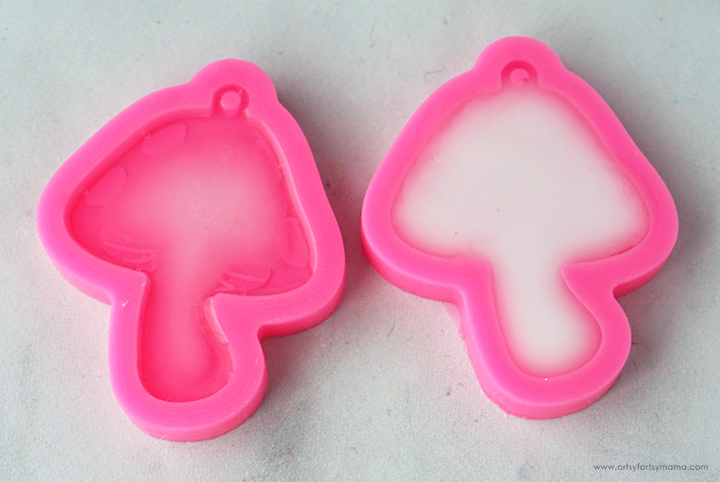
Slowly pour the resin into each of the mushroom earring molds until they are filled to the top. If you drip any resin or accidentally over-pour, don't panic. The resin is MUCH easier to remove once it has cured than when it's wet.
Let the resin sit in an even area to cure. The difference between Amazing Casting Resin and regular resin is that this will cure in just 10-15 minutes instead of hours. As the resin cures, it gets hot and you'll see it transform from clear to opaque right before your eyes!

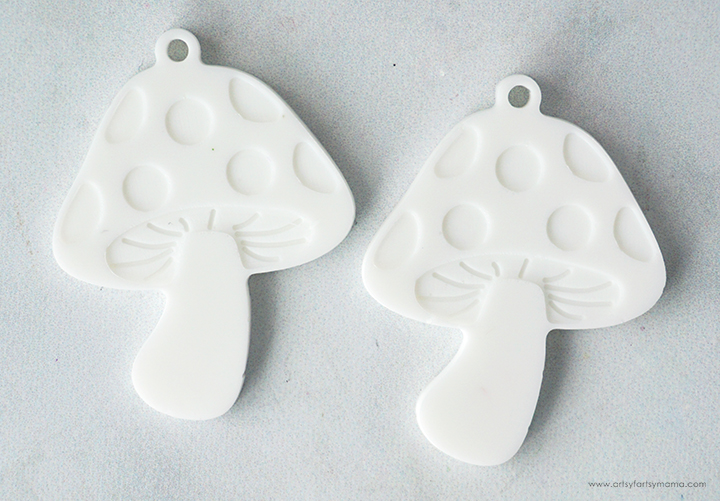
The resin is completely cured when it is no longer tacky to the touch, and you can pull the sides of the mold away from the resin without it sticking. If it looks opaque, but is a little squishy or tacky when you pull the mold away, let it sit for a little longer.
Carefully remove the resin mushroom pieces from the molds. Trim away any excess resin with scissors or a craft knife, if necessary.

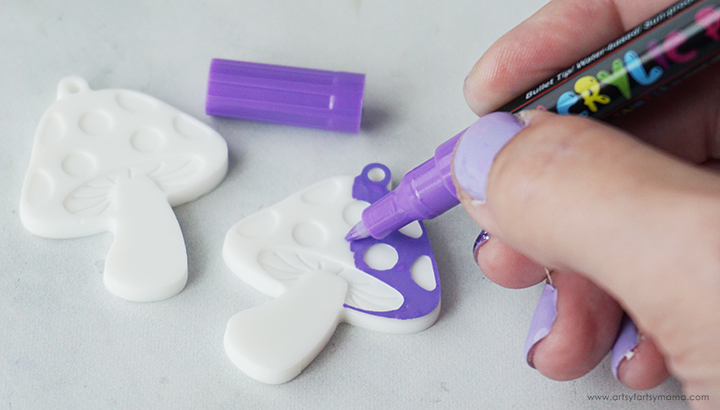
Color along the surface of the mushroom top with an acrylic paint marker to give the mushroom earrings some color. It usually only takes one even coat with the marker, but you can add another coat, if necessary, once the first coat dries completely.

Don't worry if you accidentally "color outside the lines" and get paint on other parts of the mushroom pieces. To clean up any mistakes, dip the end of a cotton swab into some alcohol. Carefully rub the swab over any areas and wipe clean with a paper towel to remove the paint.
To help protect the paint from being scratched off, I would recommend giving the earrings a coat of clear sealant.


Use the jewelry pliers to turn the loop on the earring hooks 90º. This will make it so that the earrings hang correctly when they're being worn. These can be kind of fragile, so work carefully.
Open the jump rings and hook them through the hole in the top of the earrings. Attach the earring hooks to the jump ring and use the pliers to make sure they are completely closed. If there's any gap in the ring, the earring hooks can come off!

I am loving how these earrings turned out, and to show you just how easy they are to make. The earrings are so fun and trendy, and will look great with any outfit. By painting them yourself, you can customize them for any style, which also makes them a great gift idea!

I am am so excited about these Pastel Resin Mushroom Earrings, and would love to hear what you think. Which color of mushroom earrings are your favorite? As always, if you make any of these projects for yourself, I'd love to see your creations! Tag me on Instagram and Facebook, or leave a comment/photo on the project pin on Pinterest!
Don't forget to Pin, Like, and Share!


