Use felt to make an adorable Woodland Baby Mobile to hang in your nursery!
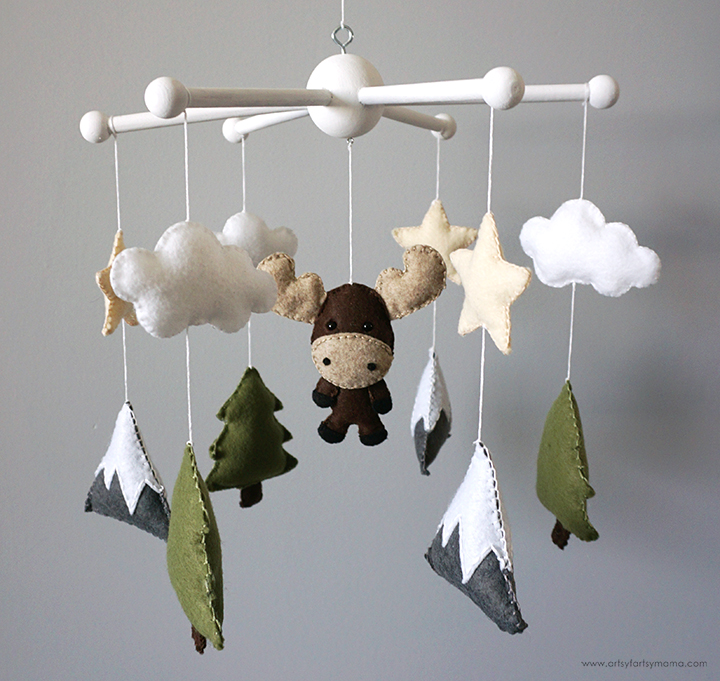
Making things for a new baby is so much fun! This Woodland Baby Mobile was made using felt for my baby nephew, and I am so excited about how it turned out. I'm new to making mobiles, so this was a new challenge for me. Even though it was actually very simple to make, it did take a bit of time to stitch everything together. If you've got a new baby in your life or have one on the way, I would definitely recommend giving this project a try!
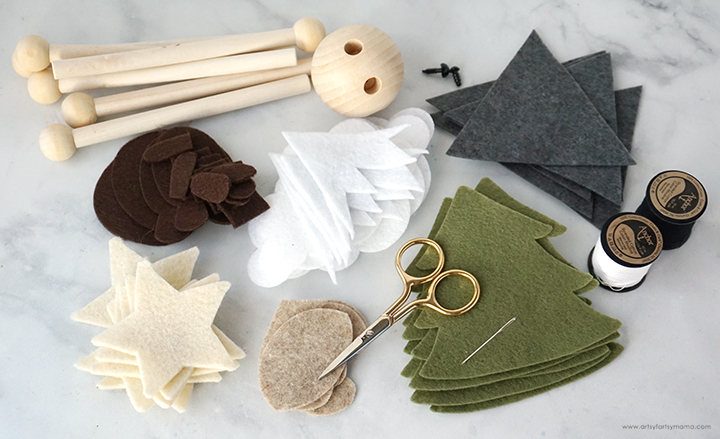
To make your own Woodland Baby Mobile, you will need these supplies:
- Wooden Mobile Frame
- Woodland Baby Mobile Pattern
- Cricut machine or Fabric Scissors
- Felt - white, off-white, black, gray, brown, light brown, green
- Fabric Pen
- Embroidery Floss - white, off-white, black, gray, brown, light brown, green
- Embroidery Needle
- 4mm Safety Eyes with Washers
- Poly-fil
There are two different types of pattern files to help you create the woodland mobile. The PDF pattern makes it easy to print and hand-cut the felt pattern pieces, and the SVG pattern makes it possible to cut the felt pieces out with your favorite cutting machine!
Cut out the pieces for each part of the mobile, and group the pieces together. Use an erasable fabric pen to mark the eye and nose placements on the moose.

Match up each of the pieces for the outer part of the mobile: clouds, mountains, stars, and trees. Start by sewing the "snow" on top of the mountain pieces using a backstitch or straight stitch. Once that is completed, use a blanket stitch around the edges to attach the front and back pieces together, but leave a small opening. For the tree pieces, I would recommend leaving the bottom center open.
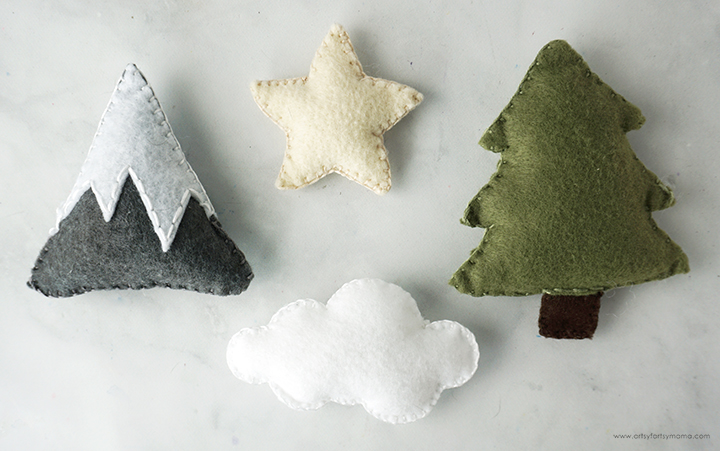
Next, stuff each of the mobile pieces with Poly-fil. If you are having trouble getting it into all of the corners, you can use aa chopstick or a dull pencil to help push the filling in. Once full, sew the openings shut.
For the tree, stuffing the trunk is optional. Either way, when you go to close the tree, put the trunk in place and then sew through the trunk to close it up.

When assembling the moose, I would recommend to start with the head. Attach the lower part of the face to the head using a straight stitch or backstitch. Next, tack the nostrils into place with a small stitch, or even just a drop of fabric adhesive.
Use sharp fabric scissors to cut a small "X" over the eye markings. Push a 4mm safety eye through the holes. Turn the face over, and press the washer onto the post on the back of the eyes to keep them in place. If you don't want to use these eyes, you can stitch French knots over the marks instead.
Sew each of the antlers together, and leave a small opening at the ends. Stuff the antlers with Poly-fil, using a chopstick or dull pencil to help get into those small spaces.
Line the back of the head up with the front, and put the ends of the antlers in between the head layers. Use sewing clips to hold the antlers in place, and then use a blanket stitch around the head to hold the edges together. When you get to the antlers, sew through all of the layers to attach them. Leave a small opening in the head to fill it with Poly-fil. Once filled, sew the opening closed.
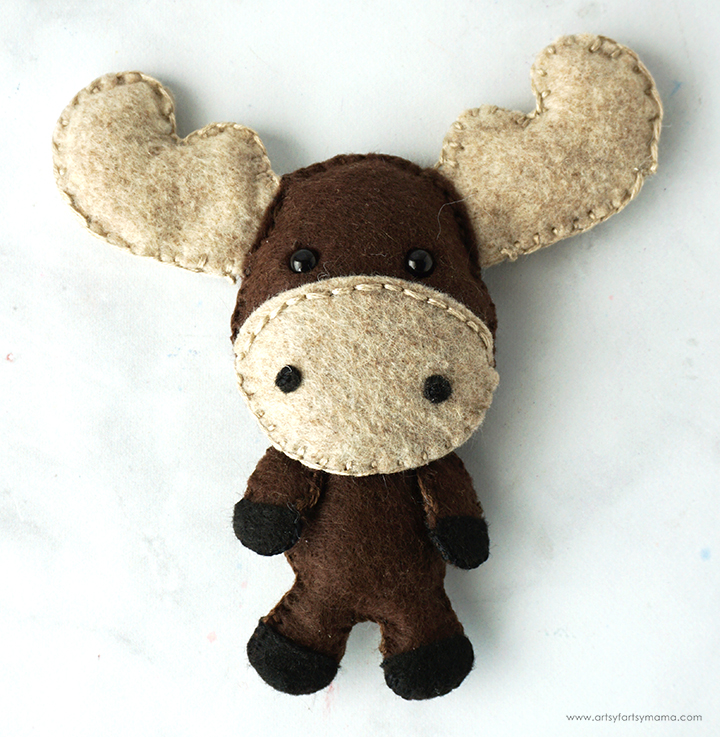
To put the body together, first attach the hooves to the feet to the front and back body pieces with a straight stitch or backstitch. Use a blanket stitch around the body, leaving the top of it open for stuffing. Next, sew the hooves to all of the arm pieces, and then sew the arm pairs together. These don't need stuffing, so sew them completely with a blanket stitch.
Tack the arms to the front body piece, and then stuff the body with Poly-fil, using a chopstick or dull pencil to help it get into the legs.
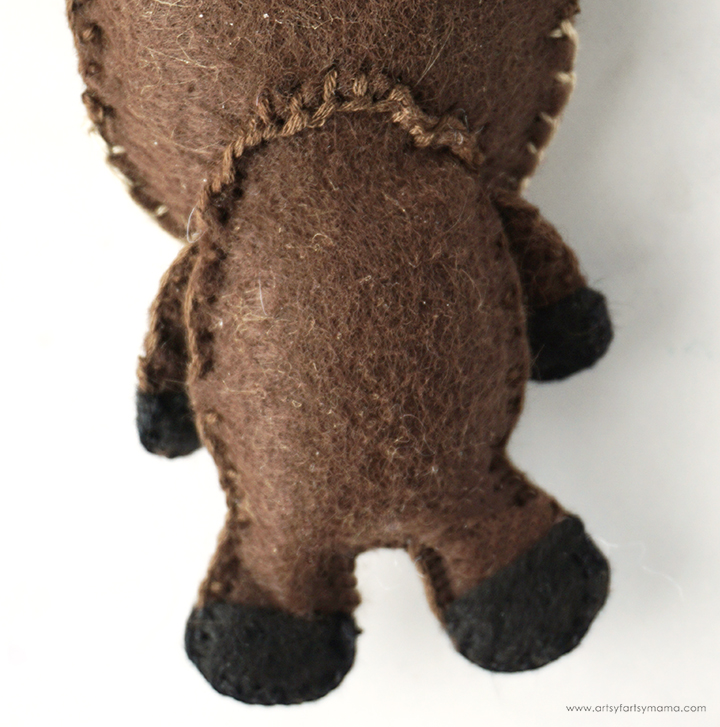
Lay the head on top of the body, and blanket stitch through both the back of the head the opening of the body. This will close the body up, and attach the head at the same time. If the head feels a little floppy even after sewing it on, add a little bit of fabric adhesive under the "chin" for a little more stability.
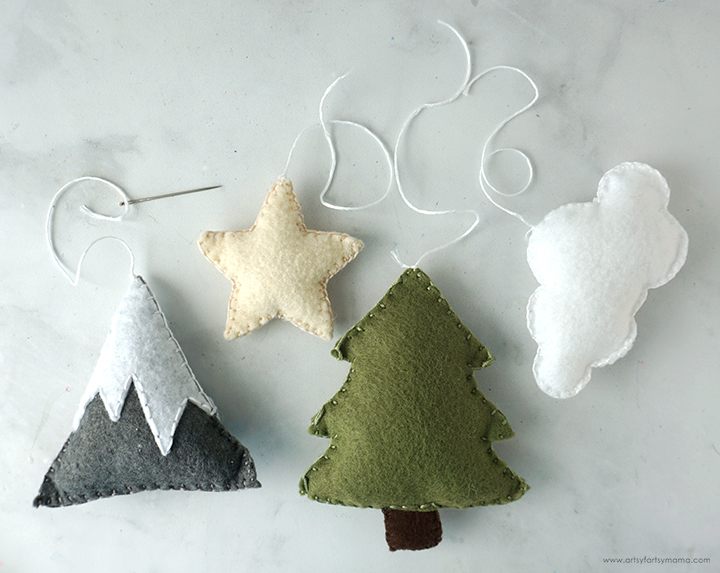
Now that all of the main elements of the mobile are sewn together, it's time to assemble the mobile! Cut 13 lengths of white embroidery floss measuring about 7 inches long. Thread the floss through the top center of each piece, and tie a knot at the end to hold it in place. Trim the end near the knot.

Lay the mountain or tree down, with the floss straightened out above it. Place the other piece above it. Measure about 3 finger widths up from the top of the mountain/tree, and thread the top of the floss through the bottom center of the star/cloud and tie a double knot. Trim the end of the floss near the knot. Repeat this process for all of the sets of mobile pieces.

To attach the sets to the mobile frame, lay the set down with the floss laying straight up. Measure 3 fingers again, and then tie the floss tightly to the end of the mobile frame. Trim the end near the knot. Repeat this process for each set to attach them to the mobile.


Tie one last length of floss or string to the top of the mobile to hang it over a crib or wherever you want it to be displayed in your home. I am beyond thrilled with how this mobile turned out, and can't wait to see my little nephew's reaction to it! As always, I would love to see your creations! Share yours on Instagram, Facebook, or leave a comment/photo on the project pin on Pinterest! #AFMCrafts


Once all of the sets are attached to the mobile frame, hold it up and make sure everything looks fairly even. If any are off, it can make your mobile hang lopsided.

Last, but not least, thread some floss through the top center of the moose's head. Measure about 3 finger widths, and tie the other end to the center of the mobile. Trim the ends as necessary, and if you're worried about them coming undone, add a little drop of adhesive over the knots and let it dry completely.

Don't forget to Pin, Like, and Share!


How do I purchase the pattern for the mobile?
ReplyDelete