Have a barnyard of fun with a handmade set of felt Farm Finger Puppets!

I am so excited to have a new little nephew, and I couldn't wait to make him a little gift. I've made a lot of projects using felt, but this set of Farm Finger Puppets was a new one for me! I had a lot of fun putting this set together, and it turns out that it was a lot easier than I thought it would be. Kids of all ages are going to love these little puppets, and I'm sure they are going to have hours of fun playing with them.
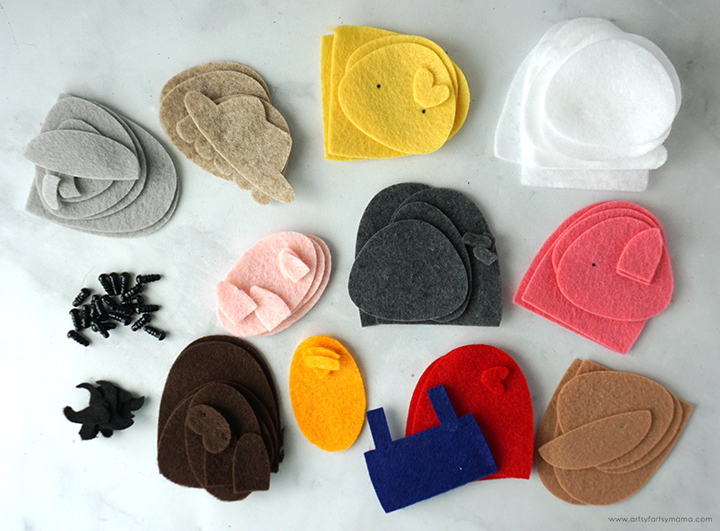
To make a set of Felt Farm Finger Puppets, you will need these supplies:
- Farm Finger Puppets Pattern
- Cricut machine or Fabric Scissors
- Felt - white, black, light gray, dark gray, light brown, brown, dark brown, red, blue, orange, yellow, light pink, dark pink
- Fabric Adhesive OR
Embroidery Floss + Embroidery Needle - Fabric Pen
- 4mm Safety Eyes with Washers
- Wire Clippers
- Poly-fil
- Sewing Clips
There are two different types of pattern files to help you create a set of felt Farm Finger Puppets. The PDF pattern makes it easy to print and hand-cut the felt pattern pieces, and the SVG pattern makes it possible to cut the felt pieces out with your favorite cutting machine!
Cut out the pieces for each farm finger puppet, and group the pieces together. Use an erasable fabric pen to mark the eye placement on each head piece.
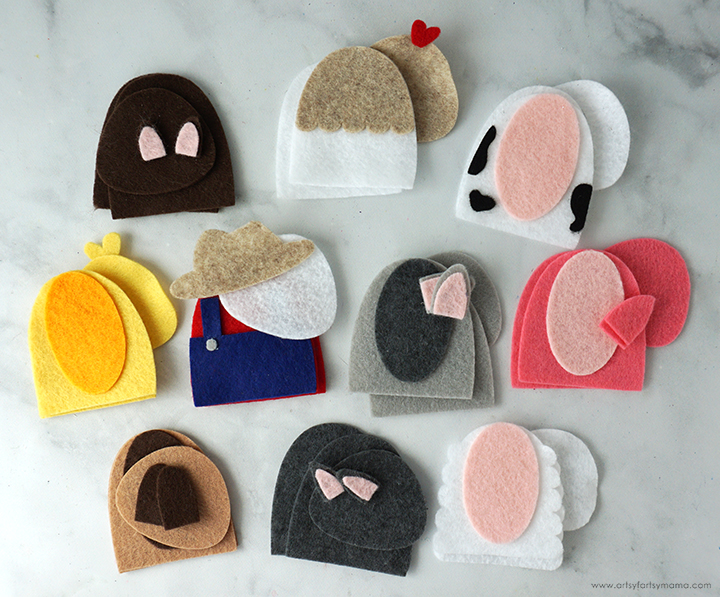
Start by centering the belly pieces on the animal bodies (except for the donkey and horse who don't have one), and the overalls on the farmer using fabric adhesive or by sewing them on with a matching embroidery floss. This is also the time to glue the smaller details in place - like the inner ears, overall buttons (farmer), cow spots, and the chicken's "comb".

Next, attach the two body pieces. When using adhesive, make sure to apply it right around the edges to give yourself enough room to hold the puppet on a finger. If sewing the pieces together, I would recommend using a blanket stitch with a matching embroidery floss.

Now that the body of the finger puppets are ready to go, it's time to get the heads completed. Attach all of the coordinating facial pieces to the heads using floss or adhesive.

Use sharp fabric scissors to cut a small "X" over each eye marking. Push a 4mm safety eye through the holes. If you don't want to use these kind of eyes, you can stitch French knots over the marks instead.
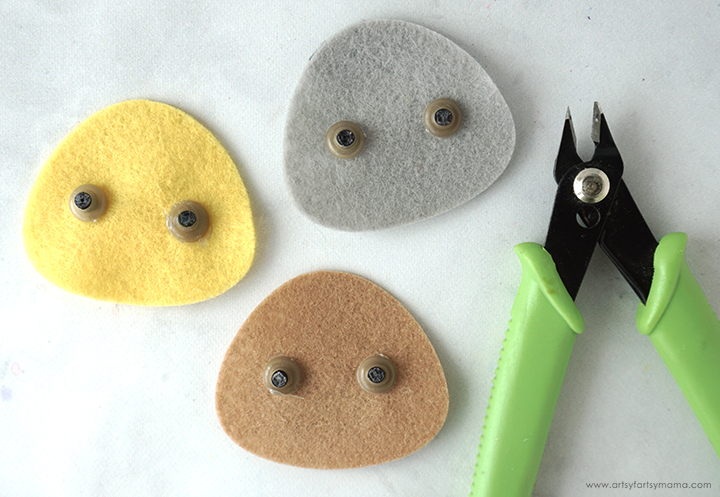
Turn the faces over, and press the washer onto the post on the back of the eyes to keep them in place. The backs of the eyes are a little too long, so carefully cut off the excess with wire clippers.

Attach the ears and other details to the backside of the face pieces, and then put front and the back head pieces together using floss or adhesive. Leave a small opening at the top or bottom of the head.
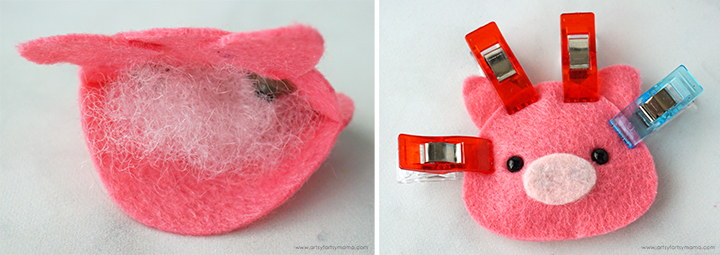
Make sure the adhesive is completely dry, and then fill each of the finger puppet heads with a little bit of Poly-fil to give the heads a little bit of shape. Add a little bit of adhesive around the opening, and hold the pieces together with sewing clips until the adhesive has set.

The dog's ears are made to be folded over. You can tack them in place with a small stitch, or apply a small drop of adhesive to the bottom of the ears and hold them in place to dry with a sewing clip.
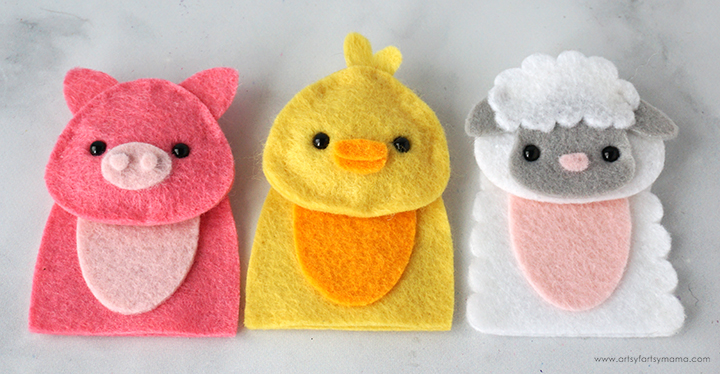
If sewing the heads on, carefully add a few stitches on the back, going through the top edge of the body and through the back of the head only.
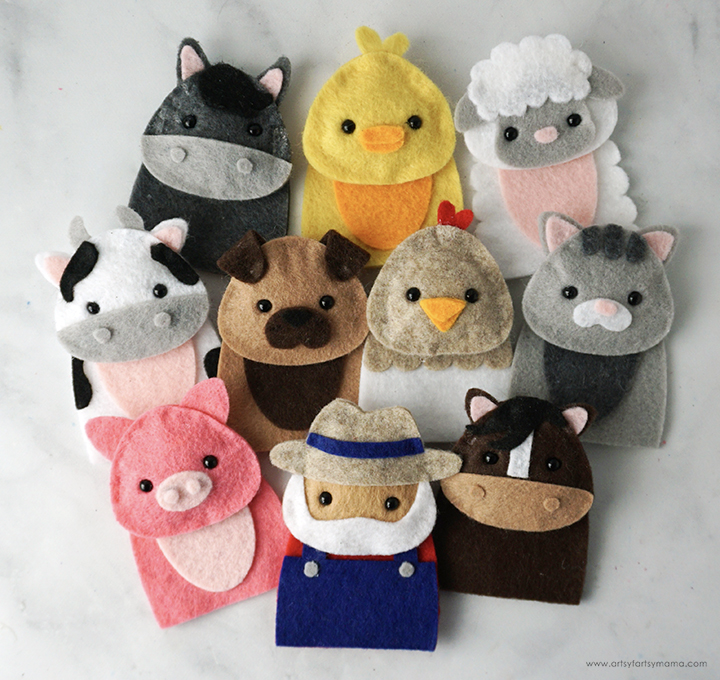
Once the heads are permanently attached, the farm finger puppets are ready for action! I am absolutely in love with this set, and can't wait to wiggle these little guys around while singing along to Old MacDonald with my little nephew.
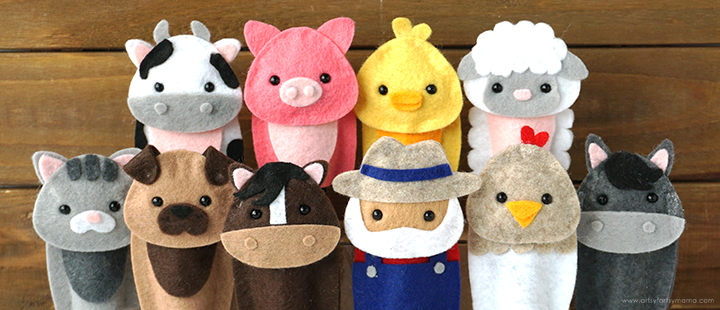
This is such a fun and simple project that anyone can make! Which Felt Farm Finger Puppet is your favorite?? As always, I would love to see your creations! Share yours on Instagram, Facebook, or leave a comment/photo on the project pin on Pinterest! #AFMCrafts
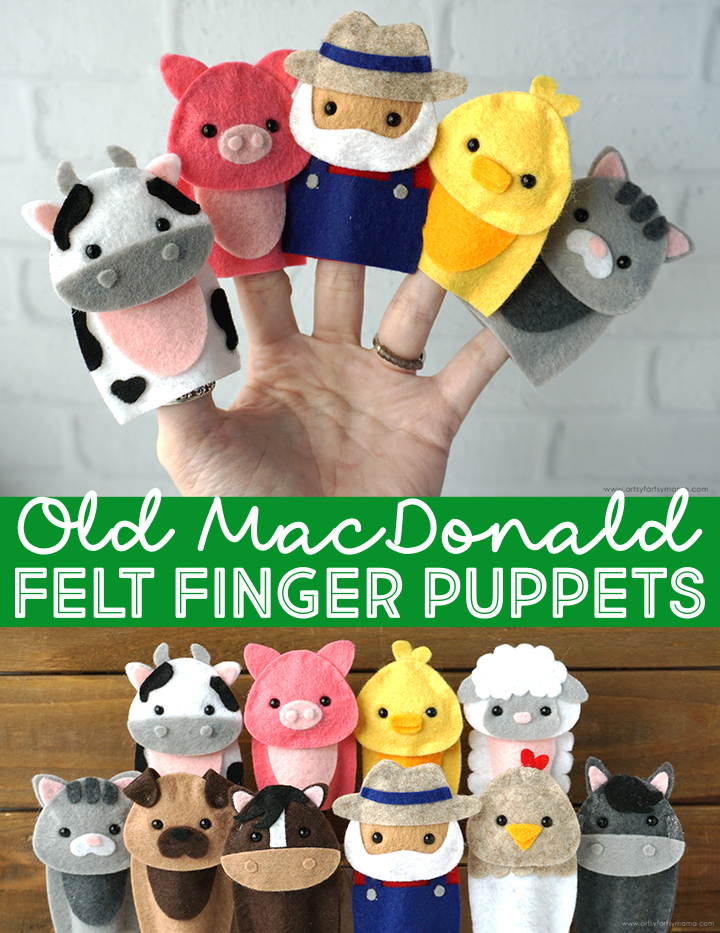


Don't forget to Pin, Like, and Share!


Where do I find the patterns for each puppet? Thanks!
ReplyDelete