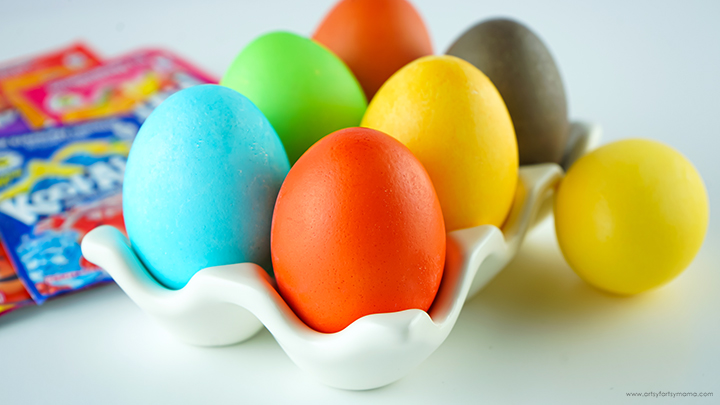
Ditch the traditional dye tablets and make your Easter eggs extra colorful with Kool-Aid!

Dyeing Easter eggs is a fun tradition, and I'm here to help make it a little easier with this simple trick! Instead of the regular egg dye tablets, did you know that you can dye your boiled eggs with Kool-Aid?! Not only will you save money, but you probably already have everything you need at home. This is a fun Easter activity that's totally safe to do with kids, and you can color as many or as little as you'd like!

To dye your Easter eggs with this easy method, you will need a few simple ingredients; like boiled eggs* (white or brown), Kool-Aid packets, water, and vinegar. You will also need some glasses, spoons, and paper towels.
*If you're looking for an easier way to boil your eggs, I love my Dash egg cooker!!

Do NOT add more water than suggested, unless you add more Kool-Aid. This will water down the dye too much and the eggs will not come out as vibrant.


Prep time: 5 minutes


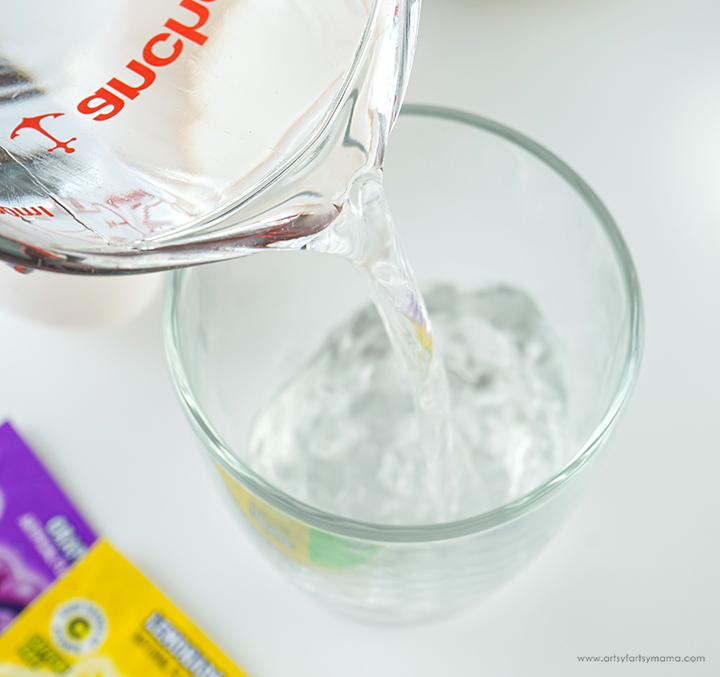
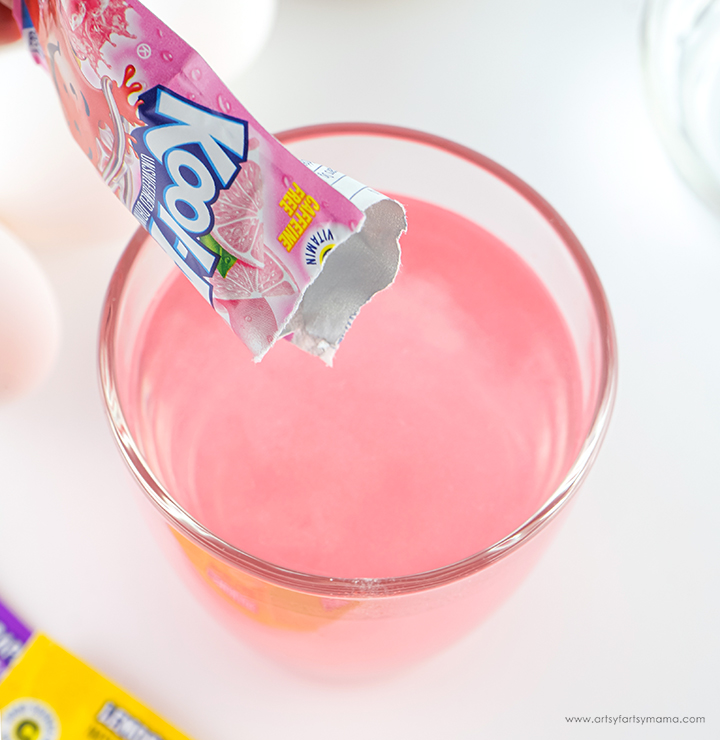
Pour one packet of Kool-Aid into each glass, and stir it into the water until the powder has completely dissolved.

Last, add some vinegar to the glass. Stir to mix it in completely. The vinegar reacts to help the egg shells absorb the dye from the Kool-Aid better and won't affect the taste of the eggs.
Do not add any more vinegar than suggested. It will eat the color off the egg and it makes them look terrible.

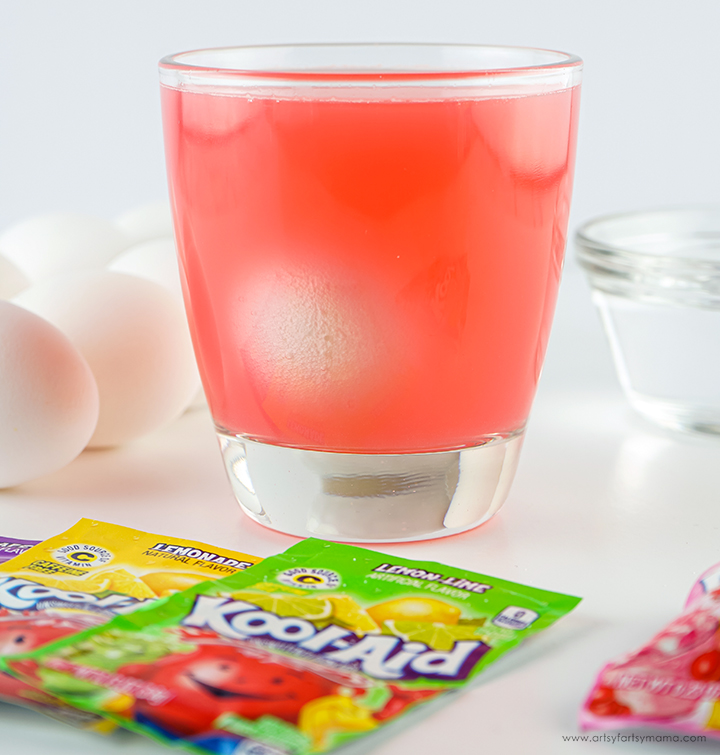
Gently add the egg to the glass of dye so that it doesn't crack. For best results, only add one egg to each cup at one time.

Let the egg sit in the glass for at least 1-2 minutes or until the egg reaches the desired vibrancy. Eggs placed in lighter colors of dye may need to sit longer for the color to absorb. You can dye multiple eggs using the same glass of dye!

Use a spoon to remove the egg from the dye and gently lay it on a paper towel to dry. Try to resist touching the eggs as much as possible while they are still wet, because the dye can rub off. Allow the eggs to dry completely (about 5 minutes) before placing them back in the egg carton. The dye will brighten as the eggs dry!

Kool-Aid Dyed Easter Eggs
Servings: as many as you want!Prep time: 5 minutes
Dye time: 1-2 minutes
Dry time: 5 minutes
Directions:
- For each color or packet of Kool-Aid, add ½ cup boiling water, 1 teaspoon vinegar, and one packet of Kool-Aid to a cup and stir until the Kool-Aid is dissolved.
- Gently add one egg to each glass of dye.
- Let the eggs sit in the dye for at least 1-2 minutes or until the desired color is reached.
- Remove the egg from the dye with a spoon.
- Gently lay the dyed egg on a paper towel. Try to not touch wet eggs as much as possible.
- Let wet, dyed eggs sit undisturbed for 5 minutes or completely dry before putting into carton.
Tips:
- Kool-Aid dyeing works well on both white and brown eggs. The dye will come out a little darker on brown eggs, but still looks great!
- Do NOT add any more vinegar than suggested!
- Do NOT add more water than suggested, unless you add more Kool-Aid.
- If you handle the eggs while wet, the dye can rub off. As the egg dries, the dye will absorb into the shell permanently and become brighter.

After a lot of testing, we learned a lot about dyeing eggs with Kool-Aid! Some of the lighter Kool-Aid flavors, like Pink Lemonade, may take at least 3-4 minutes instead of the suggested 1-2 for the egg shell to absorb the dye.
Here are some tips on specific flavors:
- Avoid Lemonade flavor - the dye is too light to make an effect.
- Lemon-Lime and Green Apple flavors come out the same color of green.
- Black Cherry, Sharkleberry, and Cherry flavors come out as very similar, but different, shades of red.
- Peach Mango comes out as a light orange and Piña-Pineapple comes out as a spring yellow.
- Grape is more of a brown than purple. I would recommend combining a red and blue flavor instead.
This is such a fun way to dye Easter eggs, and would be a great activity to do with the kids. If you decide to give this egg dyeing technique a try, I'd love to hear all about it! Please share your creations on Instagram, Facebook, or leave a comment/photo on the project pin on Pinterest!
Don't forget to Pin, Like, and Share!


