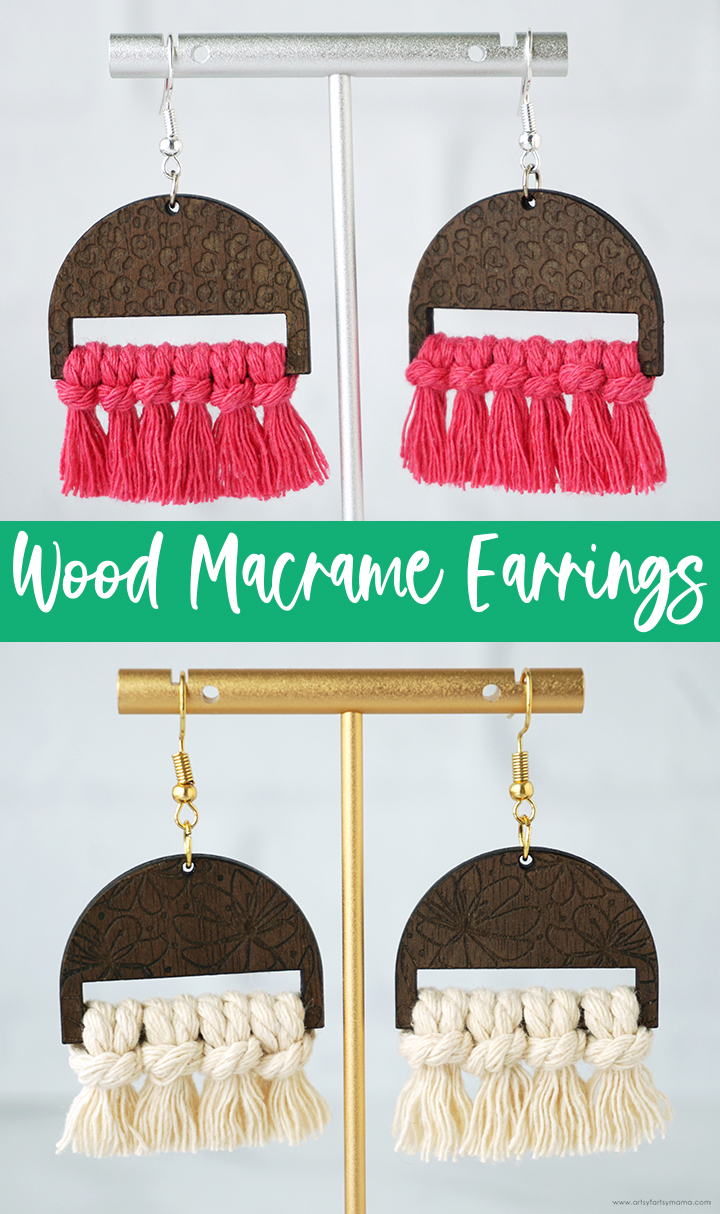
Use this FREE laser cut file to create a handmade pair of trendy wood macrame earrings!
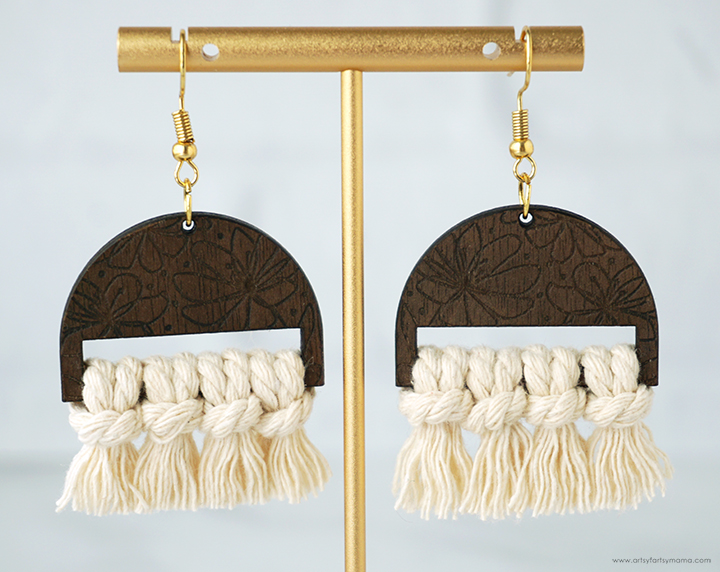
I love making both macrame and jewelry projects, so needless to say, I really enjoyed creating this stunning pair of Wood Macrame Earrings! These are easy to make using an xTool M1 laser cutter, and would also make a gorgeous handmade gift. Not only am I going to walk you through the process of making these earrings step-by-step, but I'm sharing the FREE laser cut file so that you can make some for yourself!
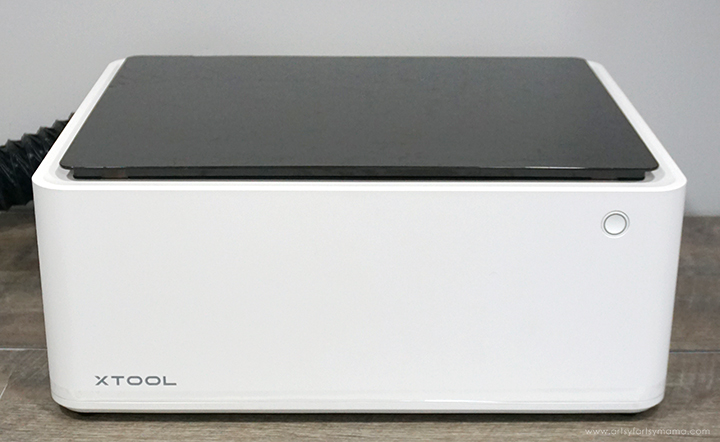
I have been having so much fun using my xTool M1 hybrid laser machine. There is so much that can be created using this machine, and it's actually very easy to use! If you want to learn more about how this incredible machine works, be sure to check out my complete xTool review.

In the right menu bar, change the material in the dropdown menu to the type of wood that you will be using. Next, upload the macrame earring design in xTool Creative Space. The earring design has two different parts: the outline and the floral pattern in the center. Select just the outline of the design, and change it to "Cut" in the menu bar on the right.
*If you open the XCS file (included in the download), you can skip these first three steps.

Next, select the floral part of the design, and make sure it is set to "Engrave" in the right menu bar.

Select the entire design and make a duplicate. You can just copy and paste, nothing fancy! Select the duplicated design (both parts) and flip it by clicking "Reflect" in the top menu bar and selecting "Reflect Horizontally" in the dropdown.

Place a sheet of walnut plywood in the machine, and close the lid. Wait for the real-time camera in the machine to display the wood on your screen. Arrange the earring designs onto the wood, and when you're ready, press the green "Process" button in the bottom right corner.

Now all you have to do is press the big button on the front of the machine and watch the magic happen! Always make sure that you are working in a well-ventilated area, and use a smoke purifier accessory if you can to reduce the smoke and dust.

This wood is a lot darker than the basswood I used for my Teacher Name Sign, but I love how the engraved details came out!

I wanted to see how I could darken up the engraving on the pieces, and learned a few things along the way. Because wood is porous, you first need to seal it before adding anything to darken the engraving. You can do this with a thin coat of clear sealant, or clear FolkArt Wax. Let the clear coat dry completely.
Next, brush some black paint over the earrings, and wipe it off with a damp cloth. The black paint should darken the engraved areas. Apply as many coats as you'd like. Let the paint dry completely.
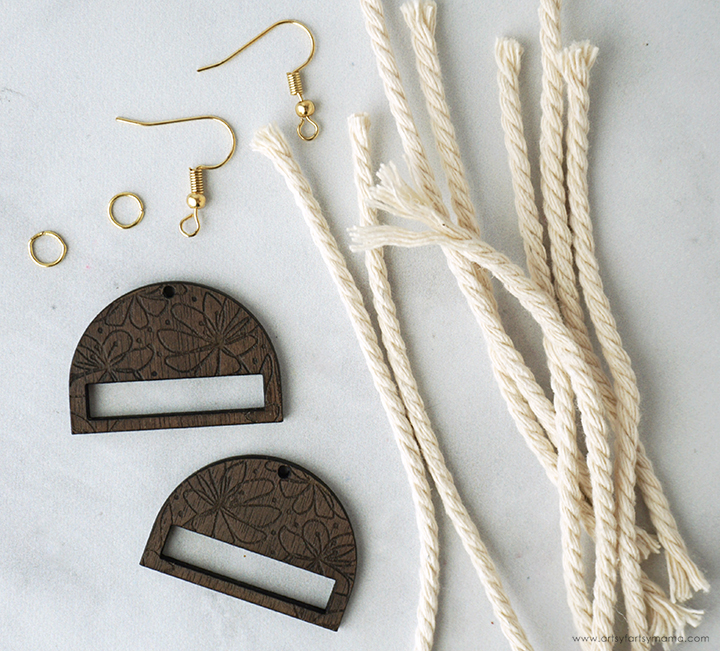
To make Wood Macrame Earrings, you will need these supplies:
Use sharp scissors to cut 4-5" lengths of macrame cord. If you are using a thicker cord, you will need four lengths per earring. You will need about 6 lengths if using smaller cord.
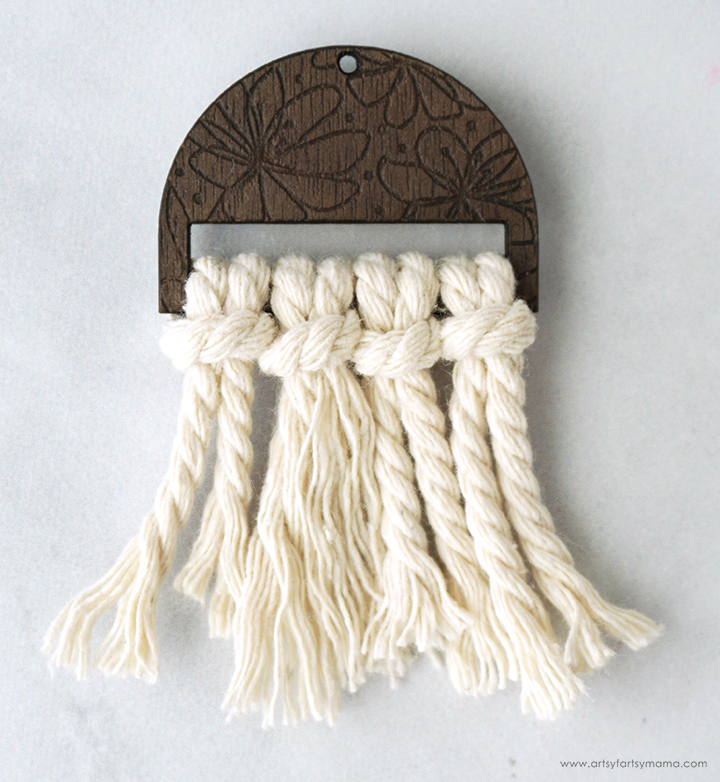
Tie the cord onto the earring using a Lark's Head Knot. To do this, fold the single cord in half, lining up the ends. Place the folded end through front of the earring and pull it down. Bring the ends through the "loop" and pull to create the knot at the top. Repeat for all macrame cord pieces and the other earring.

Use a macrame comb to carefully comb through all of the cord ends and fluff them out. If you don't have a macrame comb, you could use a doll brush or small hair comb instead.

Use sharp scissors to trim the cords to the desired length. Cut the ends of the other earring to the same length.

Use the jewelry pliers to turn the loop on the earring hooks 90º. This will make it so that the earrings hang correctly when they're being worn. These can be kind of fragile, so work carefully.
Open the jump rings and hook them through the hole in the top of the earrings. Attach the earring hooks to the jump ring and make sure they are completely closed so that they don't come off!


I am beyond thrilled with both sets of Wood Macrame Earrings, and would love to hear what you think. If you are looking to start a small business using the xTool M1 hybrid laser machine, these would also be a great product to sell. As always, if you make any of these projects for yourself, I'd love to see your creations! Tag me on Instagram and Facebook, or leave a comment/photo on the project pin on Pinterest!
Don't forget to Pin, Like, and Share!
