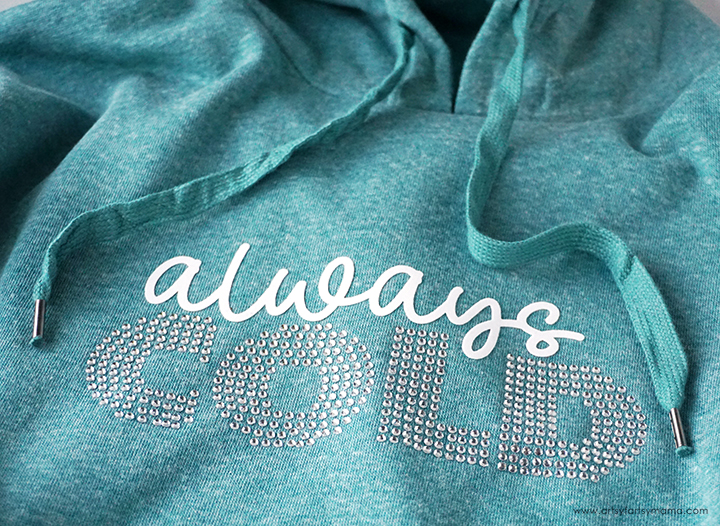
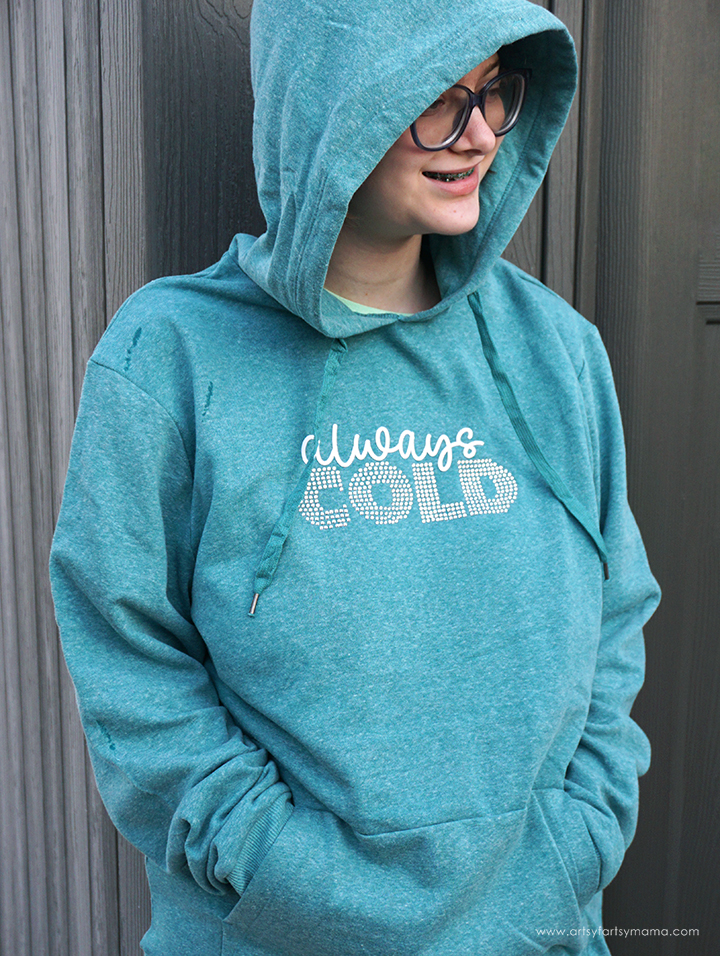
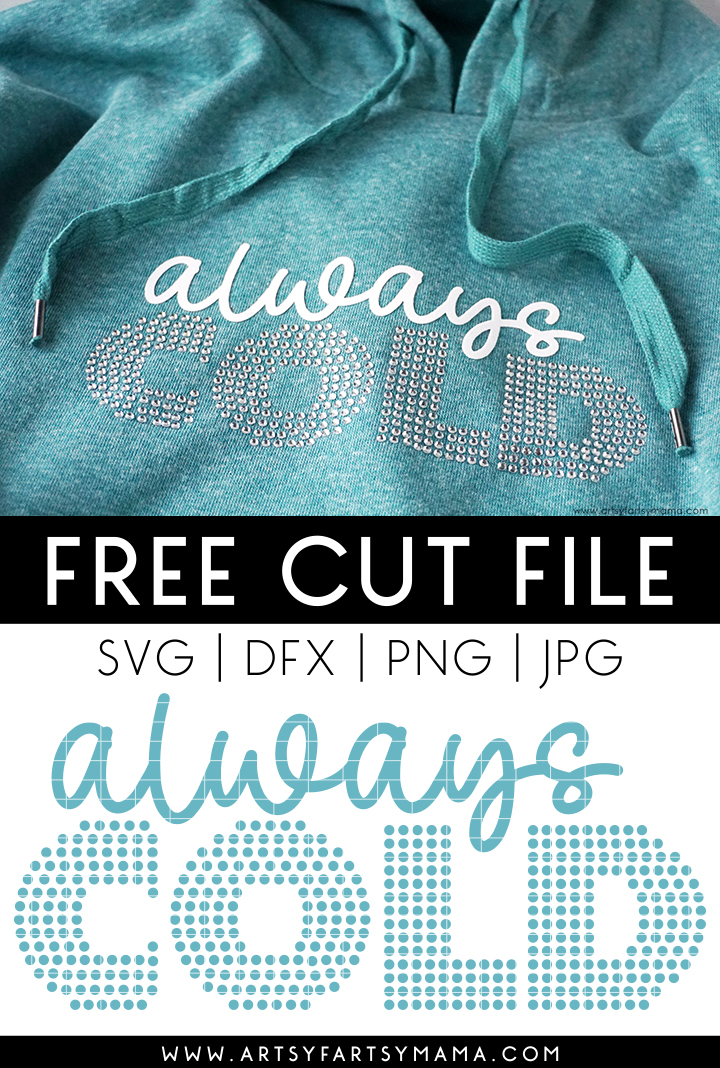
Use this Free "Always Cold" SVG Cut File to make a hoodie to stay warm all winter long!
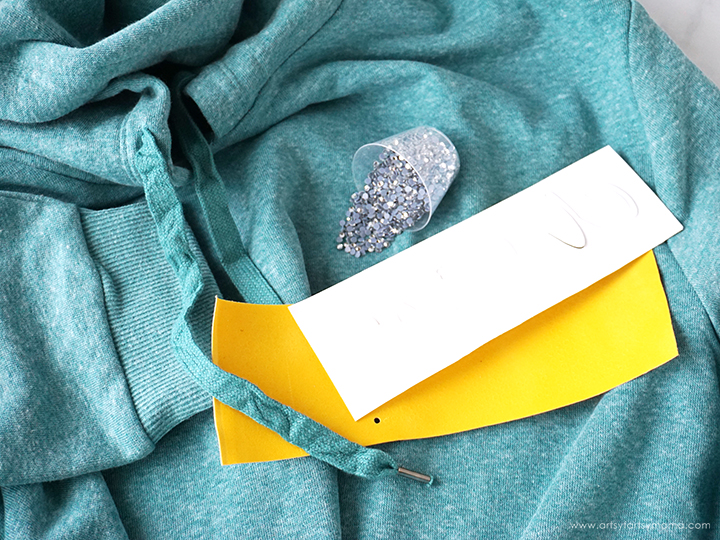
To make your own "Always Cold" shirt, you will need these supplies:
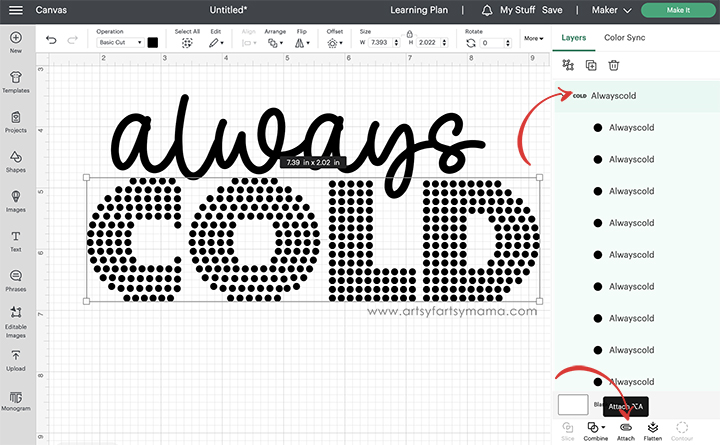
Upload the "Always Cold" cut file into Design Space. Because the circles in "cold" are sized to fit the rhinestones, it's important to not resize the image. "Ungroup" in the right menu to separate the words. Select one, and then click "Attach" from the bottom right menu. This will keep the image elements together, exactly as they are in the design. If you don't attach, all of the parts of the design (like the tiny circles) will arrange themselves randomly to fit the mat.
*Here's a great tutorial on how to upload your own images into Cricut Design Space.
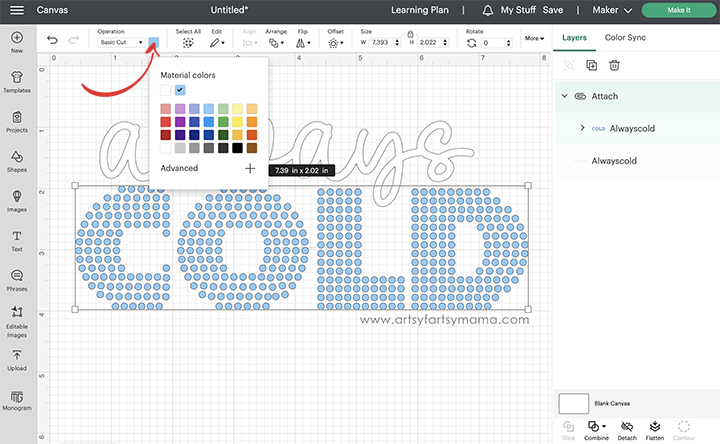
Next, select each word and change the colors to match your HTV by clicking the colored square in the "Operation" section of the top menu. After clicking the square, select the colors from the dropdown to change the design. Any colors will work for "Cold" since you will be using rhinestones - just make sure it isn't the same color as the "always" HTV.
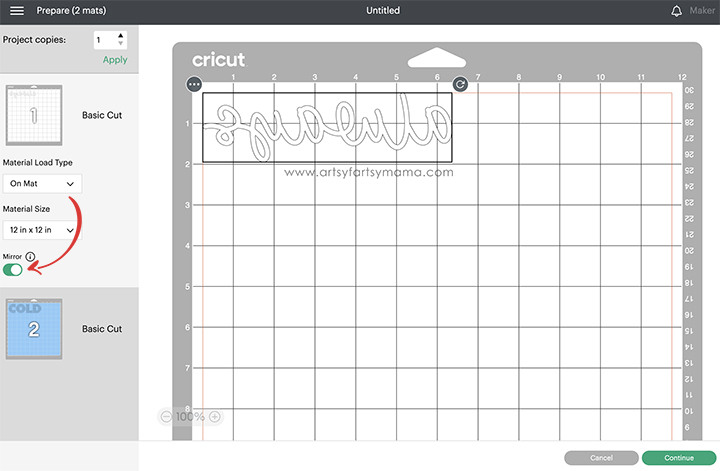
Do NOT mirror the image for "cold". You are going to be cutting this part of the design out of adhesive vinyl, so it doesn't need to be mirrored.
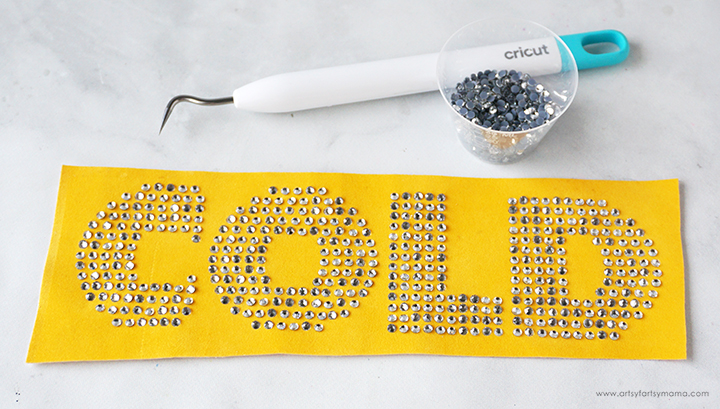
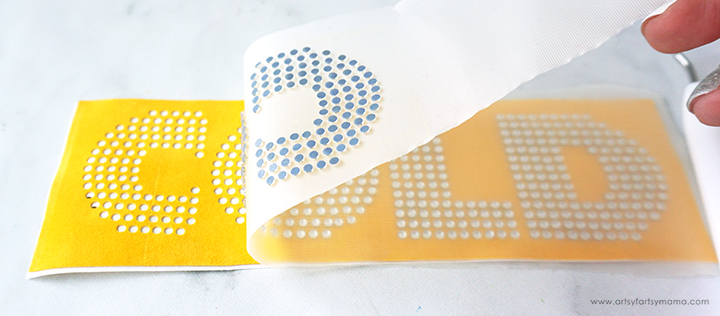
Cut a piece of HTV transfer tape (NOT regular vinyl transfer tape) the same size as the strip of flock adhesive vinyl. Carefully place the transfer tape over the rhinestones and use the scraper tool to make sure that they are attached well. Slowly peel the transfer tape up, one letter at a time. If any stones aren't sticking, lay the tape back down and scrape the area again to pick it up.
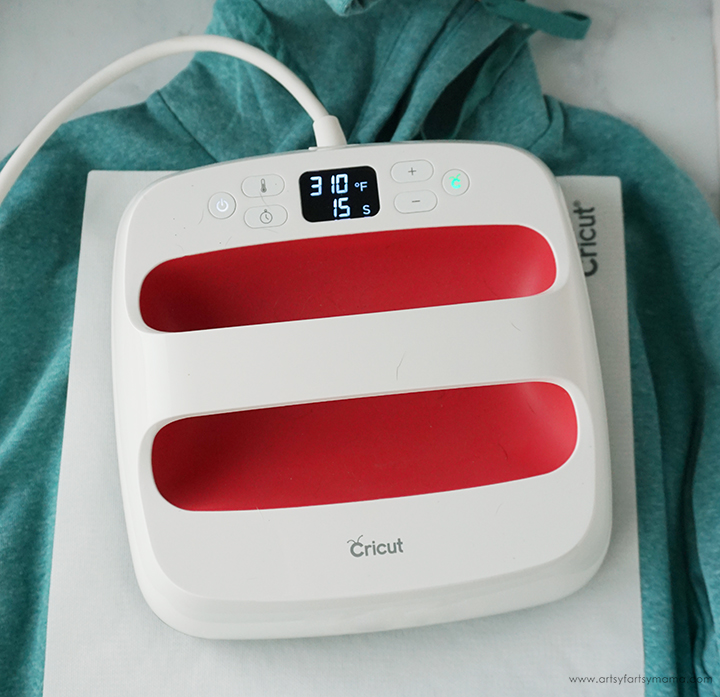
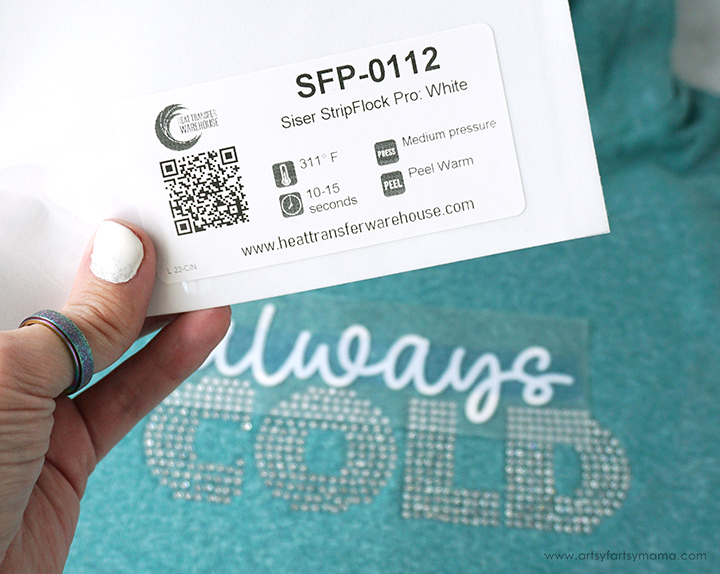
Put the HTV on the hoodie, and refer to the original design for placement. As you know, each kind of HTV has a different heat and time setting. Heat Transfer Warehouse makes this easier than ever by attaching a label to the roll with everything you need to know!! Adjust the heat and time settings on the EasyPress 2 to match the HTV label. Once the light turns green and the machine beeps, it's ready to use!


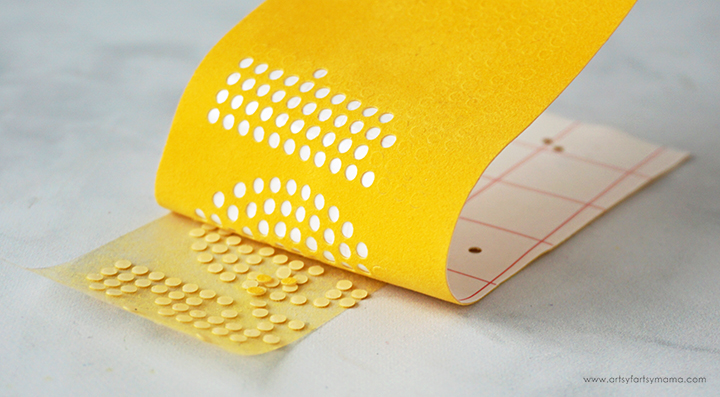
Weed away the circles from the flock adhesive vinyl. You can do this one at a time using weeding tools, but I found it to go a lot faster by applying packaging tape to the top of the vinyl, pressing it down with a scraper tool, and then peel the vinyl away from the tape. Not all of the circles will peel away at once, but most of them will, which is a HUGE time saver!

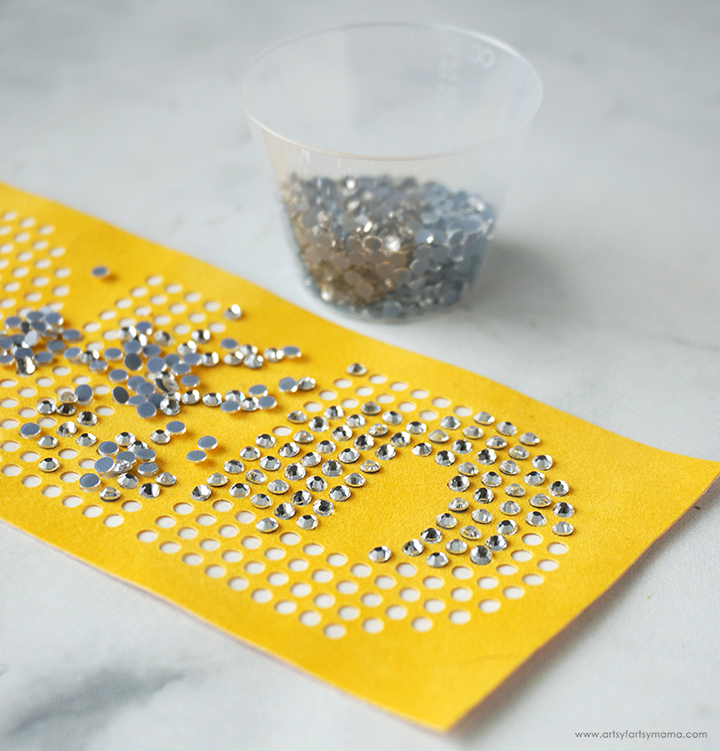
Lay the strip of flock adhesive vinyl down on your workspace with the backing still on. Sprinkle some of the rhinestones over the vinyl, and use a hook tool to help you get the stones into the holes in the vinyl. Make sure all of the stones are facing up!

This is honestly the part that takes the longest, but I found it oddly satisfying! Just make sure to work in an area that is not going to be bumped by anyone so that you don't have any mishaps.


Place the hoodie on the EasyPress mat, and then center the rhinestones attached to the transfer tape on the front. Heat up the EasyPress 2 to 305º-310º, and press firmly for 15 seconds.

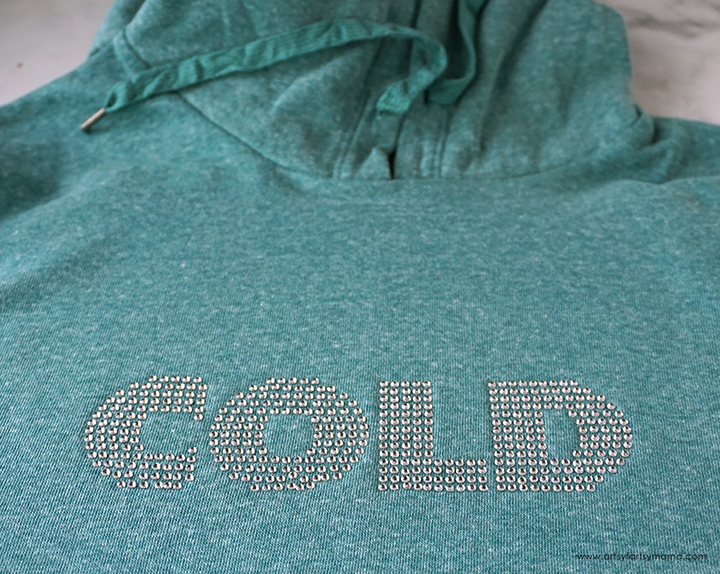
Once the area has cooled, peel the transfer tape away from the shirt. If any stones aren't staying in place, put the tape back down and press again. I absolutely LOVE how the rhinestones look on the hoodie! Even though it took some extra time to place the stones, I couldn't believe how simple the process was.

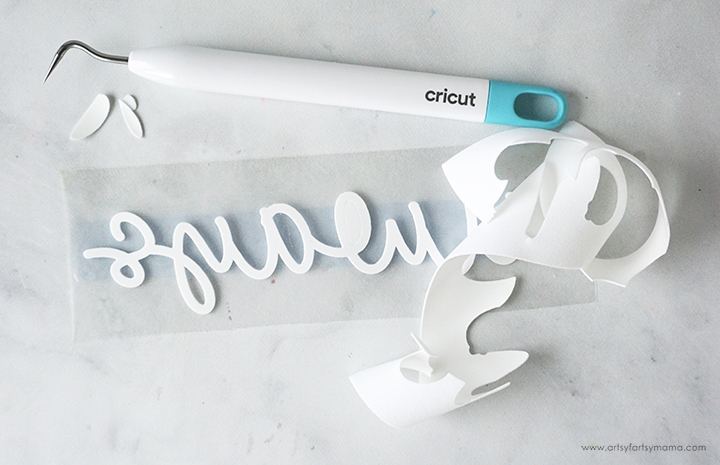
Use weeding tools to help weed away the parts of the design from the Stripflock HTV like you normally would with HTV.


To protect the previous layers of HTV on the shirt, I always like to place a protective sheet over the vinyl before pressing. Set the EasyPress over the design and hold firmly in place while the timer counts down.

The "Always Cold" cut file comes with multiple file types, so you can cut the design with any vinyl cutting machine. I hope you enjoy using this cut file, and I would absolutely LOVE to see your creations - especially if you try this one!! Tag me on Instagram and Facebook, and leave a comment/photo on the project pin on Pinterest!
Don't forget to Pin, Like, and Share!


Love the bling!
ReplyDeleteAlexandra
EyeLoveKnots.com
OnRockwoodLane.com