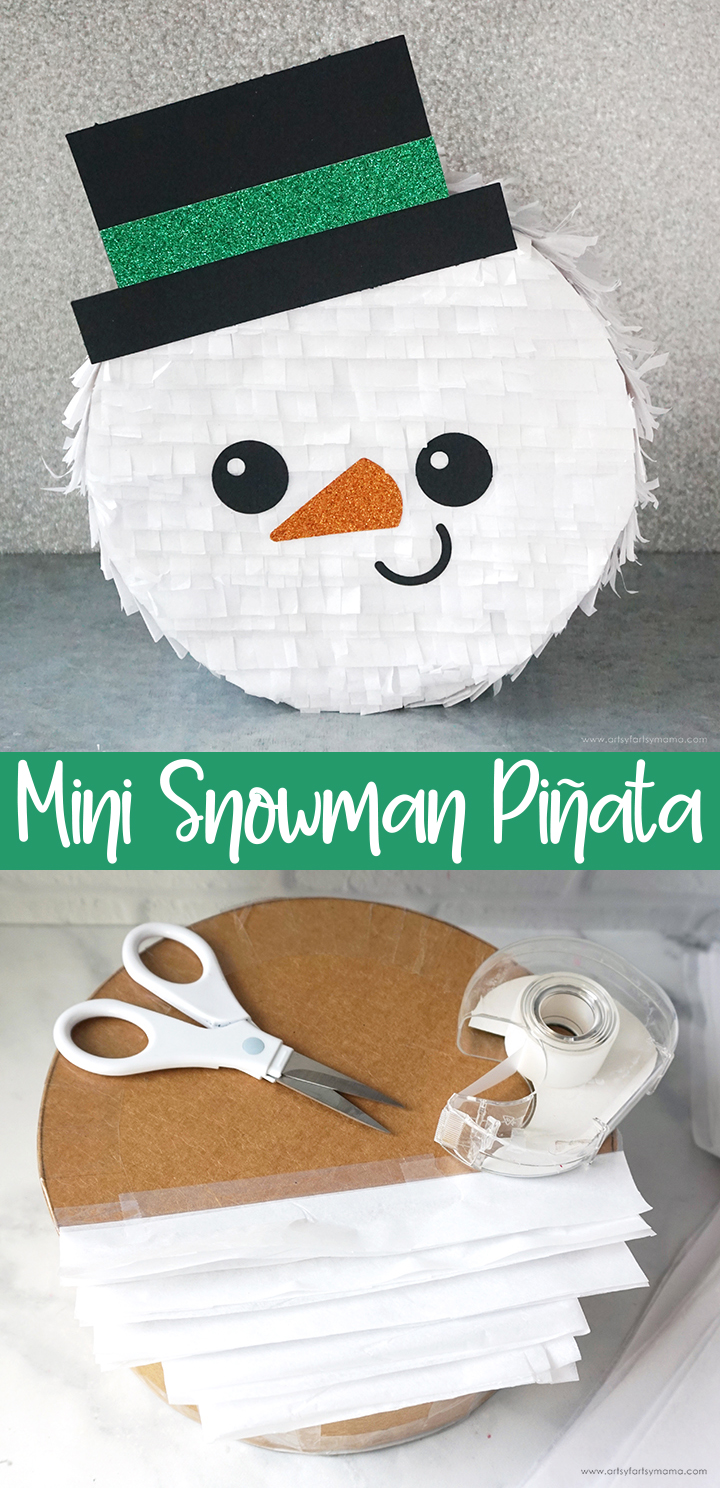
Make your holiday gifts extra special by packaging them in a handmade Mini Snowman Piñata!

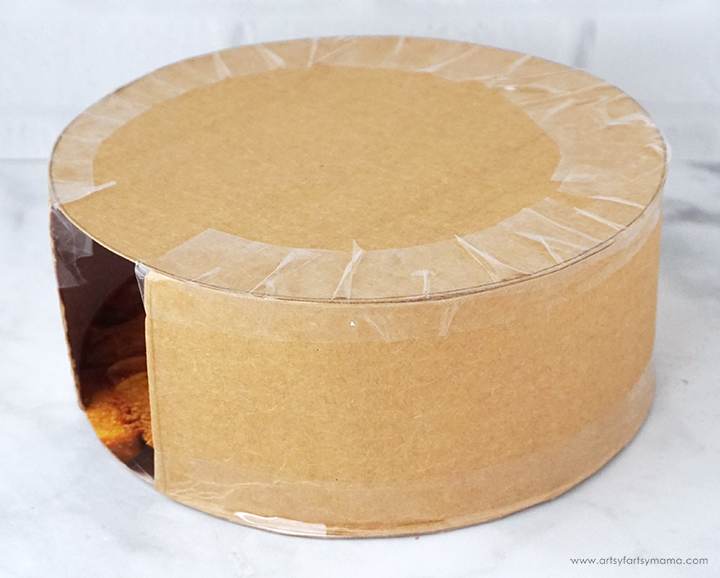
To make the base of the piñata, grab a cereal box or another cardboard box that isn't too thick to cut with scissors. Cut two 8" circles, and some long strips measuring about 3" wide. If the cardboard is not very flexible, rub the 3" strips over your thigh or around a table leg until the cardboard starts to bend a little.
Add a length of packaging tape to one long edge of the 3" strip, leaving about 1/2 the tape hanging off the edge. Carefully cut small slits into the tape, about 1" apart. Line the edges of the strip with the edge of one of the circle pieces, and attach them together, pressing down one strip of tape at a time as you bend the strip around the circle.
Keep attaching strips around the edge of the circle piece until you have a 3" or so opening. Turn the piñata base over, and then attach the other circle to the opposite side the strips, taping it together the same way.

Once the pieces are all attached, the piñata should be able to stand up on its own with the opening at the bottom.

Fill the piñata with small gifts, Christmas candy, and any other surprises the recipient would like. I also added in some paper shred for a little more excitement.
Once the piñata is filled with everything, cut another piece of cardboard that is slightly larger than the opening. Hold the piece in place over the opening, and tape the piñata closed.
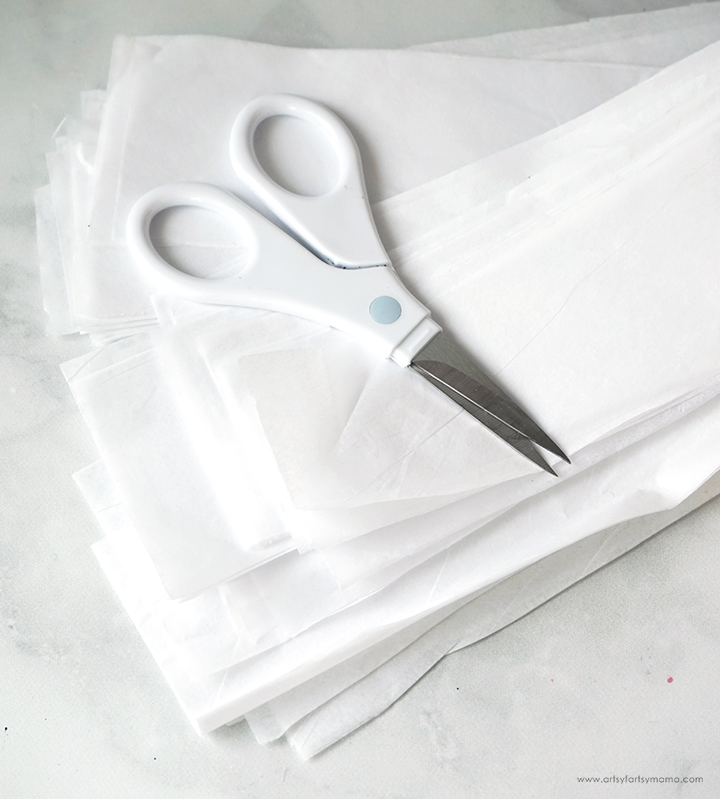
Cut long strips of white tissue paper about 2" wide. I stacked about 4-5 sheets together, and cut them all out at the same time. Try to cut as many sheets as you can at one time. It really helps to make the piñata building go a lot quicker!
An alternative option is to use white crepe paper streamer. If using this instead, just cut multiple strips measuring about 8" long.
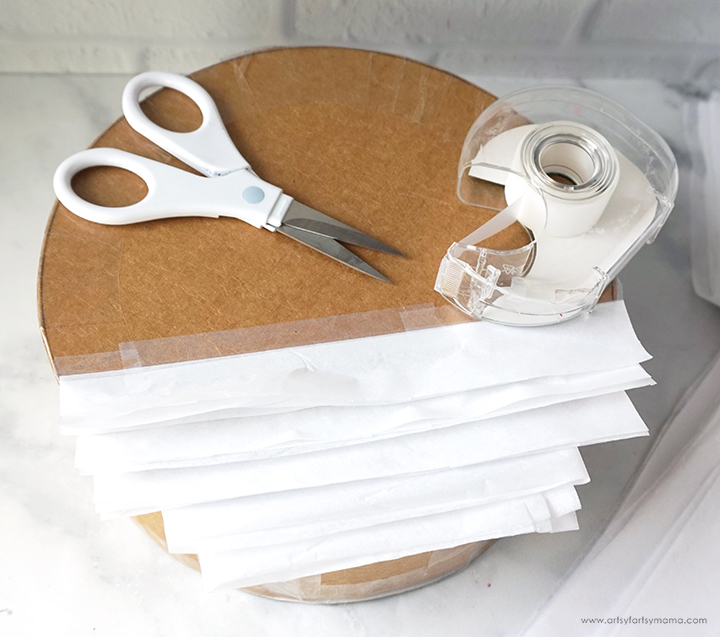
Fold a strip of tissue paper in half vertically. The edges don't have to line up perfectly. Next, fold the strip in half horizontally. Lay the piñata down flat. Line the bottom of the strip up with the bottom of the piñata, and tape the top of the paper strip to the front of the piñata. Trim the sides so that they are lined up with the side edges.
If using crepe paper, fold a single strip in half vertically, and tape it to the front of the piñata the same way as instructed above.
Take the next strip, and line it up so that the bottom is about halfway down the first strip. Tape the paper strip in place and trim the sides. Repeat this process until you reach the top of the piñata.
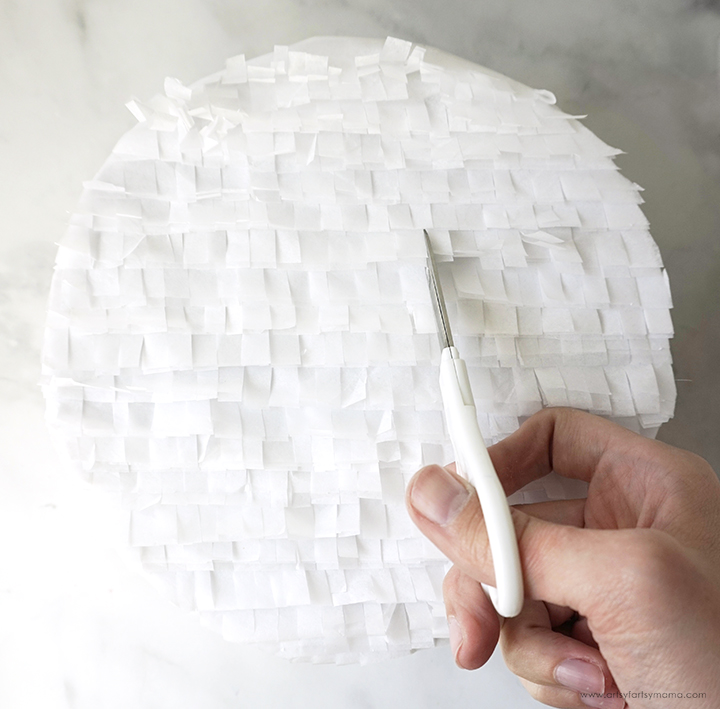
Start at the bottom of the piñata, and carefully cut into the first strip of tissue paper vertically, making multiple cuts. This will make the fringe for the piñata, so be careful to only cut into the paper about halfway up so that you don't accidentally cut through the entire strip.
Repeat the fringe cutting, one strip at a time, and work your way to the top. There will be a lot of scraggly ends around the edges. Carefully cut around the entire edge of the piñata, trimming away the excess tissue paper.
Once finished, turn the piñata over to the opposite side and cover it the same way as the front.
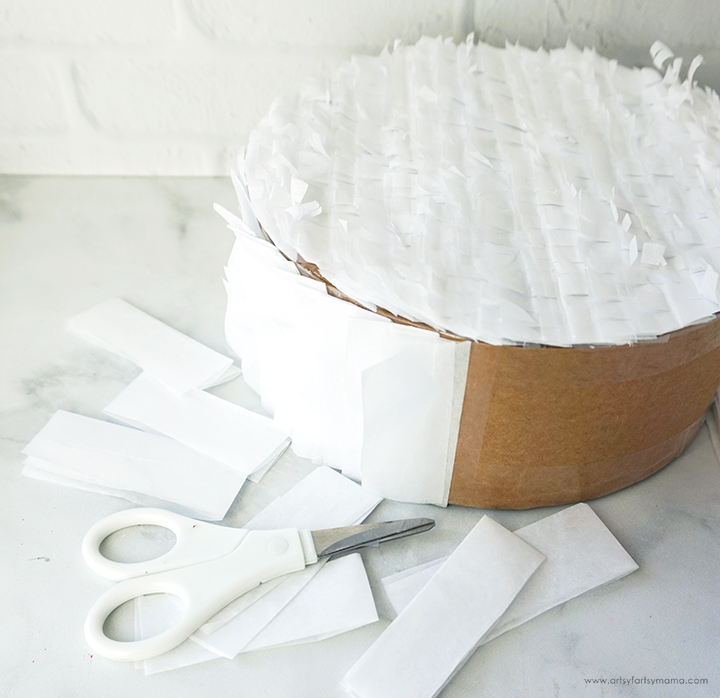
To cover the sides, trim the strips to measure about 6" long, and then fold them in half. Again the process will go quicker if you fold a lot of strips at once before you get started putting them in place.
Put the first strip at the bottom, with the bottom edge lined up in the center. Use tape to hold the top of the strip in place. Work up the one side of the piñata, lining the bottom edge of the next strip with the center of the one below it. When you get to the top, work from the bottom again on the other side.

Cut fringe into each strip along the sides, the same way you cut the front and back strips. Carefully trim away the excess tissue paper around both edges.
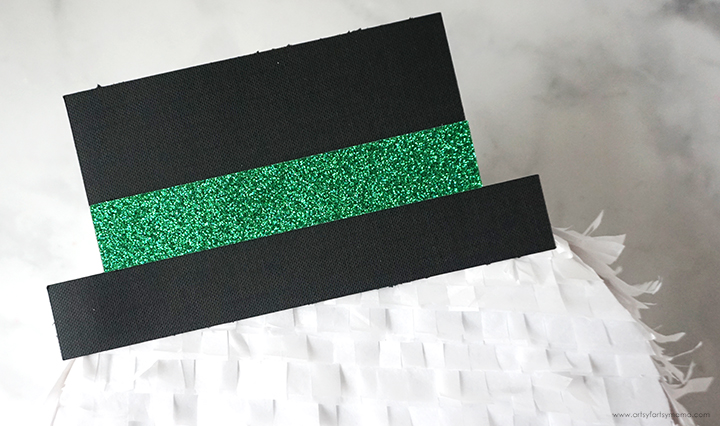
Download the Snowman Piñata SVG (for personal use only) that contains the design for the snowman's hat and face. Cut the snowman's hat piece out of black cardstock, and the hat band out of green glitter cardstock using a Cricut or other cutting machine. If you don't have a machine, you can totally freestyle the pieces to make the snowman look however you want!
Add paper adhesive to the back of the hat band, and then stick it to the hat, lining it up with the hat brim. Press the pieces together well. Add some adhesive to the back of the hat and then press it onto the top of the snowman's head.

Apply paper adhesive to the back of all the face pieces, and arrange them on the front of the snowman to complete the look.

Looking for more holiday gift inspiration?
Check out this collection of OVER 100 creative holiday gift wrapping ideas!!

Don't Forget to Pin, Like, and Share!
