Make a spooky Halloween Black Cat Crossing Wreath with items from the dollar store!

Halloween is one of my favorite holidays, and I can't resist making a new wreath when I find the perfect sentiment to add to it! I spotted this sparkly and spooky sign at the dollar store, and couldn't resist bringing it home.This is a simple wreath that crafters of any skill level can make, I'm so thrilled with how it turned out. Read all about how to make your own Black Cat Crossing Wreath with the tutorial below, and then head to the dollar store ASAP to make one for yourself!

To make your own Halloween Black Cat Crossing Wreath, you will need these supplies:
- 12" Wreath Form
- Black Cat Crossing Sign (Dollar Tree)
- 75 yards Black Sparkle Tulle
- Scissors
- 2-3" Decorative Foam Pumpkins
- Glittered Floral Branch Picks
- Glue Gun
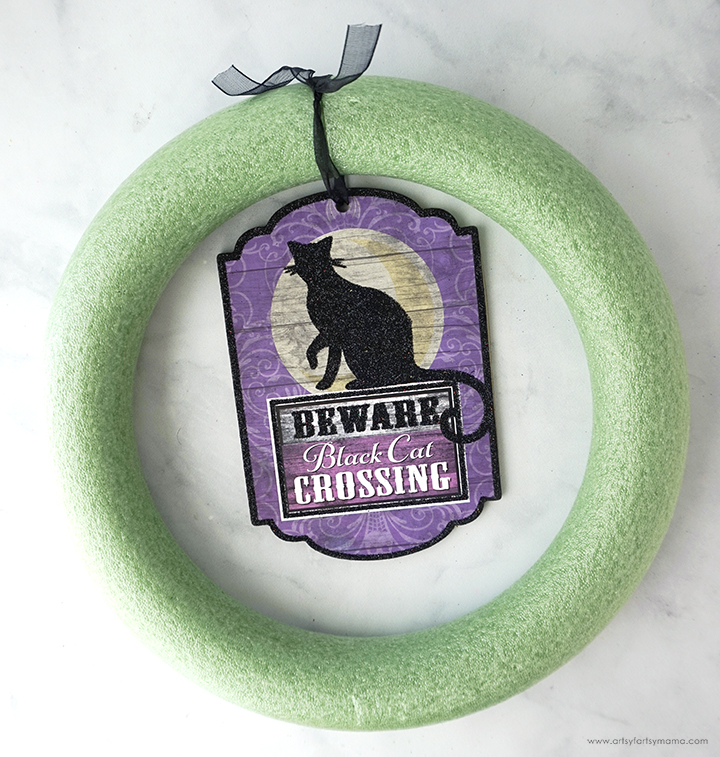

Cut the tulle into strips measuring about 15" long. They don't have to be perfect, but just try to get them all cut the same length. The wreath may not look that large, but you will need about three rolls of tulle to cover the entire thing.
Note: If you use the sparkle tulle like I did, be prepared to have both yourself and your workspace completely covered in glitter!!
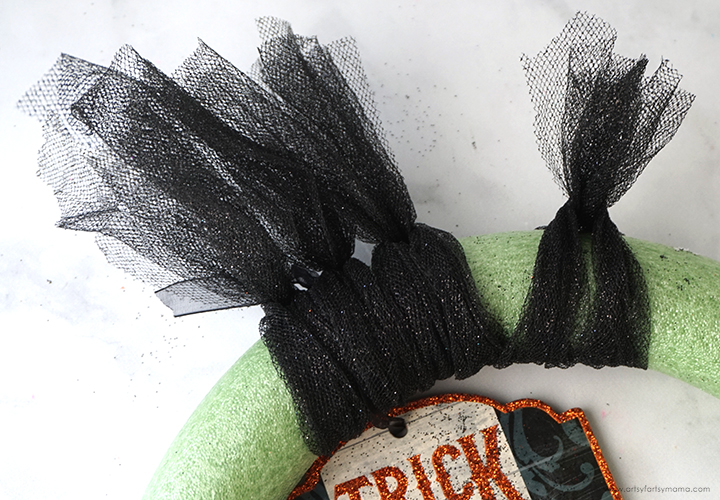
Fold the tulle strip in half, and hold the looped end over the front of the wreath form. Bring the other end around the back of the wreath and pull it through the loop. Pull the tulle tight against the wreath. This knot is used a lot in macrame, and is called a Lark's Head Knot or a Cow Hitch Knot.
Fold the next strip of tulle, and tie it on to the wreath, right next to the one before. At first they will be a little spaced out, but gently push it next to the previous piece of tulle to squish them together.

Even though I cut the pieces as close to the same size as possible, there will still end up being some uneven edges of tulle around the wreath. Use your scissors to carefully trim the ends of tulle around the wreath to even them up.
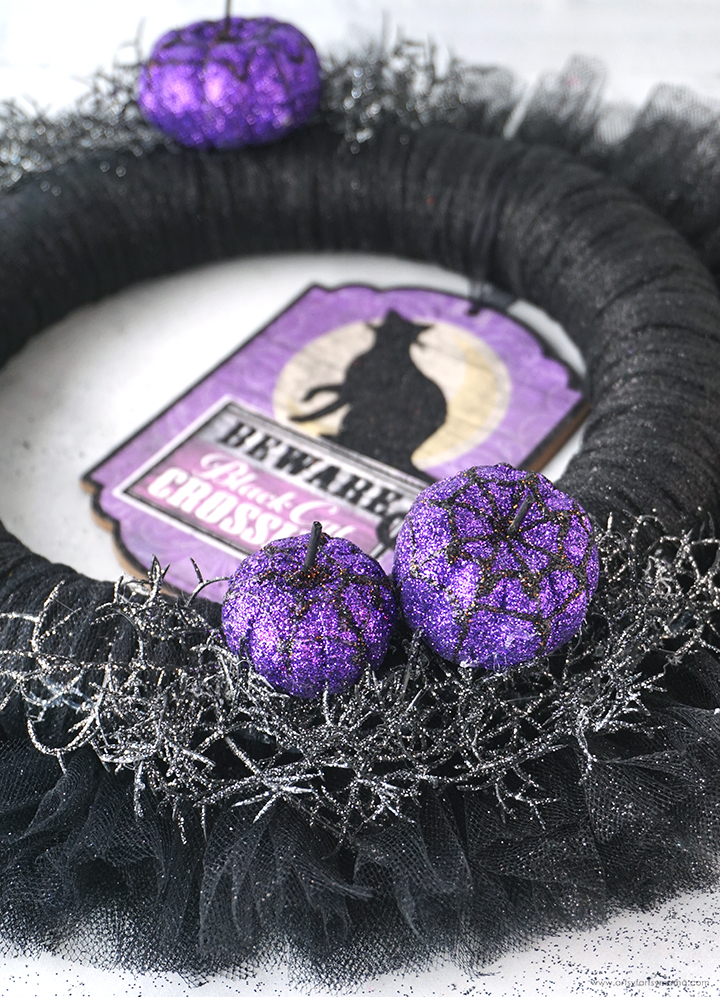
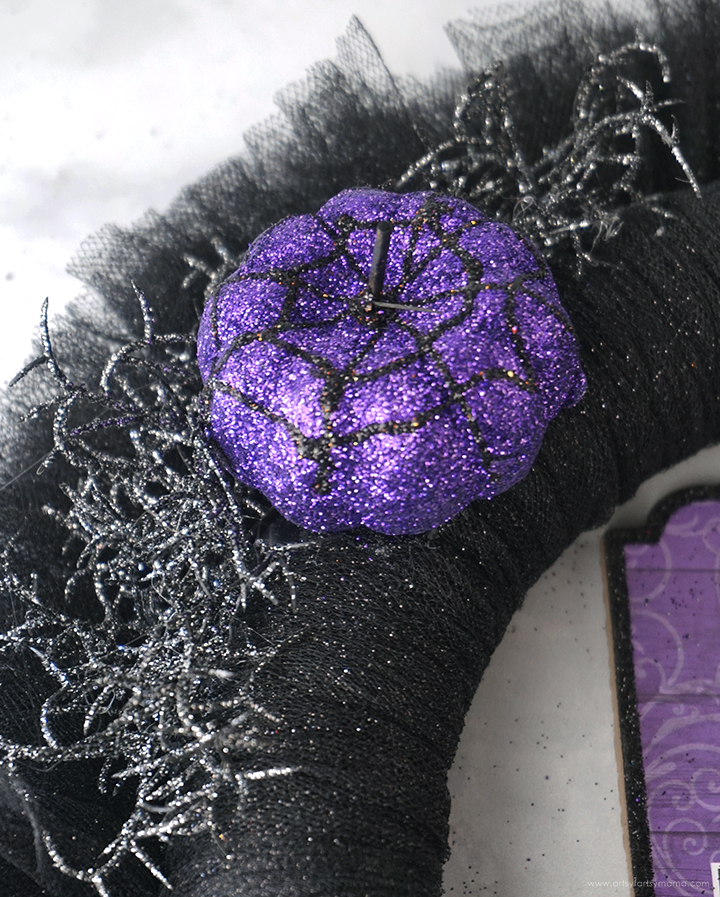

Once the glue has set, the wreath is ready to be hung! Place a loop of ribbon on the back of the wreath and glue or pin it into place to use as the wreath hanger. I just adore how this wreath turned out, and it displays my adoration of spooky season perfectly! As always, I would love to see your creations! Share your creations on Instagram, Facebook, or leave a comment/photo on the project pin on Pinterest! #AFMCrafts


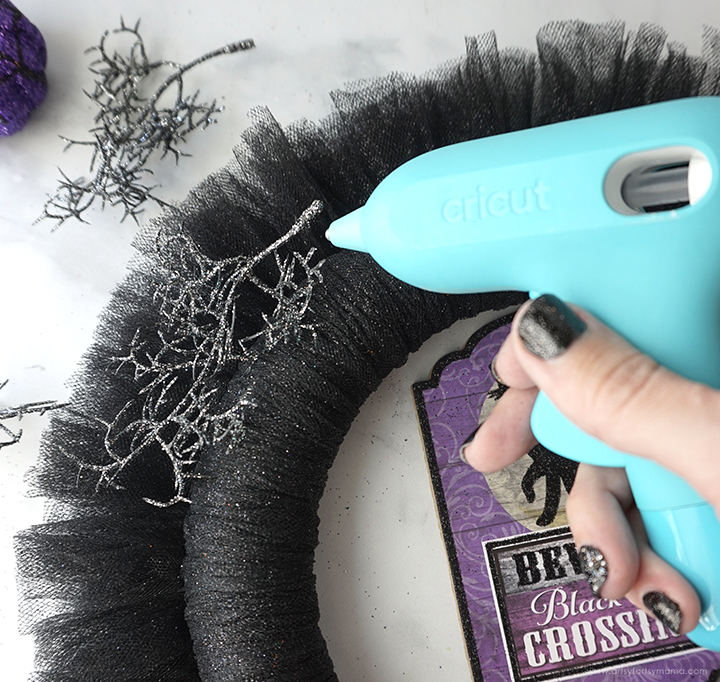
Next, take the branch pick apart so that you have smaller pieces to work with. If you think of the wreath as a clock, arrange a few of the branch pieces at around "10:00". Once you like how they are placed, use your glue gun to carefully attach the pieces to the wreath. To keep your fingers from getting burned, I recommend using finger protectors.
Attach more branch picks at the "4:00" position on the wreath.

Next, arrange a foam pumpkin or two in the foliage, and glue them into place with the glue gun. I would recommend placing pumpkins of different sizes in this spot, if possible.

In the 10:00 spot, arrange another larger pumpkin over the branch picks and set it in place with the glue gun.

Don't forget to Pin, Like, and Share!


