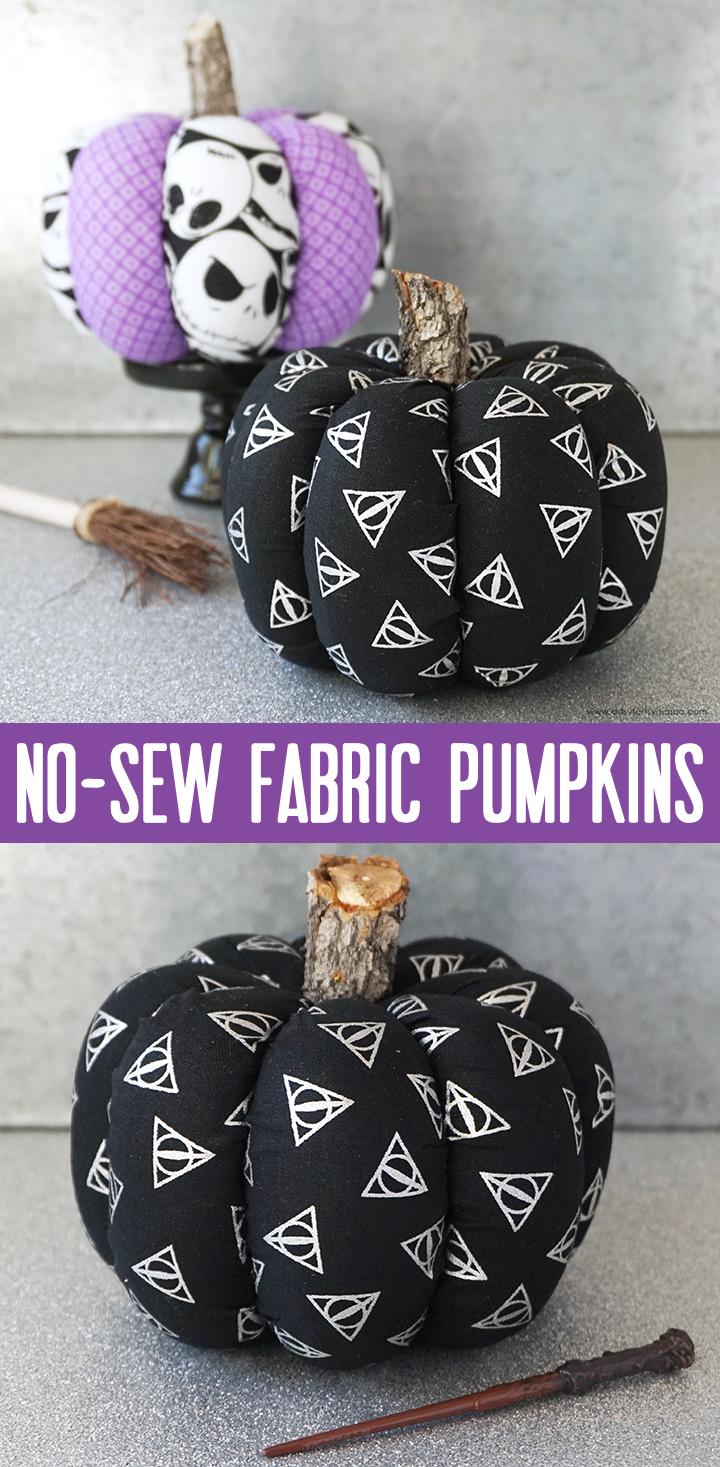
Use your favorite patterns and colors to create No-Sew Fabric Pumpkins to put on display!
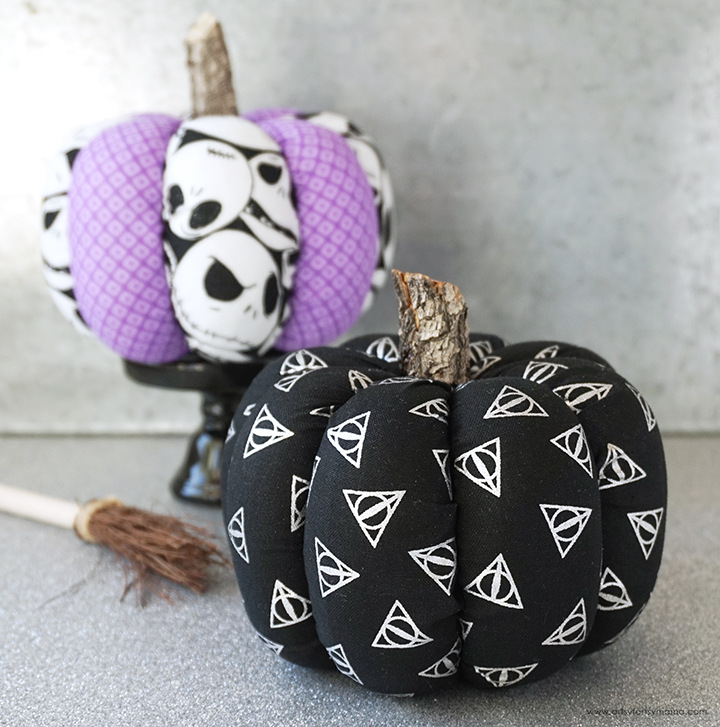
If you're looking for a simple craft to kick off the fall season, look no further! These No-Sew Fabric Pumpkins couldn't be easier to make, and are such a fun and eye-catching piece of decor. Even better, you can easily customize the look to fit your style by using any fabric you want!! I love the looks of both the Harry Potter and Nightmare Before Christmas pumpkins, and have been so excited to share this tutorial with you. I hope you get inspired to give this project a try!
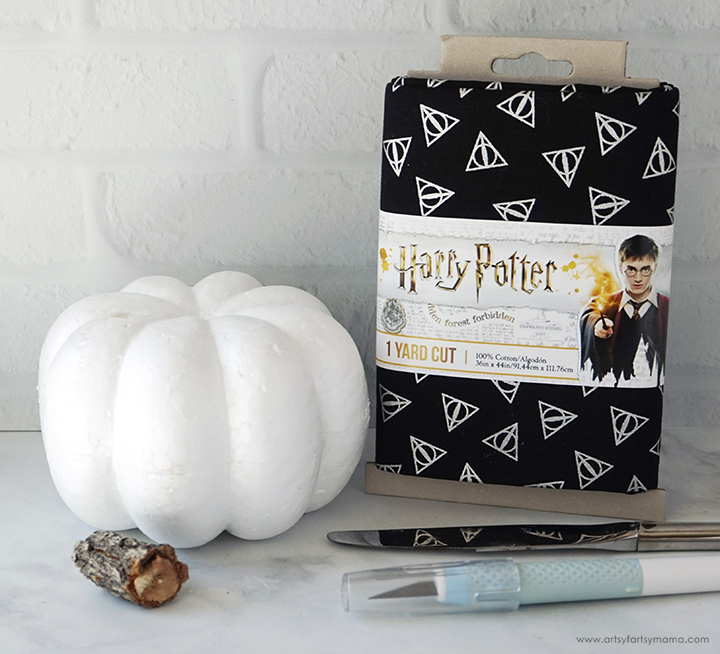
To make your own No-Sew Fabric Pumpkins, you will need these supplies:
- Foam Pumpkin
- Cotton Fabric
- Scissors
- Craft Knife
- Dinner Knife
- 1"-2" Branch Piece
- Glue Gun

Use a craft knife to carefully slice in between each section of the foam pumpkin. Start at the top by poking the knife into the foam, and slowly drag the knife down, or "saw" down to the bottom of the pumpkin. Be VERY careful not to cut yourself!!

Any cotton fabric pattern will work well for this project. You can make fall pumpkins with fall-colored or patterned fabric, or go Halloween with something colorful or spooky!
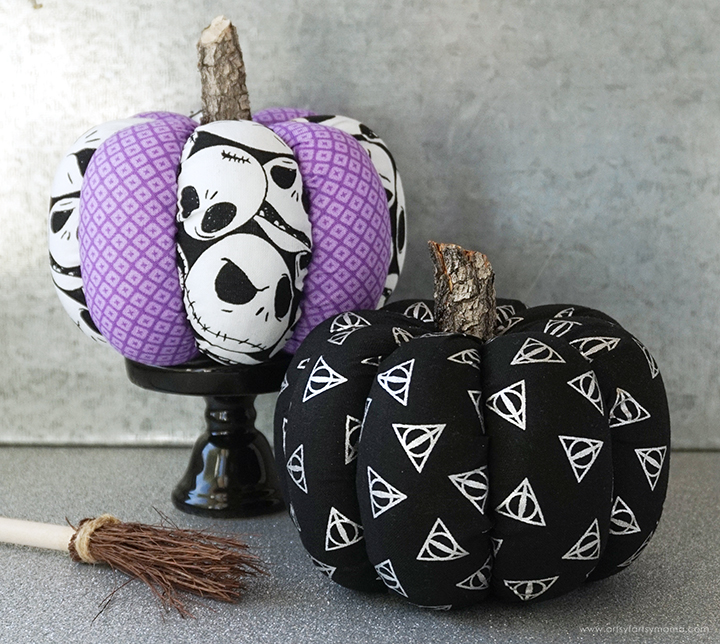
As you know, I love LOVE love Harry Potter, and this Deathly Hallows is fabric is the perfect pattern to use for a pumpkin! The story of The Three Brothers is a little spooky, which makes the Deathly Hallows symbol a little spooky, too. Plus, I love how the black fabric looks with the metallic pattern printed on it.
Measure one section of the pumpkin, both horizontally and vertically. Add 2 inches to both of your measurements. Cut enough strips of fabric for each section of the pumpkin - mine had 8. If your fabric pattern has a specific direction, be sure to cut your fabric so it is displayed vertically.

Center the strip of fabric over one of the pumpkin sections, and hold it there with one hand. With the other hand, use a dinner/butter knife to press the ends of the fabric into the edges of the section where you previously sliced with the craft knife.
I found it easiest to start pushing the fabric in at the center (on each side), and then working my way to the top. Then, I flipped the pumpkin over, started at the center again and up to the top to finish. No adhesive needed - the knife pushes the fabric into the foam and is held tightly!! However, if you have some areas that just don't want to go, you can add a small drop of adhesive and then press the fabric into the foam again and hold it in place with a straight pin until the adhesive sets.
Once completed, you shouldn't be able to see any fabric ends poking out, except for maybe at the top and bottom. For those areas, carefully cut the excess fabric away and press the ends in with the knife to make it look clean.

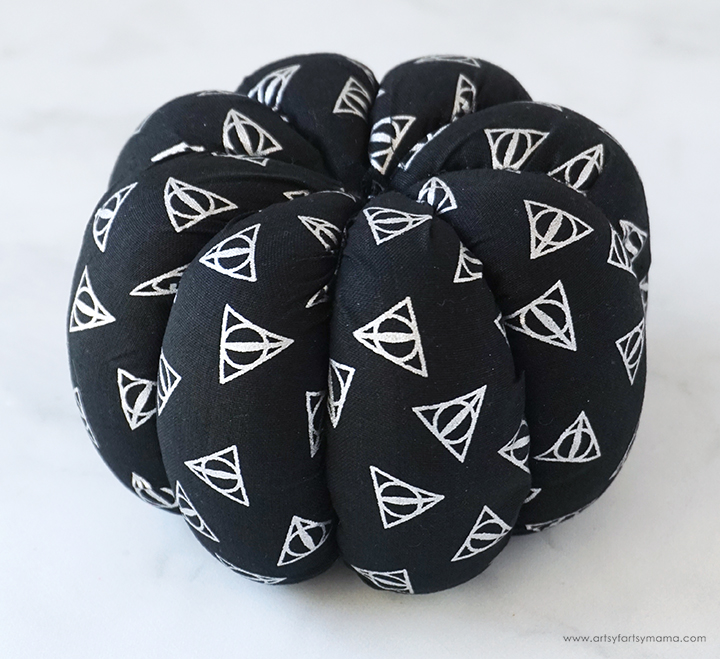

Lastly, cut a branch that is at least 1/2" in diameter into a piece that is 1-2" long to use as a pumpkin stem. It doesn't have to be cut perfectly straight - I love the way this one looks!! Don't want to use a branch? No problem! You could also use a wooden dowel, a cork, or get creative with anything you can find around the house.
Attach the stem to the top of the pumpkin using a glob of hot glue or strong adhesive. Press the stem into the glue and hold it in place until it's set.

I absolutely LOVE how this pumpkin turned out, and it was SO easy to make! Maybe not "flick and swish" easy, but still simple. I kind of want to make a whole collection of Harry Potter pumpkins now. Don't you think that would be so fun?!
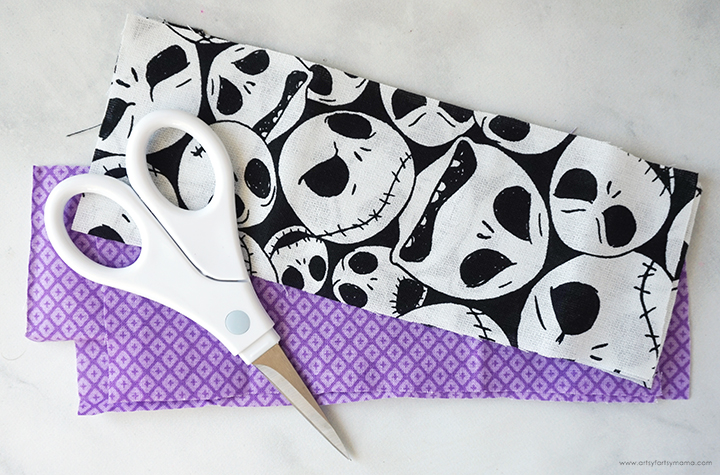
Did you know that you can also cover your pumpkin with multiple fabrics? You could actually have each section of the pumpkin be a different fabric if you wanted to! One of my favorite Halloween movies is Nightmare Before Christmas, so I decided to use a fun Jack Skellington fabric paired with a purple fabric.
Measure and cut strips of fabric following the same instructions as above. This time, alternate the fabrics for each section of the pumpkin. Mark the foam with a marker if needed to make sure that you add the right fabric to each section.

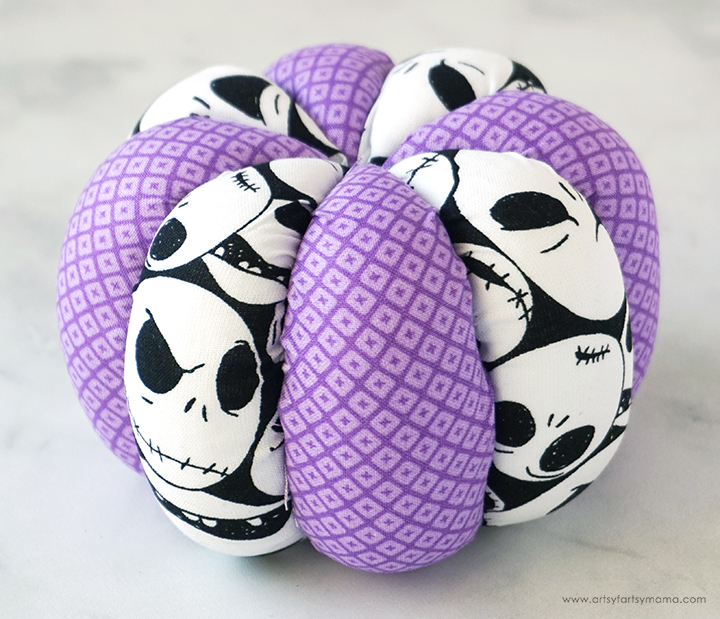
Once the pumpkin is completely covered, take a second to admire your work (this is important). I love the single Harry Potter fabric pumpkin, but I also love the look of the alternating fabrics!! Such different pumpkins, but they are both so much fun!!

Attach the stem of the pumpkin to the top using a glob of hot glue or strong adhesive. Press the stem into the glue and hold it in place until it's set. I am so excited to have this Nightmare Before Christmas pumpkin on display!!
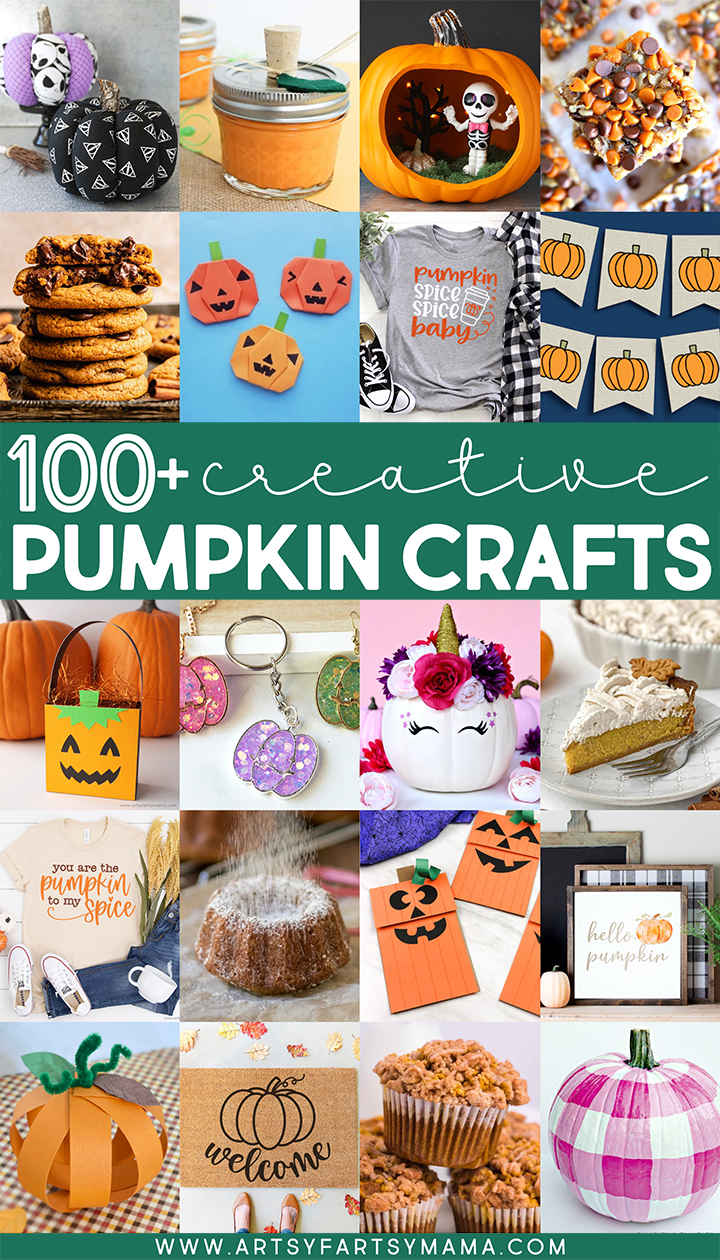
Looking for more pumpkin craft inspiration?
Check out this collection of OVER 100 creative pumpkin craft ideas!!
Don't Forget to Pin, Like, and Share!


What a great idea! I would have never thought of that!
ReplyDeleteThese are adorable & look so easy. Perfect combo! I'll be featuring them on tomorrow's Crafty Creators. If you'd eve like to add a blogger to the hop, I'd be honored to join you very talented ladies!! I'll schedule your feature on social media as well, & I'll tag you. Happy hump day!
ReplyDelete