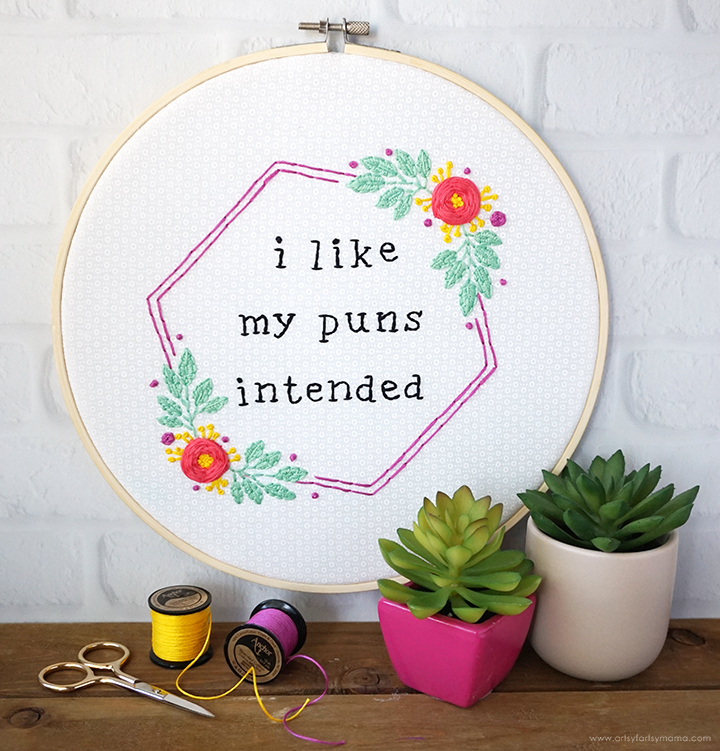
Create a punny piece of embroidery hoop art with this free pattern!

If we're ever talking, just know that my use of puns is never not intended. I get a lot of eye-rolls, but it's totally worth it! When I was brainstorming a new embroidery pattern to turn into wall art for my craft room, I wanted to make something that would make me smile every time I see it. I absolutely love the trend of beautiful, "traditional" embroidery florals that frame a funny or sarcastic sayings, which is why I decided on declaring my love of puns! I hope you like this Pun Embroidery Hoop Art (with FREE pattern) as much as I do!!

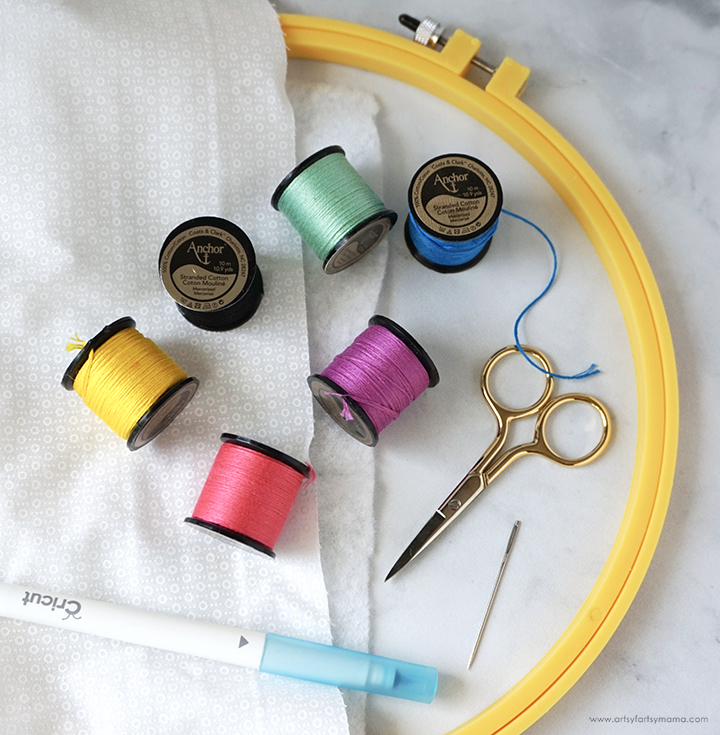
To make your own Pun Embroidery Hoop Art, you will need these supplies:
- Free Pun Embroidery Pattern (personal use only)
- 10"x10" White Cotton Fabric
- 10"x10" Batting or Stabilizer (optional)
- Water-Soluble Marker
- Embroidery Hoop
- Anchor Embroidery Floss
- Embroidery Needle
- Scissors
- 10" Wood Embroidery Hoop
- Glue Gun

Cut a piece of white cotton fabric roughly measuring 10" square. The fabric doesn't have to be plain white - I love the look of this white-on-white patterned fabric! Print the Pun Embroidery Pattern on regular copy paper, and place it underneath the fabric. Use a water-soluble marker to trace the pattern onto the fabric.
I would also recommend backing the fabric with batting or stabilizer. Not only does it help to keep the fabric from pulling or puckering from the embroidery, but that extra layer will help hide the stitches behind the fabric!

Center the fabric and batting/stabilizer in an embroidery hoop and tighten it so that the fabric is snug. Unwind a length of embroidery floss from the spool, thread all six strands onto an embroidery needle, and knot the end.
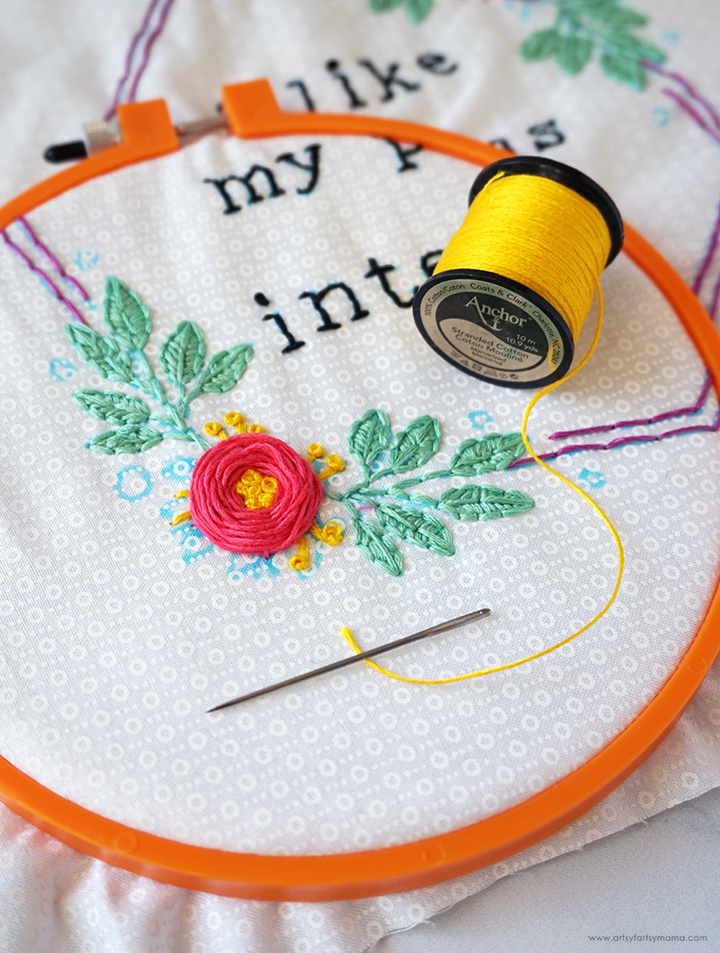
Follow the marker lines to stitch the design onto the fabric. There are multiple embroidery stitch styles you can use to get a different look to your project. I used a backstitch on the words and the border, the flower is made using a woven wheel stitch, and then I added French knots for accents. Get creative and have fun with it!

Once you're done stitching, run the fabric under cold water to remove the water-soluble marker ink. You shouldn't need to use any soap. To help the fabric dry quicker, fold a hand towel in half and sandwich the fabric in between. Press the towel to remove the excess water, then lay the fabric down flat to finish drying. You can also put the fabric into the dryer with a small towel for a few minutes to help it dry faster.

Center the embroidery inside of a wooden embroidery hoop and make sure it fits snug. I love how the wooden hoops look when you put your embroidery projects on display. If you prefer something different, no problem! Use whatever you love so that you smile every time you see your hoop art.

Turn the hoop over and trim the fabric so that it's 1/4"-1/2" away from the hoop. Use a glue gun to carefully glue the fabric edges down to the hoop.

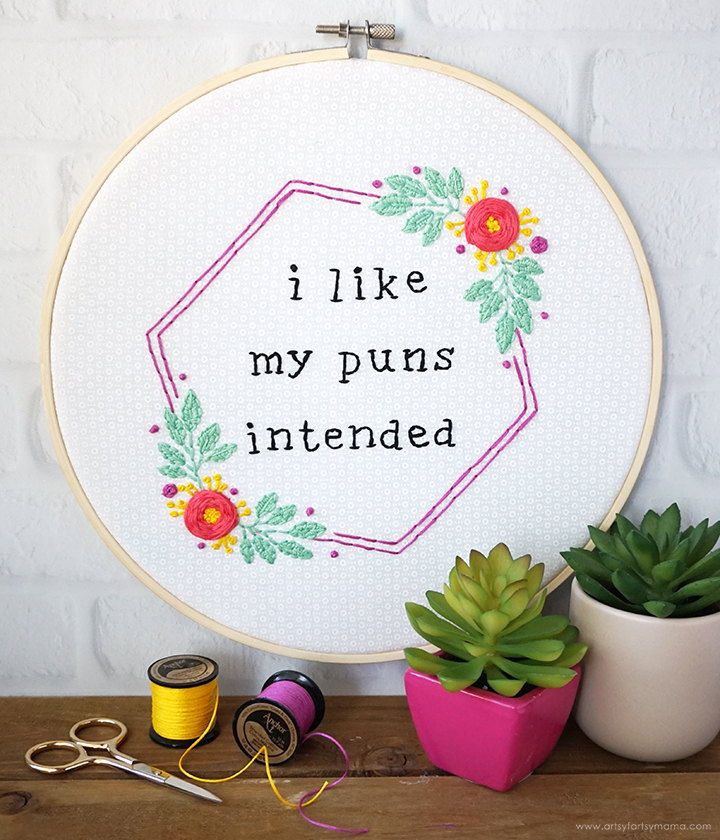
When you turn the hoop back over, the project is complete and ready to put on display! Use a lint roller to remove any loose strings or particles from the front of the embroidery.

Don't forget to Pin, Like, and Share!


That's a great tutorial! Thank you so much for sharing.
ReplyDeleteLindsay, our family loves puns AND embroidery so this is right up my alley! Pinned! Thanks for sharing at Vintage Charm!
ReplyDeleteSo cute! Very punny. Ok, I'm so cheesy lol. Thanks for sharing on Crafty Creators!
ReplyDeleteXOXO,
Niki
Thank you for the pattern :)
ReplyDelete