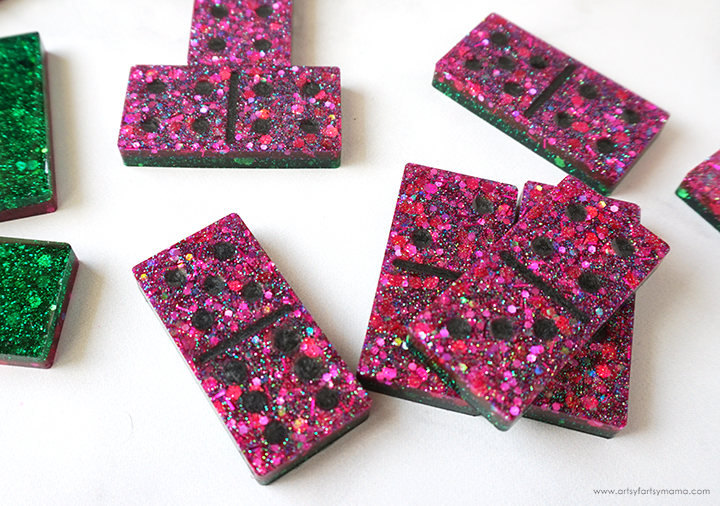
Make a custom set of Watermelon-inspired Dominoes out of resin to play with the family!

We love playing games together as a family, especially in the summer. To shake things up a little, I decided to make a set of dominoes using resin that's inspired by my favorite summer fruit - watermelon! Dominoes is a classic and timeless game that kids of all ages enjoy - even if you just like to knock them over. Not only is making a custom set of dominoes really simple, but it would be such a creative gift to share with friends!!
New to resin? Be sure to check out Resin 101: Getting Started with Resin!

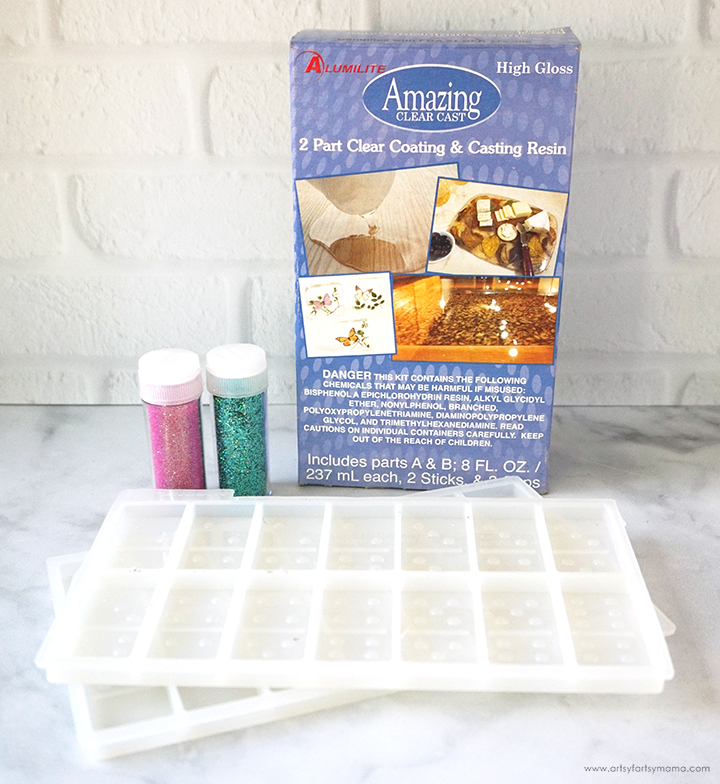
To make a double-six set of Watermelon Resin Dominoes, you will need these supplies:
*Save 10% on resin supplies when you shop ETI with code AFM
SAFETY FIRST: Before getting started, wear disposable gloves, protect your workspace, and be sure to work in a well-ventilated area!

Prepare about 2.5 ounces of Amazing Clear Cast Epoxy according to package directions. Be sure to protect your workspace, work in a well-ventilated area, and wear disposable gloves. Pour in equal parts of resin and hardener to the mixing cup. Slowly stir the resin mixture together with a stir stick for two minutes.
Pour the resin into the clean mixing cup. Add one drop of red resin dye and sprinkle in a generous amount of both fine and chunky pink glitter. Stir the resin mixture again for another minute or two with a clean stir stick until evenly incorporated.

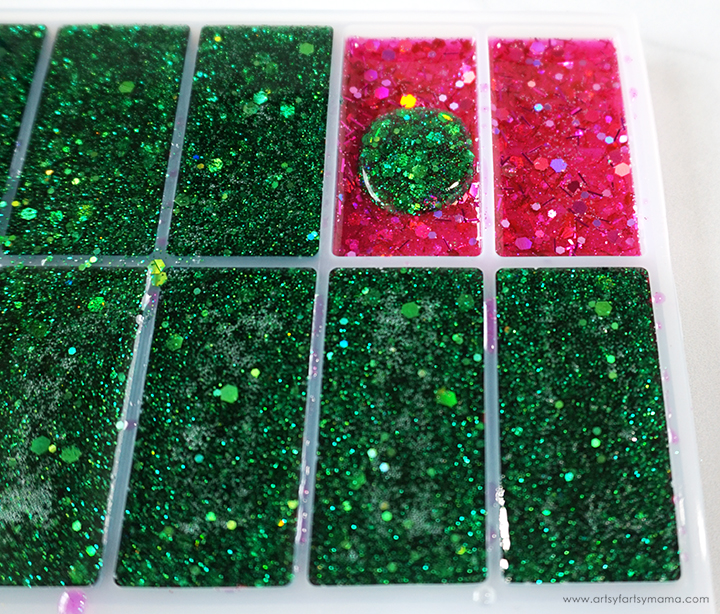
Slowly fill the domino molds about halfway* with resin. Pop any bubbles that rise to the top using a lighter, heat gun, or by blowing through a straw. You could also lightly spritz the mold with 91% alcohol to remove surface bubbles.
Leave the resin to cure in an undisturbed, well ventilated area for at least 4 hours. DO NOT REMOVE THE RESIN FROM THE MOLD!
*If you want to add a thin white layer in between the pink and green, fill the molds about 1/3 of the way instead of half. Mix up a batch of white resin and add a thin layer (the same way as the pink) and let it cure for at least 4 hours before moving on to the next step.

Prepare another 2.5 ounces of Amazing Clear Cast Epoxy according to package directions. Add 2-3 drops of green resin dye and sprinkle in a generous amount of both fine and chunky green glitter. Stir the resin until evenly incorporated.

Slowly fill the domino molds to the top with resin, but be careful not to overfill. Pop any bubbles that rise to the top using a lighter, heat gun, or by blowing through a straw. You could also lightly spritz the mold with 91% alcohol to remove surface bubbles.
Leave the resin to cure in an undisturbed, well ventilated area for 24 hours. You will know that the resin is completely cured when it is no longer tacky to the touch.

Carefully remove each of the domino pieces from the mold. Trim away any excess resin. As you can see, the molds create little holes in each of the domino pieces. However, they are a little tough to play with just like this.

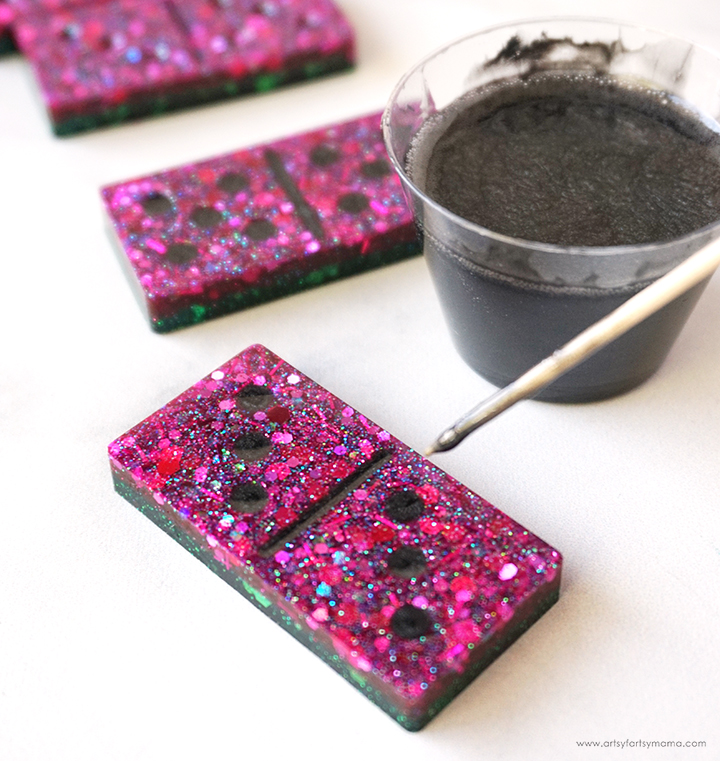
To make the domino dots and lines easier to see, you can fill them in a few different ways: acrylic paint, paint marker, or you can use resin and any variety of pigments, mica powders, glitter, or alcohol inks.
I mixed up about 20 cc of resin and added a drop of opaque black pigment to look like watermelon seeds! Mix the resin well and follow the same directions as before. Use a toothpick to carefully fill each of the dots and line on each domino piece. Be careful to not overfill or drip.
Once all of the domino pieces are done, leave the resin to cure for 12 hours. It will probably take less time than that because the area is so small, but you don't want to risk ruining your new domino set!

Once the dominoes are cured, you are free to play with them! With this set, you can have 2-4 players or team up into 2-4 groups. I know there are ways to keep score, but we don't really keep track at our house. You can look up some rules for the specifics, or feel free to make up your own.
How to Play Dominoes:
How to Play Dominoes:
- Place the dominoes face-down and shuffle them around. The first person to pick up a "double", or a domino with the same pattern on both sides, gets to go first! Put the dominoes back down and reshuffle.
- With 2 players, each player draws seven dominoes. With 3-4 players, each player draws five dominoes. The remaining dominoes (the boneyard) are left face-down on the table.
- The first player can put any domino down from their hand to start the game.
- Going clockwise, each player must place a domino down to match one end ONLY of the domino already on the table. If you start running out of room, you can place a domino down at a right angle. "Doubles" may be placed perpendicularly, and can be matched on all four sides (as shown above).
- If a player cannot make a match, they must select a domino from the "boneyard" and forfeits their turn.
- The game ends when a player uses all of their dominoes, and the "boneyard" is empty. If moves can no longer be made, the player with the least amount of dominoes left in their hand is the winner and goes first in the next round!

I had a lot of fun making this watermelon-inspired set of dominoes using resin, and we have had a blast playing round after round together as a family! As always, I would love to see your creations! Leave me a comment and let me know, or tag a photo on Facebook, Twitter, or Instagram! #AFMcrafts
Don't forget to Pin, Like, and Share!


Lindsay, your sparkly dominoes are so fun! Thanks for sharing at Vintage Charm!
ReplyDeleteThese are so pretty! What fun dominos. Are they strong enough to withstand the slamming on the table treatment that they get when older men from the caribbean play? My kids learnt from their uncles and they all love to shout a lot and slam the poor pieces down, lots of fun and very exciting!
ReplyDeleteThank you so much! I think they could definitely withstand some tough love! Sounds like a fun group to play dominoes with!
Delete