This "Super Dad" shirt with Free Cut File is the perfect gift for dad this Father's Day!

To make your own Super Dad shirt, you'll need these supplies:

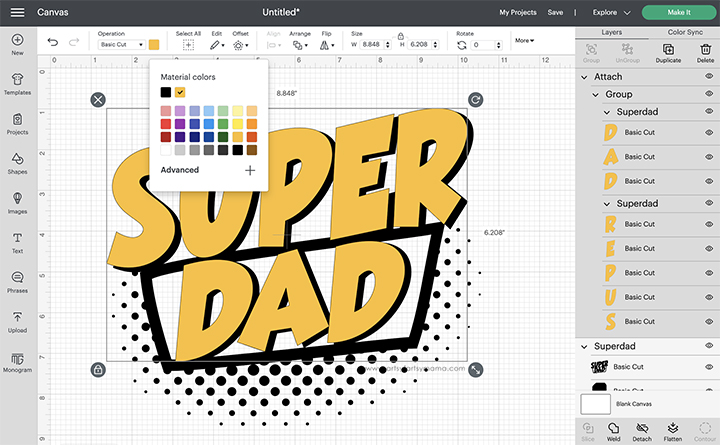
Upload the "Super Dad" cut file into Design Space and size the image to fit your shirt and change any colors as necessary. Make sure to mirror your image before cutting the iron-on vinyl, otherwise your design will be backwards when you put it on the shirt. To do this, select the mat thumbnail in Design Space before cutting, and click the "Mirror" toggle to reverse the image.
*Here's a great tutorial on how to upload your own images into Cricut Design Space.

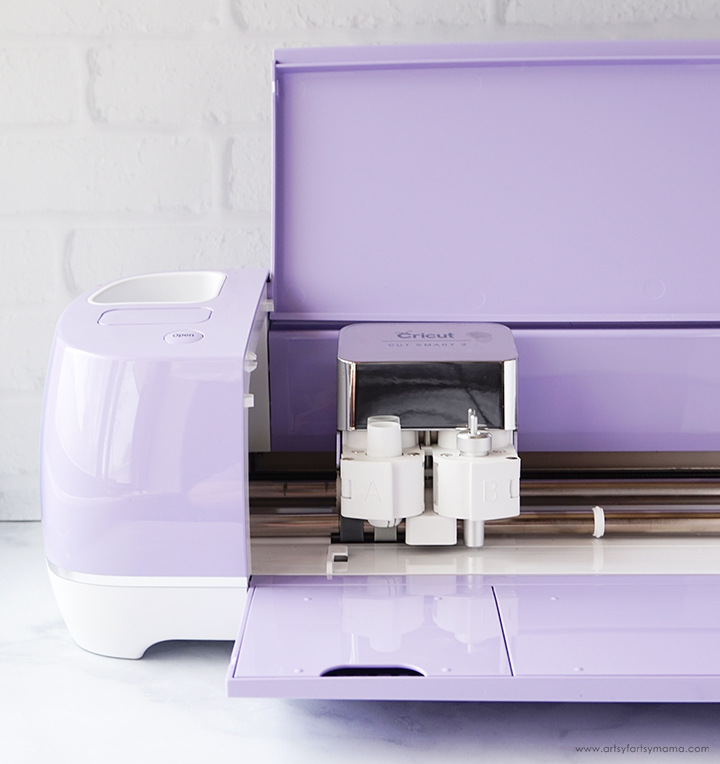
Place the vinyl face-down on the mat and load it into the machine. Change the material settings to the type of vinyl you are cutting, and then click the "Go" button to cut the vinyl.
"Weed" the excess vinyl by removing all of the parts that don't belong in the design. I usually peel away the outer edges starting at the corner and working my way around the design. Then I use weeding tools to remove the smaller pieces of the design.

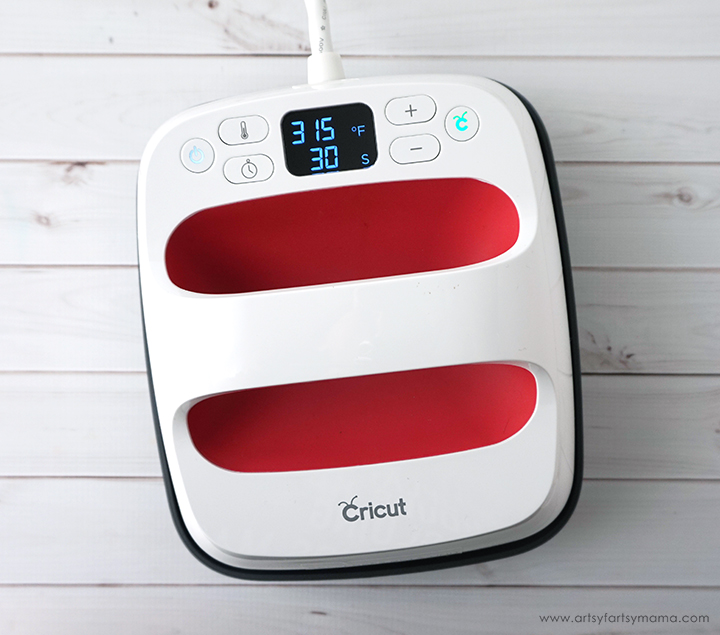
Plug in the EasyPress 2 and power it on. Each kind of HTV has a different heat and time setting, so be sure to check the recommended EasyPress settings before getting started. Adjust the heat and time setting to your shirt and vinyl specifications. Once the light turns green and the machine beeps, it's ready to use.
When the EasyPress is up to temperature, place your shirt on the EasyPress Mat and preheat the area for 5-10 seconds. Lay the HTV down on the shirt, with the clear carrier sheet facing up. Set the EasyPress over the vinyl and press the green "C" button. Hold firmly in place while the timer counts down. Turn the shirt over and press the EasyPress firmly again for 15 seconds. Peel off the carrier sheet while the vinyl is still warm.
*Here's a great tutorial on how to upload your own images into Cricut Design Space.

"Weed" the excess vinyl by removing all of the parts that don't belong in the design. I usually peel away the outer edges starting at the corner and working my way around the design. Then I use weeding tools to remove the smaller pieces of the design.

When the EasyPress is up to temperature, place your shirt on the EasyPress Mat and preheat the area for 5-10 seconds. Lay the HTV down on the shirt, with the clear carrier sheet facing up. Set the EasyPress over the vinyl and press the green "C" button. Hold firmly in place while the timer counts down. Turn the shirt over and press the EasyPress firmly again for 15 seconds. Peel off the carrier sheet while the vinyl is still warm.

The cut file comes with multiple file types, so you can actually cut the design with any vinyl cutting machine. All I ask is that you use the file for personal use only. I hope you enjoy using this cut file, and I would absolutely LOVE to see your creations!!

Share your favorite SUPER dad stories in the comments!
Don't forget to Pin, Like, and Share!


Would be fun for a super hero themed party too!
ReplyDeleteAlexandra
OnRockwoodLane.com
EyeLoveKnots.com