Create a gorgeous paint water dish using resin and colorful drops of alcohol ink!

New to resin? Be sure to check out Resin 101: Getting Started with Resin!
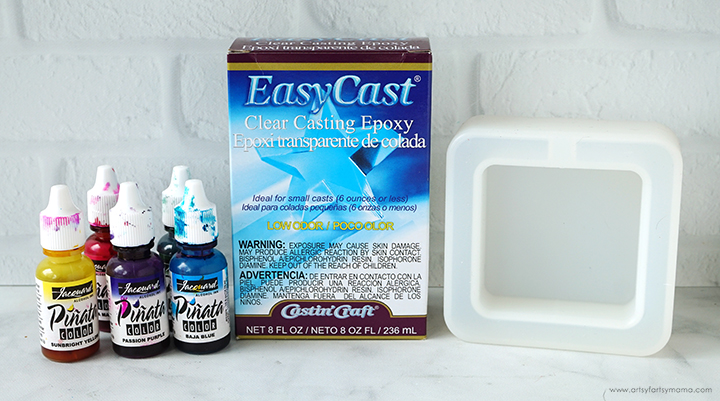

Prep your silicone mold with Mold Release and Conditioner Spray and let it dry completely. This will help your project to come out perfectly every time. You can also clean the mold afterward to extend the life of your molds.
If the resin mixture is still cloudy or streaky, you will need to keep stirring until it becomes clear. To keep the bubbles down to a minimum, don’t stir too fast, and give the resin a minute or two to “rest” after mixing to let any bubbles rise to the top.


To make your own Alcohol Ink Paint Water Dish, you will need these supplies:
*Save 10% on resin supplies when you shop ETI with code AFM
SAFETY FIRST: Before getting started, wear disposable gloves, protect your workspace, and be sure to work in a well-ventilated area!

Prepare 3 oz. of EasyCast Clear Casting Epoxy according to package directions. Stir the resin mixture together with a stir stick for two minutes, making sure to scrape the bottom and sides of the mixing cup. After 2 minutes, pour the resin into a clean mixing cup and stir the resin again for another minute or two with a clean stir stick.
If the resin mixture is still cloudy or streaky, you will need to keep stirring until it becomes clear. To keep the bubbles down to a minimum, don’t stir too fast, and give the resin a minute or two to “rest” after mixing to let any bubbles rise to the top.
Slowly pour the resin into the mold, filling it all the way to the top, but not overflowing. Let the resin sit for a few minutes, then use a straw, heat gun, or spritz with 91% alcohol to remove any air bubbles that rise to the top.




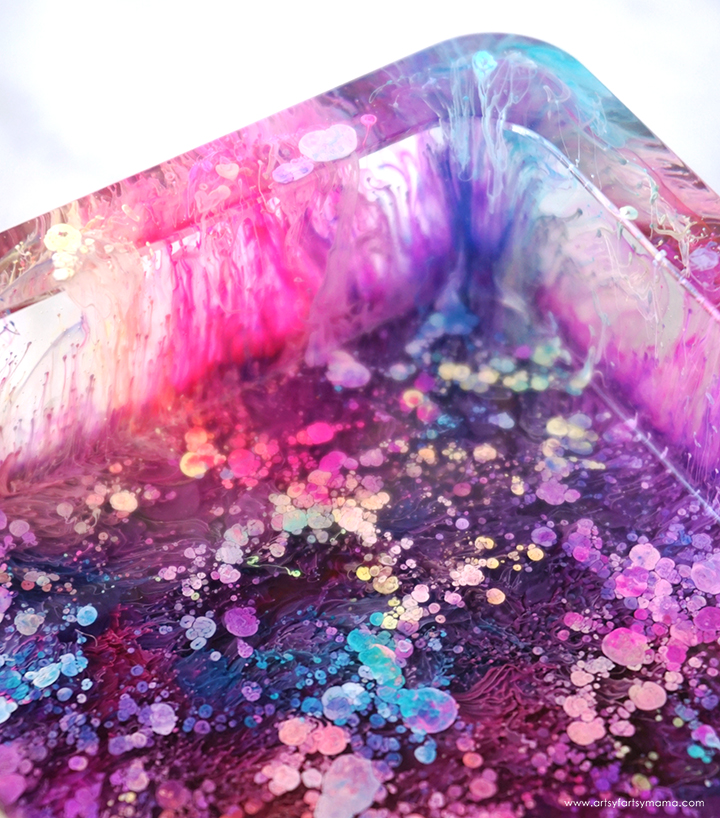
Here's another angle looking into the dish. Isn't it stunning?! It almost looks like a petri dish under a microscope, don't you think?
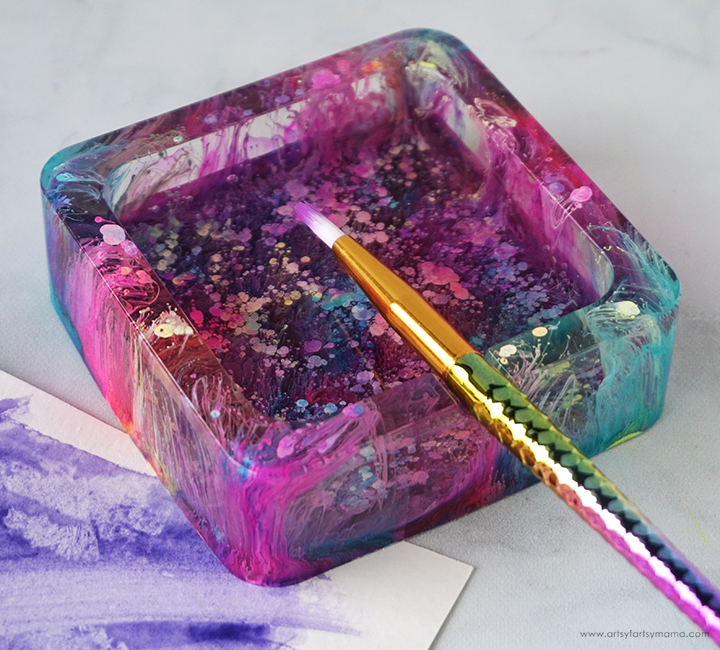
Fill the dish about halfway with water, and use this to rinse your brush while working on your watercolor projects! After using, simply rinse the dish out with water and mild soap. This paint water dish is a fun resin project, and I love how it turned out using alcohol inks! If you aren't into watercolor painting, you could definitely use this as a trinket dish instead to hold all kinds of things; like jewelry, coins, office supplies, and more!

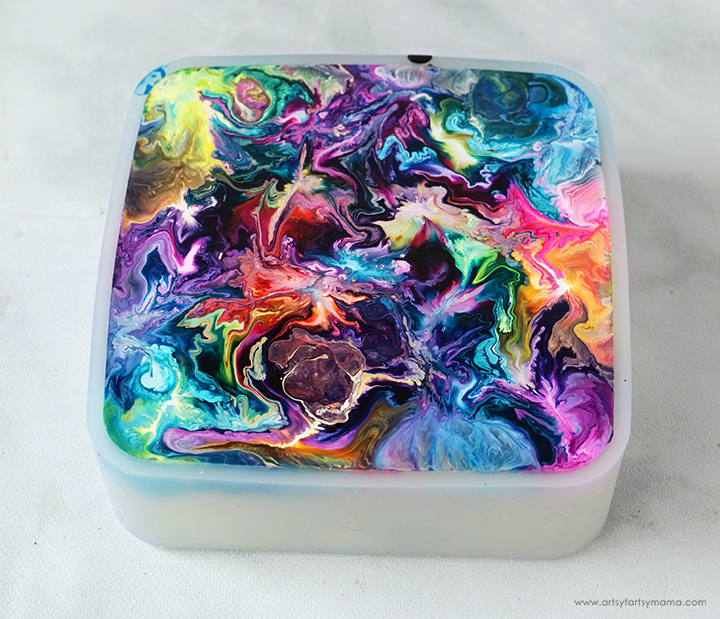
Add a drop of different colors of alcohol ink on top of the uncured resin. Be careful to not put colors next to each other (or on top of each other) that can become muddy (red/green, blue/orange, etc).
IMPORTANT: Protect your workspace and wear gloves, because alcohol inks will stain your hands and surfaces!

White alcohol ink is what makes the the magic happen! White alcohol ink is heavier, so it pushes through the resin to create this awesome “petri dish” effect. Add one drop of white ink to the center of the colored ink drops.

Add one more drop of the colored alcohol inks, and then top with white alcohol ink drops again. The ink will spread out with every drop. As tempting as it is, try not to add too much ink! It can affect the way the resin cures and can potentially muddy up the colors.
Watching the alcohol inks swirl together on the surface is SO mesmerizing to watch!

Don't worry about popping any surface bubbles at this point. Leave the resin to cure in an undisturbed area for 12-24 hours. You will know that the resin is completely cured when it is no longer tacky to the touch.
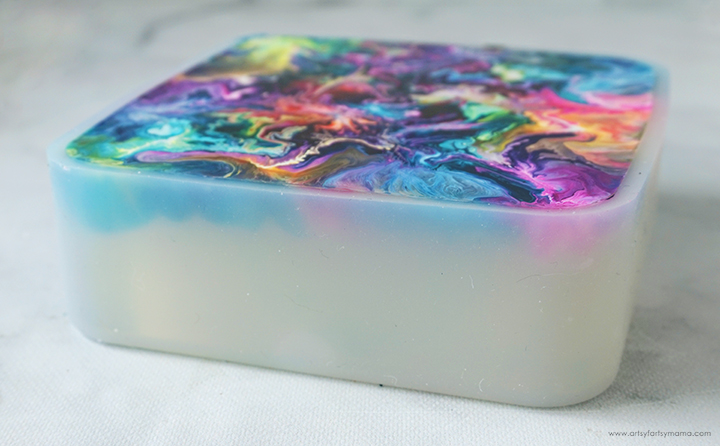
As the resin cures, you can see the inks slowly sinking down to the bottom. It's such a cool process!!

“Demolding” (removing resin from a mold) is one of my favorite steps when working with resin. My projects are usually made “upside-down”, so the big reveal so exciting!
If you have any over-poured resin around the edges, you can trim the excess away using a craft knife or scissors. Rough edges can be sanded them down with a fine grit sandpaper. If the resin still feels a little flexible, it may just need more time to cure. Let it sit in a warm, flat area to cure for a few hours (or days).

I am always blown away by the results of alcohol ink resin projects. The way the ink is suspended in the resin creates such a cool effect, and no two projects are the same.


Don't forget to Pin, Like, and Share!


Didn't that turn out great? I love the idea of crafting to support another craft, too! Thanks for sharing with us at Creatively Crafty #ccbg :)
ReplyDeleteThis is totally awesome! Pinning!
ReplyDeleteMichelle
https://mybijoulifeonline.com
Hi, I'm featuring your resin craft at this week's #HomeMattersParty. Drop by to see your picture and description. Party starts Thursday night 9pm. See you there!
ReplyDeleteI love your color choices. That's my wheelhouse. Thanks for sharing at Funtastic Friday
ReplyDelete