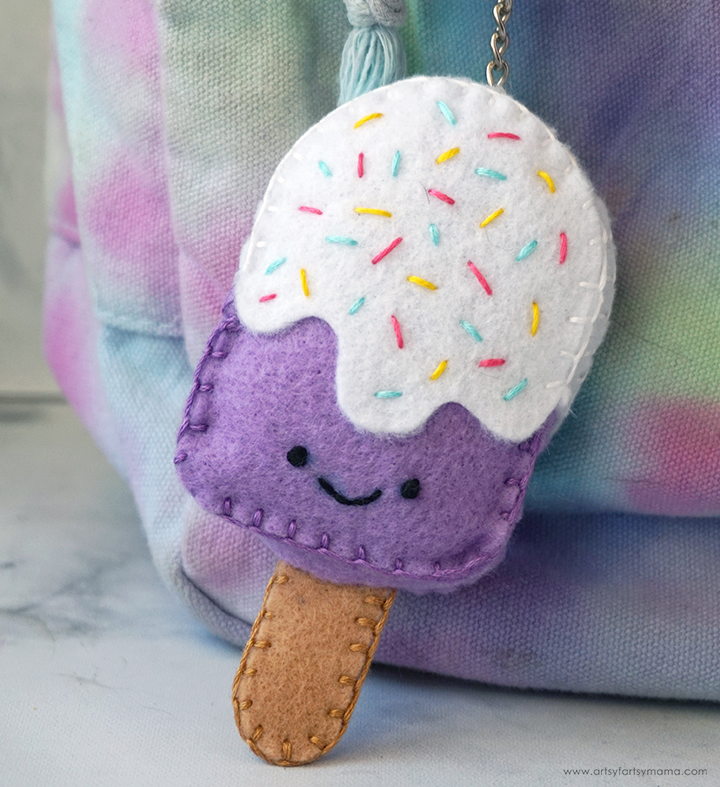
Use felt to make your own squishable Popsicle Keychain!
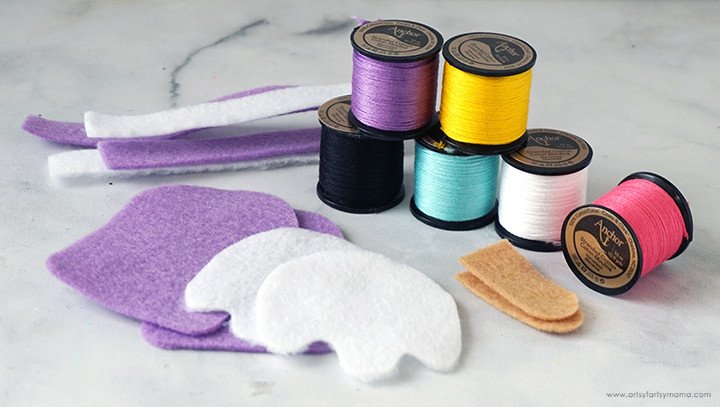
To make your own Felt Popsicle Keychain, you will need these supplies:
- Free Printable Popsicle Pattern (personal use only)
- Kunin Felt - purple, white, tan
- Anchor Embroidery Floss
- Embroidery Needle
- Glue Stick
- Poly-Fil
- Key Ring with Chain
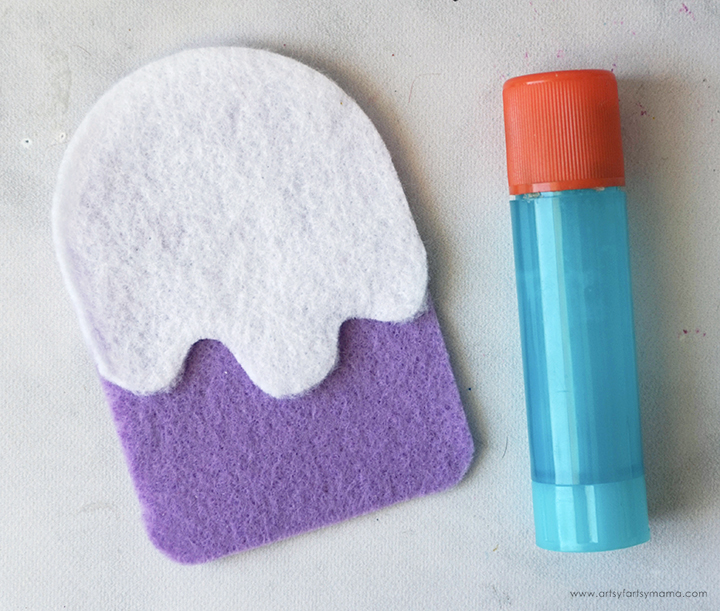
Download and print the Popsicle Pattern (for personal use only). Choose one color of felt for the main popsicle color, one for the "dipped" section, and I would recommend a tan color for the stick. I used my Cricut to do the hard work of cutting out the pattern pieces for me, but hand-cutting the pattern using with scissors will work just as well!
Lay the main (purple) popsicle piece down and rub a glue stick on the back of the dipped (white) piece, making sure to cover near the edges. Line the top and side edges up with the top of the popsicle piece and press it down well. The pieces will be sewn together, but the addition of the glue stick makes the felt stay in place until they are sewn together. Repeat this step for the other popsicle piece.
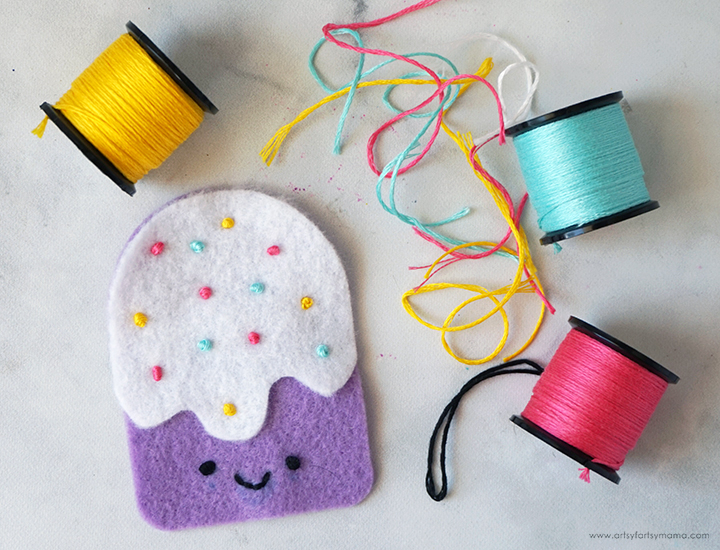
Draw a little face on the purple section of felt (optional) with a water-soluble marker. Sew over the face using black embroidery floss. I recommend doing French Knots for the eyes!
Next, grab some embroidery floss in coordinating colors to make the sprinkles - used a pink, yellow, and teal. Have fun with different kinds of stitches to make the sprinkles! On one side, I used French Knots to make them look nonpareil-like, and on the other I used a simple straight stitch to make traditional sprinkles.
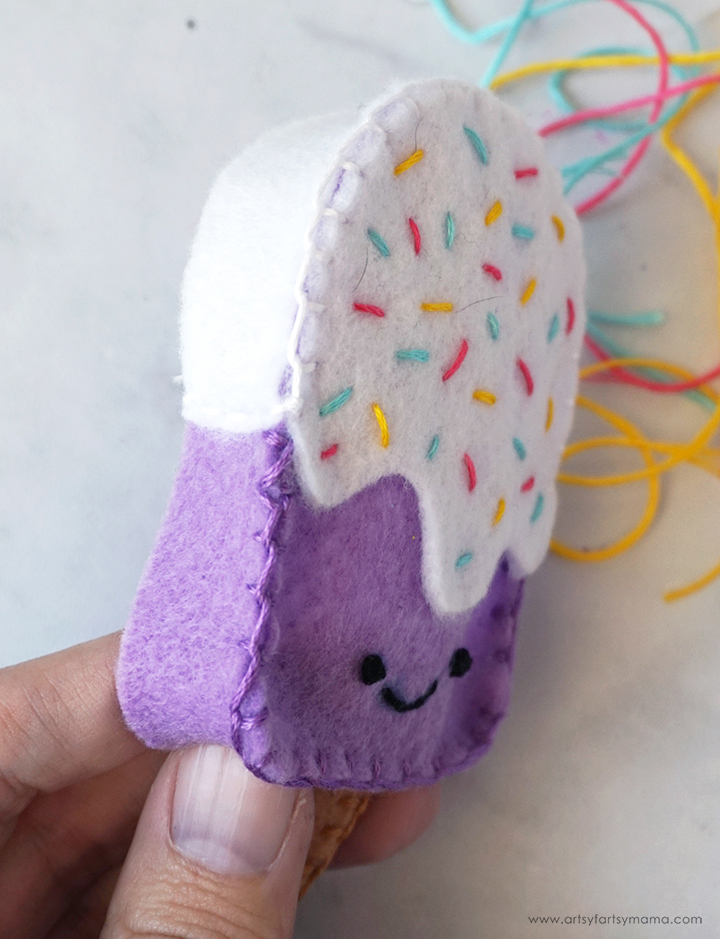
Attach the ends of the white and purple felt strips together with a straight stitch. Line the seam up on the side with the white felt on one of the popsicle pieces, wrong sides together. Use a blanket stitch using purple embroidery floss to sew the purple sections and white to sew the top pieces together. When you get to the other side, trim the excess white and purple strips to fit at the seam.

Put the two felt stick pieces together and use a blanket stitch around the sides and curve at the bottom. Since the top won't be showing, you can leave that part open.

Cut a small horizontal slit in the center of the bottom of the popsicle. Put the stick through the slit and use a straight stitch through the opening and the stick to hold it in place.
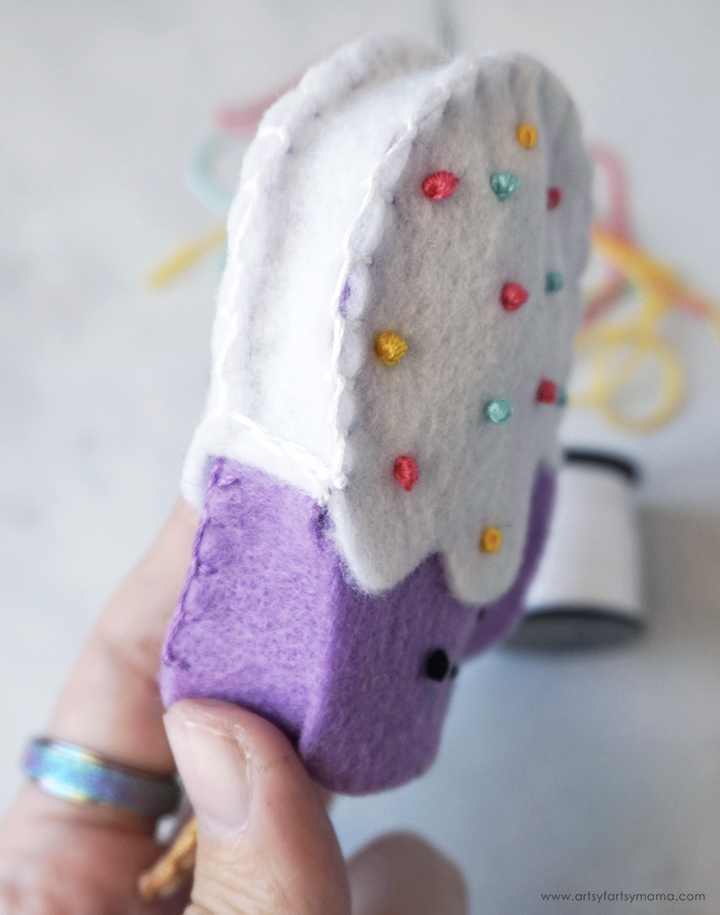
Next, line the top of the popsicle edge with the front side of the popsicle and use a pin to hold it in place. Start with the white embroidery floss on the side seam and sew just around the top (white) half of the popsicle. Switch to the purple embroidery floss and sew around one side and the bottom of the popsicle, leaving the other side open.

Leave the floss and needle connected and fill the popsicle with Poly-Fil through the opening. Gently squish the filling evenly throughout the popsicle until you are happy with its plush-ness!

Finish sewing the popsicle closed to complete the plush popsicle! Isn't this the cutest little felt treat?! I kind of want to make these in ALL the colors just to have a squishy popsicle collection!
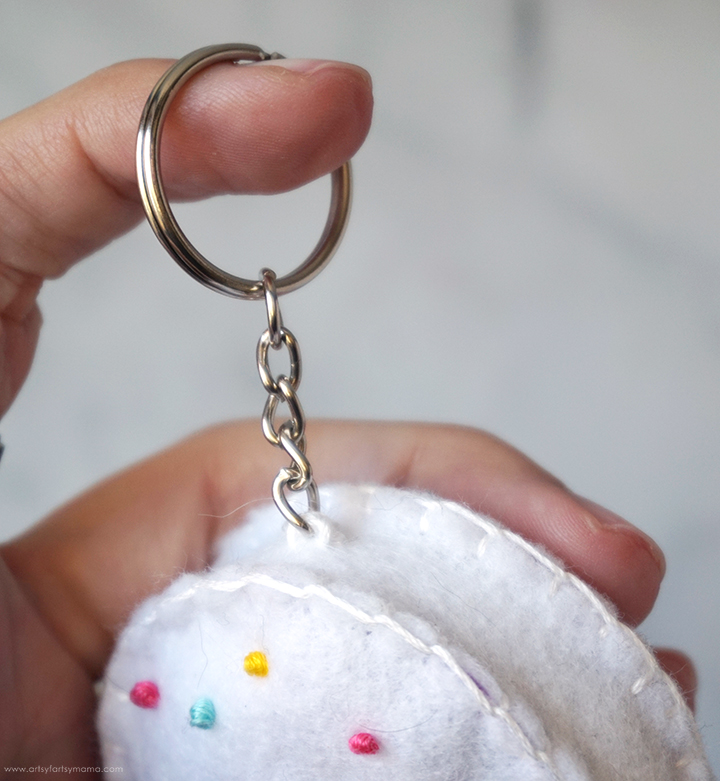
To turn this little guy into a keychain, hold the end of the chain attached to a key ring at the top center of the popsicle. Use white embroidery floss to sew through the felt and around the last link of the chain to hold it in place.

Now the Felt Popsicle Keychain can be attached to practically anything! My daughter loves having this happy little popsicle dangling from the zipper of her tie dyed backpack. These popsicles are a lot of fun to make, and are surprisingly simple. They would be a "sweet" activity for teens to make for their own collections or to share with friends.

Want more felt popsicle inspiration? Check out these adorable projects that Laura and Beth made during our latest Team Creative Crafts Create-a-Thon! Laura from Me & My Inklings made this fun Popsicle Color Matching Game with Free Printable Word Search, and Beth from Creatively Beth made the cutest (and happiest) Creamsicle I've ever seen!
As always, I would love to see your creations! Leave me a comment, or tag a photo on Facebook, Twitter, or Instagram! #AFMcrafts
Don't forget to Pin, Like, and Share!


