Customize a blank notebook cover with a stencil and paint!

I found this blank white notebook at the dollar store a few years ago. I didn't know what to do with it, but recognized that it had potential to become something great. Now that I've gotten a little more experience making reusable stencils with Ikonart, I was able to transform this literal blank canvas into a special and unique doodling journal for my daughter to use! It was so simple, and I love that I was able to make something that looks like it came from a store.
New to making reusable stencils? Here's how to Get Started with Ikonart!

To make your own DIY Stenciled Notebook Cover, you will need these supplies:
*Save 15% on Ikonart supplies when you shop with code AFM15


The next step in the process is exposing the stencil film. Set up the exposure stand with UV LED Light by following the directions included in the kit. Ikonart Stencil Film is light sensitive, so be careful to keep it out of sunlight and bright lights before exposure. Cut a piece of the film the same size as the design print.
Lay the piece of film down on the base of the stand with the textured side facing up. Place the printed design on top of the stencil film, making sure it's right-side up - meaning that if there are words in your design, you should be able to read them.
Lastly, place the clear exposure sheet (found in the stencil film pack) on top and press it down well to seal the design tight against the stencil film. Turn the exposure light on and expose the film for 35 seconds.

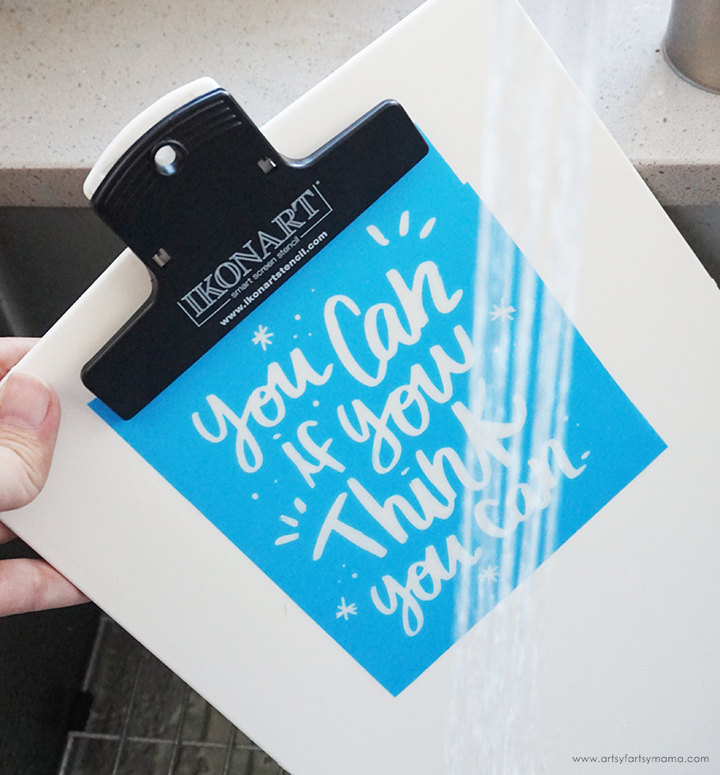
The final step in the stencil-making process is to washout, or rinse the stencil. Clip the exposed stencil film to the Ikonart clipboard with the shiny side (carrier sheet) touching the clipboard. Use the kitchen sink sprayer to rinse the stencil film with warm water until the design shows through and becomes completely clear. The washout process shouldn't take more than 3 minutes.
Gently blot excess water off the from of the stencil, and remove it from the clipboard. Hang or lay the stencil flat to dry for about 45 minutes. When the stencil is dry, you shouldn't see any water spots or discoloration. Place the the stencil back on the exposure stand and expose it again for at least 2 minutes without the clear cover sheet. This extra exposure time will increase the durability of the stencil so you can get as much use out of it as possible.
Use a permanent marker and write "back" on the carrier sheet (shiny side) on the back of the stencil.

Remove the clear backing from the stencil and center the design on the front of the notebook. Once the stencil is in place, rub it down well.
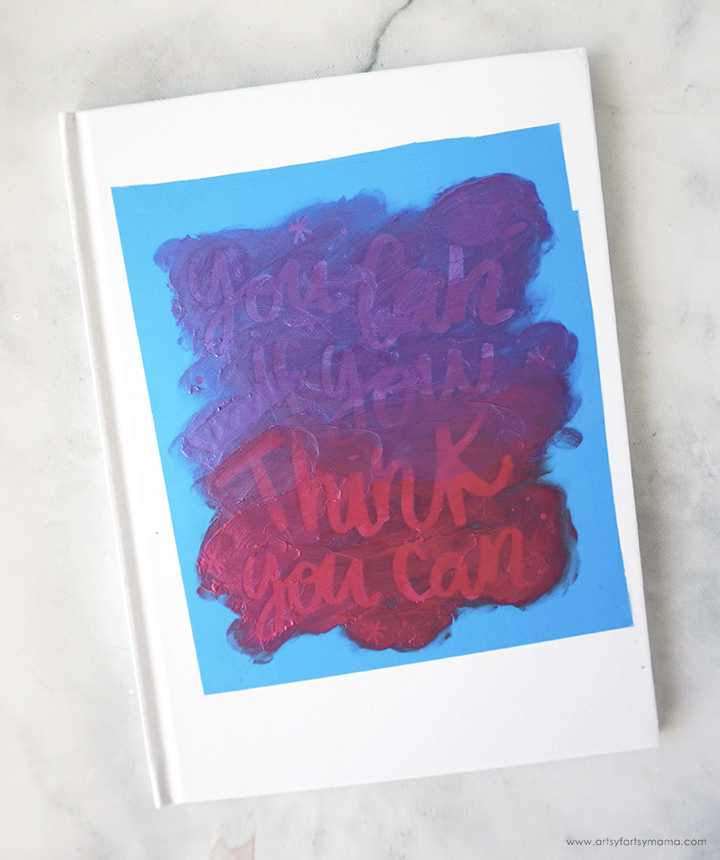
Add a thin line of purple FolkArt Color Shift paint at the top of the stencil (but not near the edge), and use the squeegee to lightly pull the paint over the stencil. To get an ombre effect, stop pulling the paint when you're about halfway down the stencil. Rotate the notebook so that the wording is upside down, and add a thin line of pink Color Shift paint at the top of the stencil (again, away from the edge). Pull the paint to the center of the stencil so that it meets the purple. Lightly drag the squeegee to gently blend the paint in the center.
Pull the stencil away to reveal your newly customized notebook!
To wash your stencil so that it can be used again and again, first get the clipboard wet so your stencil doesn't stick to it. Place the stencil on the clipboard with the textured side up, and lightly rub the stencil under cold running water to remove all the paint.
Do not rub or scrub the adhesive side of the stencil, and NEVER use anything other than water to wash the stencils. To prevent the stencil from breaking down, don't ever leave the stencils to soak.
Remove the stencil from the clipboard and lay it down with the adhesive side up. While the stencil is still wet, place the carrier sheet onto the stencil so that the word “BACK” is readable. Hang or lay the stencil flat to dry completely.

This was such a fun and simple stenciling project, and think it would make such a great gift! I'd love to hear what you think about this notebook, or if you are interested in trying out reusable stencils for yourself. If you've made stenciled projects, I would love to see your creations! Share yours on Instagram, Facebook, or leave a comment/photo on the project pin on Pinterest! #AFMCrafts
Don't forget to Pin, Like, and Share!


It looks great! I don't have any stencils but your post inspired me to pin it for ideas on how to updates some binders I inherited from a student move. Thanks for sharing your posts each week. #HomeMattersParty
ReplyDeleteWow, making your own stencils sounds like fun! So many possibilities.
ReplyDelete