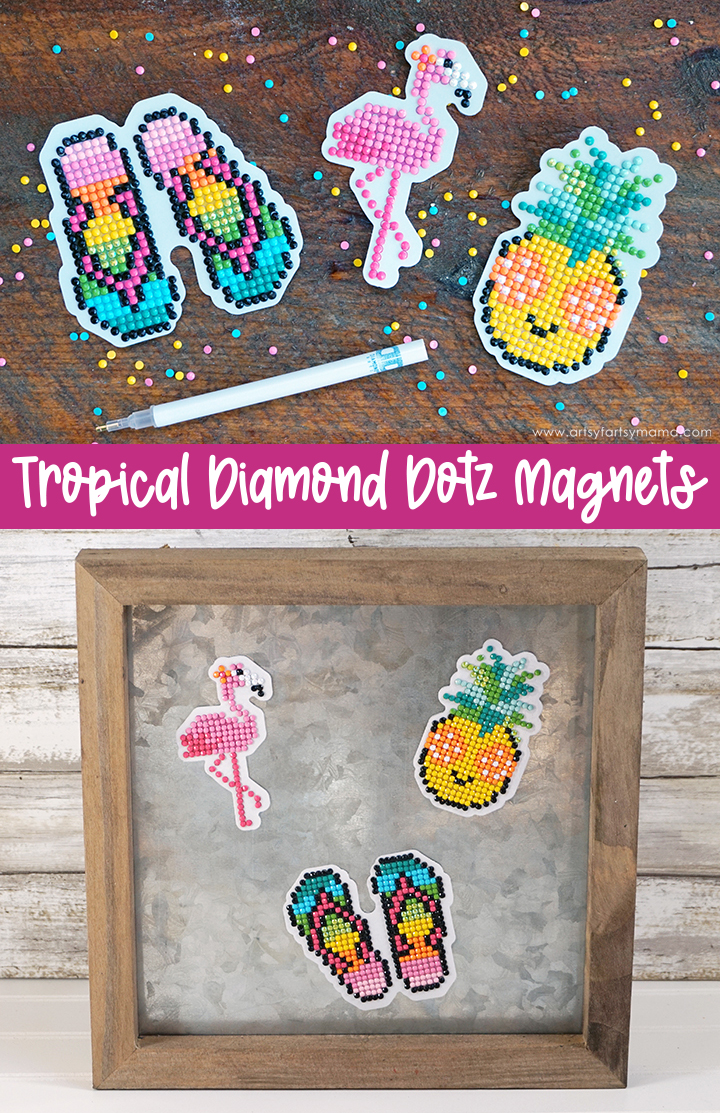
Transform Tropical Diamond Dotz Dotzies stickers into colorful magnets!

Have you heard of diamond painting? It's been on my list of crafts to try for quite a while, and I finally got the chance to try it. I started small with a pack of Diamond Dotz Dotzies stickers kit and had the best time! These tropical stickers are adorable, and you can use them for so many different things. I'm excited to show you how easy diamond painting is, and how you can transform these stickers into sparkling magnets.

For a beginning diamond-crafter, I would recommend starting with a smaller project first to see how you like it. Each Diamond Dotz Dotzies Kit comes with 3 coordinating stickers, and so many fun theme options to choose from.
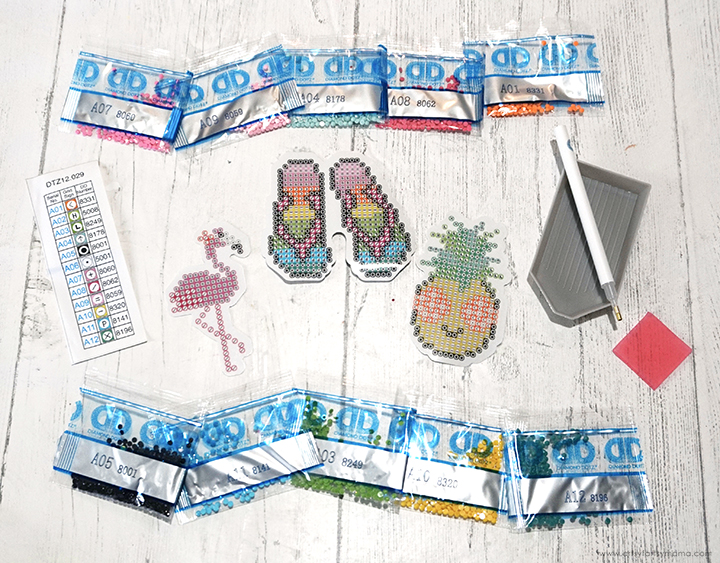
Inside the kit, you will get 3 themed stickers, a variety of diamonds in the colors needed to complete the projects, a diamond color key sheet (to refer to when placing diamonds), a stylus, a craft tray, and some wax.

The Diamond Dotz stylus has a hollowed tip. When you press the stylus into the wax, it fills up the tip with wax. The stylus and wax are essential to diamond painting because the tackiness of the wax makes it simple for you to transfer the tiny diamond pieces to your project.

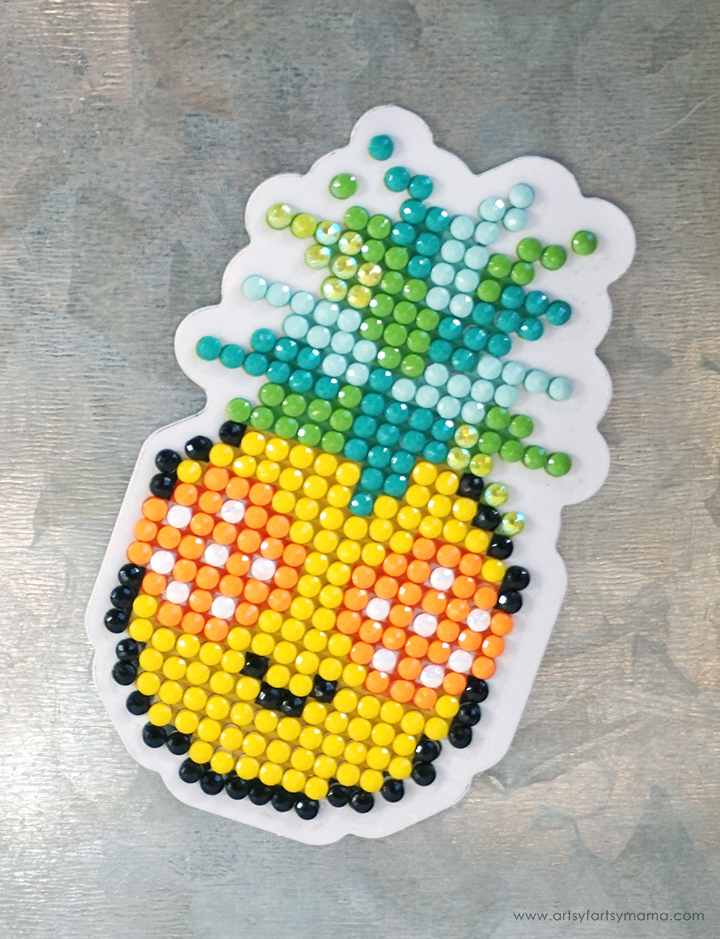
As you can see, the diamond blanks (stickers, in this case) are covered with varying miniature symbols. Each symbol refers to a specific color of diamond, which is where the diamond color key sheet is needed. Find a specific symbol on the key, and you will find the color code for the diamonds. For this pineapple, I started with the < symbol, which matched A01, the orange packet of diamonds.
Pour the diamonds into the craft tray, and gently shake it to flip the diamonds so that they are faceted-side up. Remove the plastic cover from the blank to reveal the adhesive background to get started!

Gently press the stylus tip onto the faceted side of a diamond, and place it over the symbol. The blank is extremely sticky, so the diamond stays in place like magic! Keep placing diamonds on the project until all of those specific symbols are covered.

Since all three of the stickers will be using the same diamond colors, I recommend placing the same diamond colors at the same time. I liked it better because I didn't have to pour the same diamonds out again later.
Like crafting, this is totally a personal preference. Do what works for you! If you want to do each sticker separately, put the extra diamonds back into the original packaging and set it aside to come back to later.

Another thing I was really excited about was the fact that along with bright and vibrant colors of diamonds, there are also iridescent colors included for some extra sparkle!

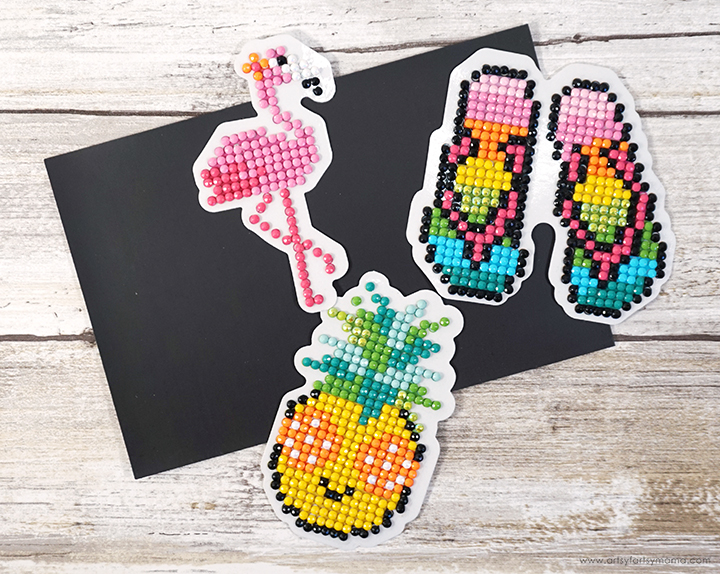
Once the stickers are finished, take a minute to admire your work - because they are literally a work of art!! The project takes 20-30 minutes, so it's a quick craft that even teens will enjoy!
To turn these sparkling stickers into magnets, I used an adhesive magnetic sheet. Use a pencil to trace the stickers onto the adhesive side of the magnet sheet. Cut out the tracing inside the pencil marks to make the magnet smaller than the sticker.

Peel the adhesive backing off of the magnet, and stick it to the back of the sticker. Repeat for the other two stickers to make the cutest blinged magnets you have ever seen!

Place the magnets on your fridge, locker, or anywhere else you can place a magnet! They make me smile every time I look at them. I found diamond painting to be a really relaxing craft, and I honestly can't wait to get the diamonds out again for a larger project.
Don't forget to Pin, Like, and Share!


