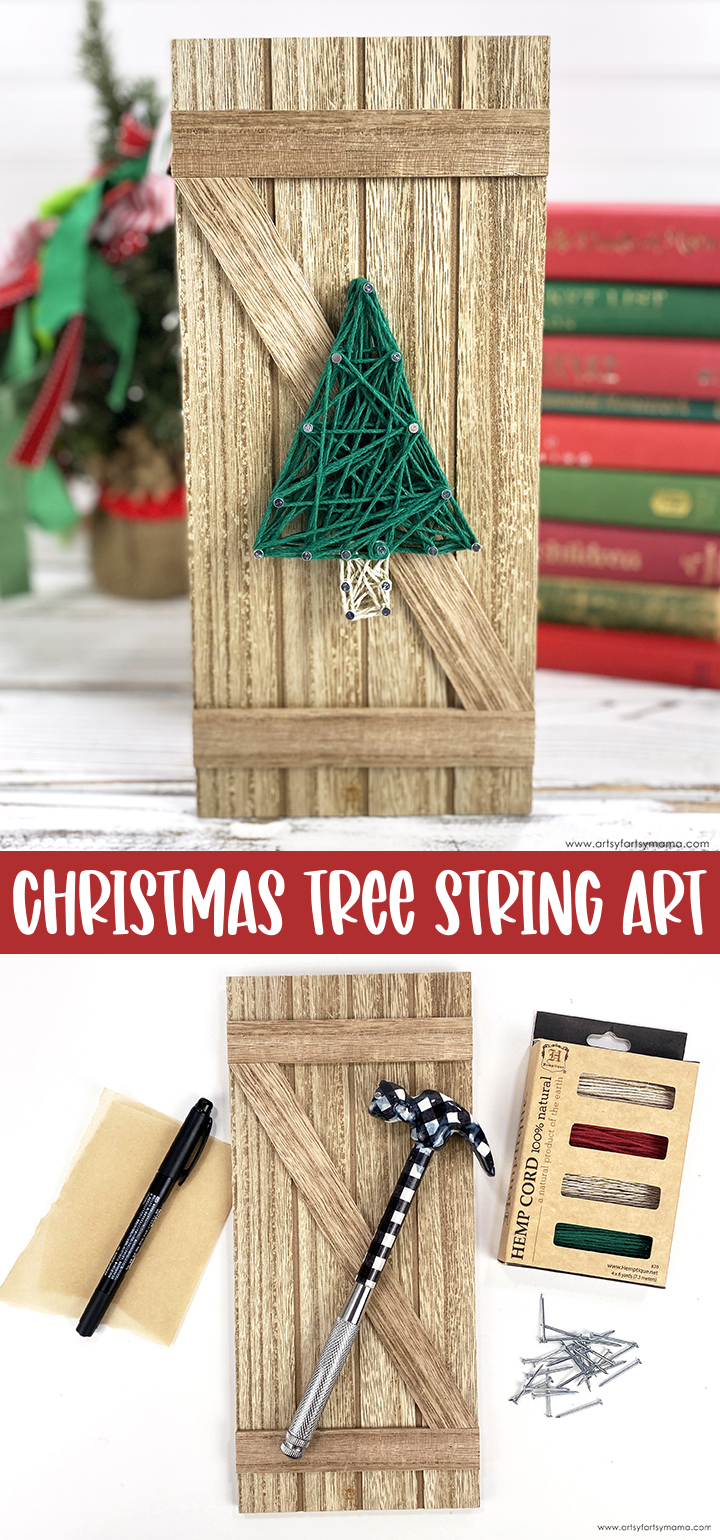
This Christmas Tree String Art is a simple piece of holiday decor that anyone can make!
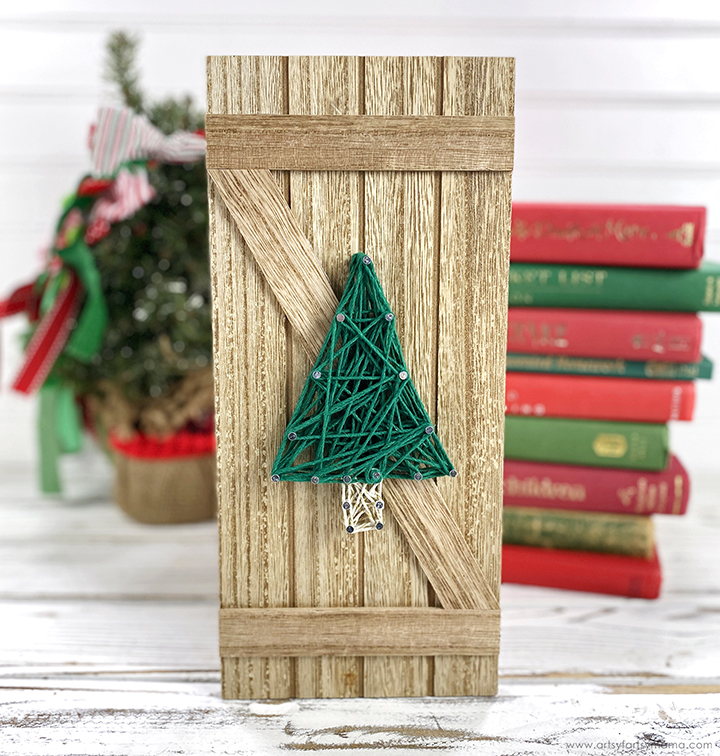

To make your own Christmas Tree String Art, you will need these supplies:
- Twine or Cord
- Wood Blank
- Nails
- Craft Hammer
- Parchment Paper (or tracing paper)
- Marker

Next, tear a piece of tracing or parchment paper to fit the blank and tape it into place. Draw your design (in this case, a tree) onto the paper with a marker. The more simple the design, the better! If you aren't comfortable with your drawing skills, you could find an image to print and then trace onto the parchment paper.

Small, regular nails from the hardware store will work great, as long as they have a larger head to keep the cord from slipping off the tops when stringing. Place a piece of cork or scrap underneath the wood to protect your workspace.
Carefully hammer the nails into place, following the pattern. Place the nails between 1/2 inch to an inch apart. Depending on how far apart the nails are, your design could look very different. Once you have all of the nails in place, tear the pattern away from the board.
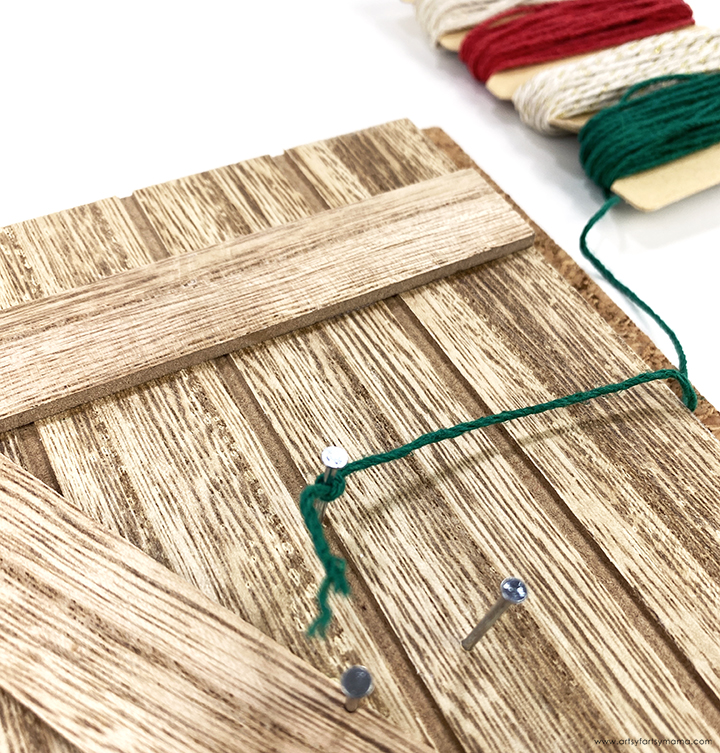
Unwrap the green cord and find the end. Choose one nail as your starting point and tie a knot around it. To create some extra stability, cut the excess cord near the knot and dab a bit of clear-drying glue or clear nail polish on the knot and let it dry. This step is extremely helpful if kids are doing this project!
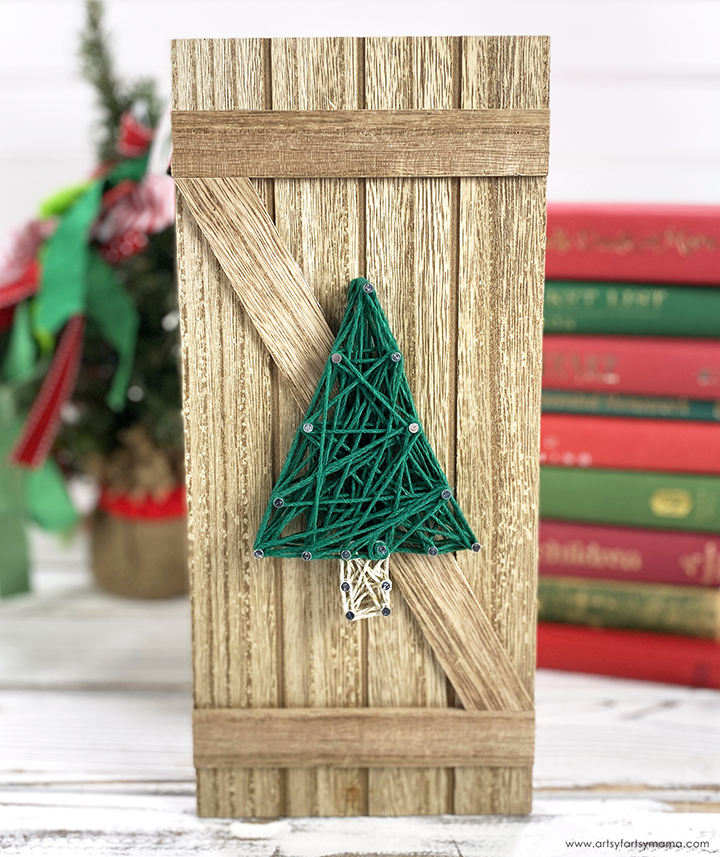
This is such a fun holiday craft that anyone in the family can participate in! I love how simple the finished string art looks, but also makes such a statement. Once you've made string art once, it's hard to not want to make something similar for every holiday and season!


Carefully hammer the nails into place, following the pattern. Place the nails between 1/2 inch to an inch apart. Depending on how far apart the nails are, your design could look very different. Once you have all of the nails in place, tear the pattern away from the board.

Unwrap the green cord and find the end. Choose one nail as your starting point and tie a knot around it. To create some extra stability, cut the excess cord near the knot and dab a bit of clear-drying glue or clear nail polish on the knot and let it dry. This step is extremely helpful if kids are doing this project!

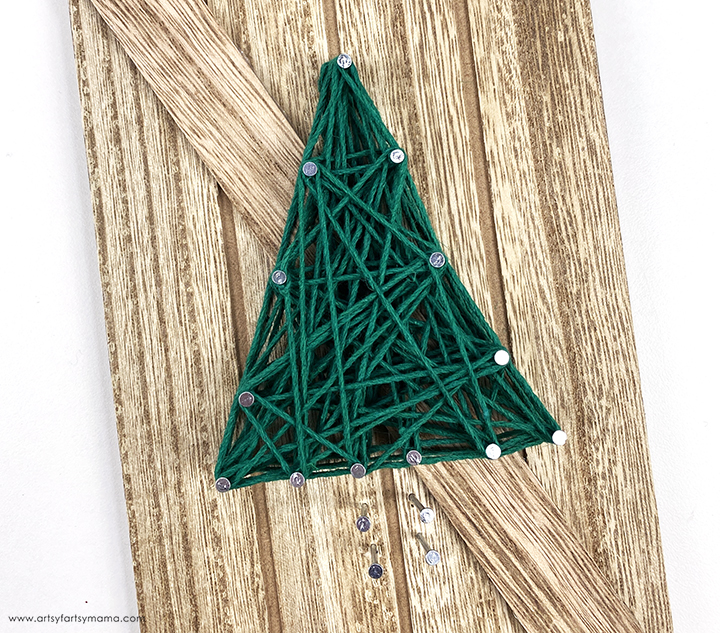
Wrap the string around the nails in any way that you want. Personally, I like to go around the outside edge first and then wrap the cord in all different directions. There are so many options that will create a totally different look - like making an outer edge (or not), how much cord is used, stringing straight vs. random directions, etc.
Once you are done with the green cord, tie off the end and seal with clear nail polish, if desired.
Once you are done with the green cord, tie off the end and seal with clear nail polish, if desired.
Next, use some natural or light brown (something contrasting to your blank) cord and wrap it around the bottom nails to create the trunk of the tree. Once finished, trim and seal the cord.

Want more Hemptique craft inspiration? Check out these adorable holiday projects!

Creatively Beth used Hemptique to step up her Christmas wrapping game! I never thought about using twine and cord as decorative wrapping, and absolutely love how these gifts look.

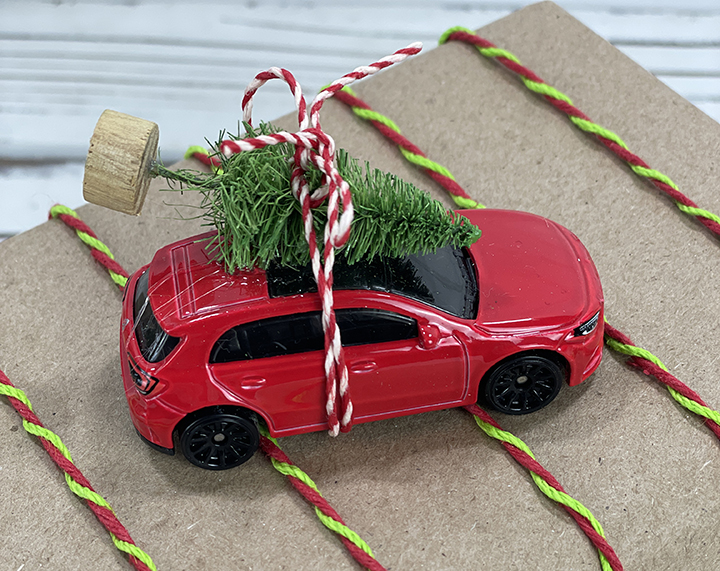
Me & My Inklings created adorable ornaments using Hemptique, miniature trees, and toy cars! It's genius and is pretty much one of the cutest things I have ever seen!!



Ahhh! String art brings back some childhood memories. Thanks for sharing.
ReplyDelete