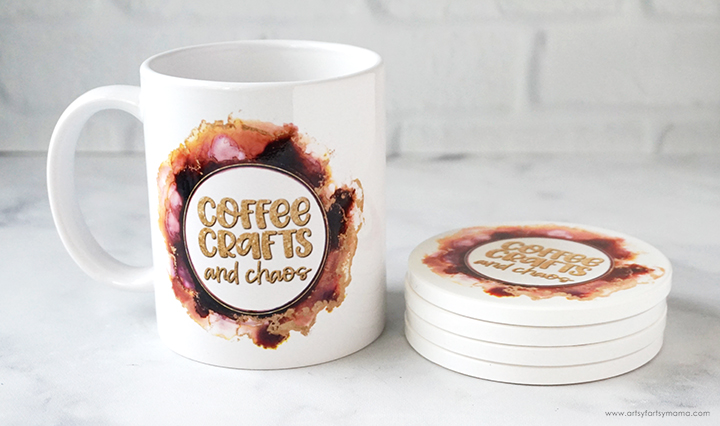
Create a custom coffee mug and coaster set to gift to every coffee lover you know!

I'm always looking for new and creative gift ideas that don't break the bank. One gift that I'm really excited about this custom coffee-themed gift set that I just put together for one of my coffee-loving friends. It's really fun and easy to do, and want to show you how you can do it, too! I'd love to hear what you think, and what you would add to the gift. There are so many options!!

This Coffee Mug + Coaster Gift Set is made using sublimation. The sublimation process is similar to applying Infusible Ink, but instead of using Infusible Ink transfer sheets, you can print your own custom designs using a sublimation printer*.
*New to sublimation? Be sure to check out my sublimation printing process.
For this specific Coffee Mug + Coaster set, you will need these supplies:
Coffee Coasters


Wipe the coasters well with a lint-free cloth. Center the prints face-down on top of the coaster blanks. Tape the paper in place using heat-resistant tape.
When doing sublimation, you need to put everything down in layers. First, put the EasyPress Mat on your workspace. Place a piece of cardstock down on the mat to protect it from getting any ink on it. Next, arrange the coasters face-down on the cardstock. Last, top the coasters with some parchment paper or another sheet of cardstock to also protect your EasyPress from getting ink on it.
Now for some sublimation MAGIC! Set the EasyPress to 400º and 300 seconds. Gently lay the EasyPress down over the coasters and press the green Cricut icon to start the timer. You don't need to hold it or apply any extra pressure. Let the EasyPress do all the work! Once the timer beeps, carefully remove the EasyPress and let the coasters cool COMPLETELY before attempting to move them!! They will be VERY hot!

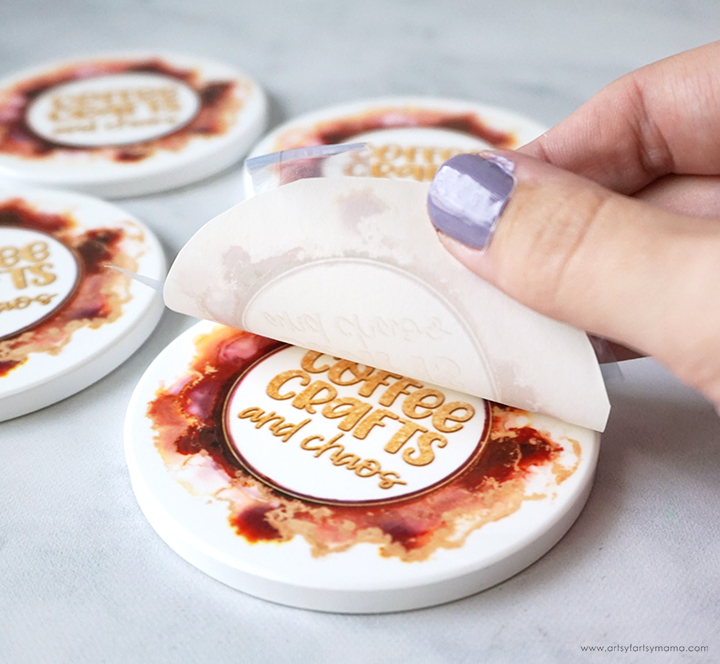
Once the coasters are cool to the touch, remove the tape and paper to reveal the coasters! You will notice that the colors will be MUCH more vibrant than the prints were on the paper. The reveal is my favorite step of the whole process!

Coffee Mug

To make the mug, download the FREE coffee sublimation design and size the image to fit on one side of the mug. To print the image on the other side of the mug as well, you will need to duplicate the image and place it on the opposite side of the paper. If you are using a Sawgrass printer, you can use their CreativeStudio software to add the image to the mug template so that it fits perfectly.
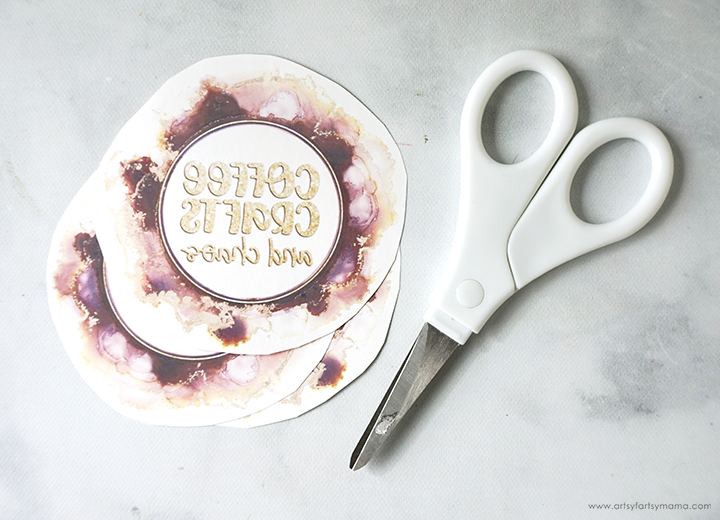
Print the design on sublimation transfer paper and make sure to mirror the image. Cut the paper straight across above and below the design using scissors or a paper trimmer.

Wipe the mug down with alcohol and a lint-free cloth. Center the paper on the mug and add a piece of heat resistant tape to each end and then along the top and bottom edges. To make sure it definitely doesn't move, I added a few more pieces of tape along the center.

Now that the mug has been prepped, it can be heated and pressed using a Mug Press, or by using an oven! I personally don't have a Mug Press (yet), so I go for the oven method every time using a silicone mug wrap.

Carefully remove the tape and sublimation transfer paper immediately after heating/pressing. It will be VERY hot, so please use caution! The design is on the mug permanently, so you don't need to worry about the design rubbing off or peeling. You can even put the mugs in the dishwasher without worrying!


Put your favorite coffee (I used Starbucks instant packets) into the mug, as well as any additional treats. I also added a Starbucks gift card so that the recipient of the gift can go choose more of their favorite coffee goodies.

Every gift needs a tag, and this coffee-themed card from Laura Kelly's Sprinkle Kindness Lunch Notes is the perfect one! The sentiment on the front is punny and cute, and there is space on the back to write your own message to the gift recipient.

Stack the coasters and place them into the bottom of a cellophane treat bag. Put the mug filled with the coffee surprises on top of the coasters, and then close the top of the bag right above the top of the mug with some glittery gold ribbon! Now that you see it all packaged up, who wouldn't want to receive a gift like this?! It's such a fun and unique gift that you could personalize for everyone you know.
As always, I would love to see your creations! Share your creations on Instagram, Facebook, or leave a comment/photo on the project pin on Pinterest! #AFMCrafts
Don't forget to Pin, Like, and Share!


