Dress up a gift card with a handmade Cocoa Gift Card Holder (with FREE Cut File)!
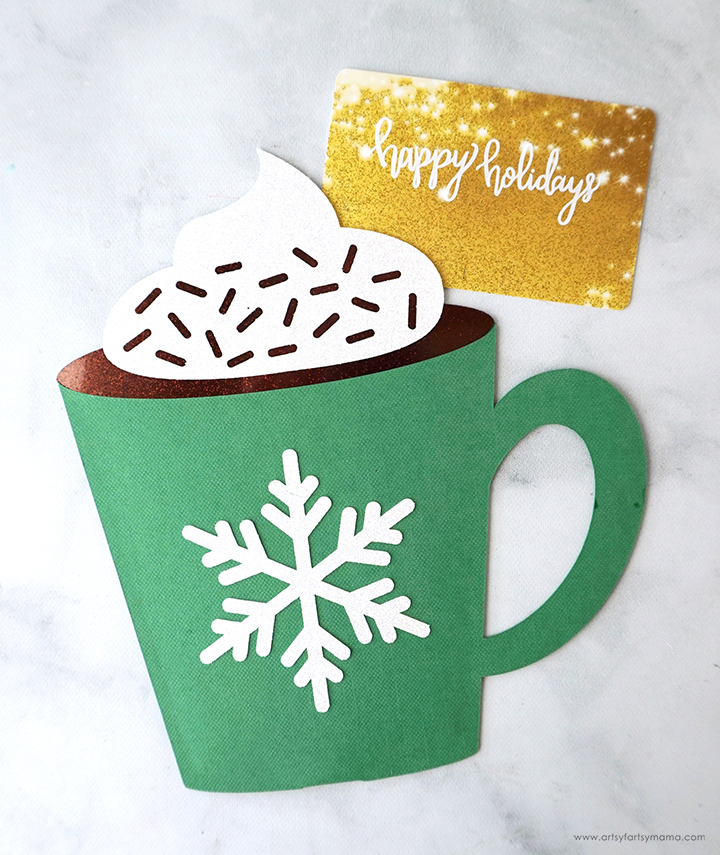
When it comes to gift-giving, my go-to is gift cards! It may seem impersonal to some, but I think it can be a great way to let someone choose whatever they want. The way I add a handmade touch to an otherwise "boring" gift idea is by making the wrapping that the gift card goes in. This Cocoa Gift Card Holder was made using my Cricut machine, and is put together in a matter of minutes. Talk about a fantastic last-minute gift idea!! No matter what type of gift card you choose to give, this DIY gift card holder (with FREE cut file) allows you to add that special personal touch.
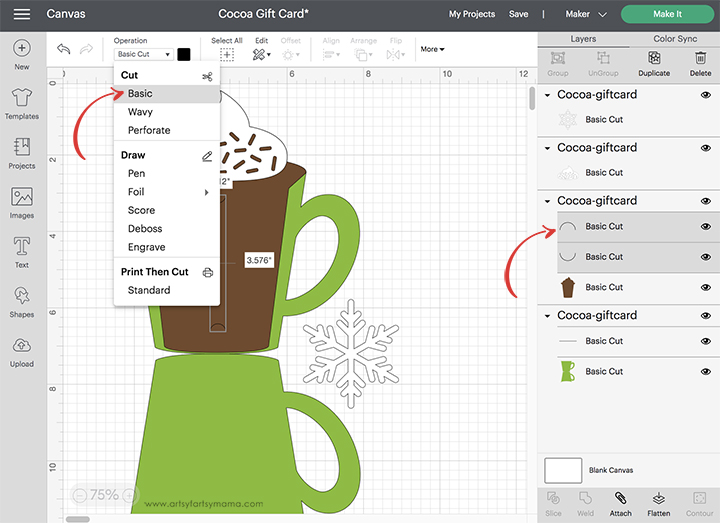
Upload the Cocoa Gift Card Holder Cut File (personal use only) into Design Space. It should already be sized perfectly. To change the paper colors, click on each individual piece of the design and click the colored box next to the "Operation" drop down menu.
*Here's a great tutorial on how to upload your own images into Cricut Design Space.
Next, select the two "U" shaped parts of the project (as shown above). Click the drop-down menu in the "Operation" section and make sure that the cut is set to "Basic". This will make sure that the marks are cut through with the right blade.

There is a small line in the center of the cup image. Select the line and click the drop-down menu in the "Operation" section and make sure that it is set to "Score". This will help you to fold the card easier.

Once the lines have been set to the correct settings, select the score line and the cup piece. Click "Attach" at the bottom right. Do the same thing with the "U" marks and the brown cocoa piece. If you don't attach these pieces together, they will arrange themselves randomly on the mat and won't be cut correctly when the machine is cutting.
Click the green "Make It" button at the top right of the screen to move to the next step.
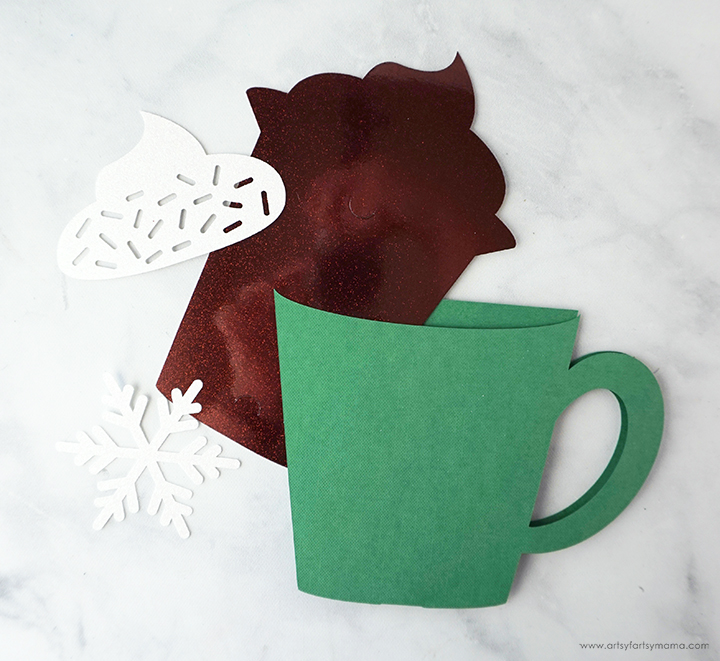
Change the material settings in the drop-down menu to the type of paper you are cutting. Follow the prompts to cut the pieces out. I cut my project out of green cardstock, brown glitter cardstock, and white glitter cardstock using my Cricut Explore machine.
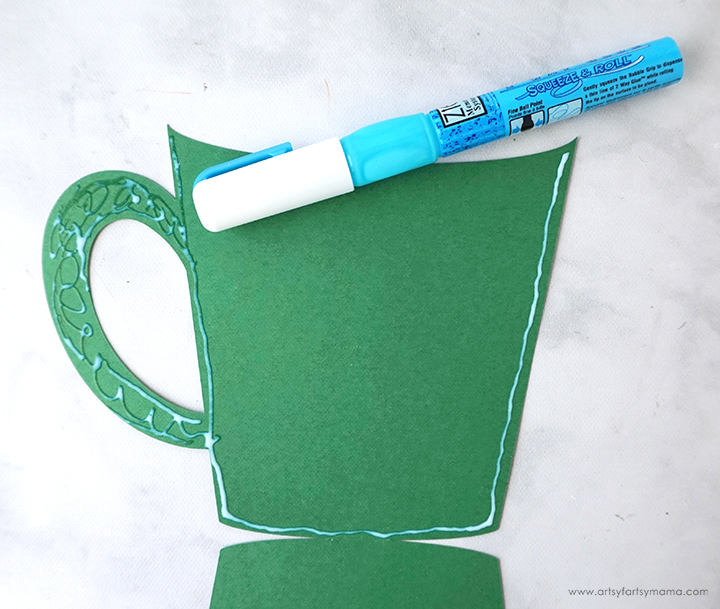
Open the cup card piece and lay it flat. Apply some paper adhesive just around the inside edge of the inside of the cup and on the handle. Do NOT put adhesive on the top edge! Fold the bottom of the card up and align the edges. Gently press the edges together so that the adhesive sticks well.
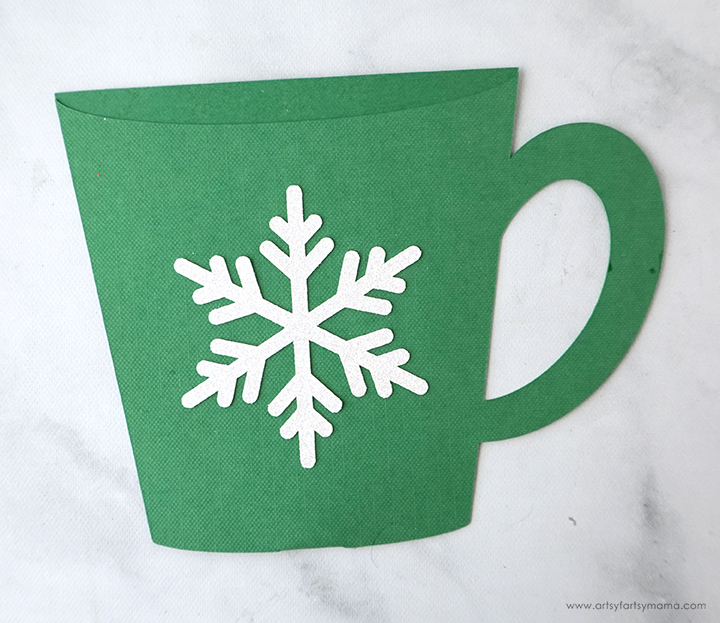
Add some paper adhesive to the back of the snowflake piece. Stick it on the front of the mug in the center. Hold the paper in place until the glue has had time to set.
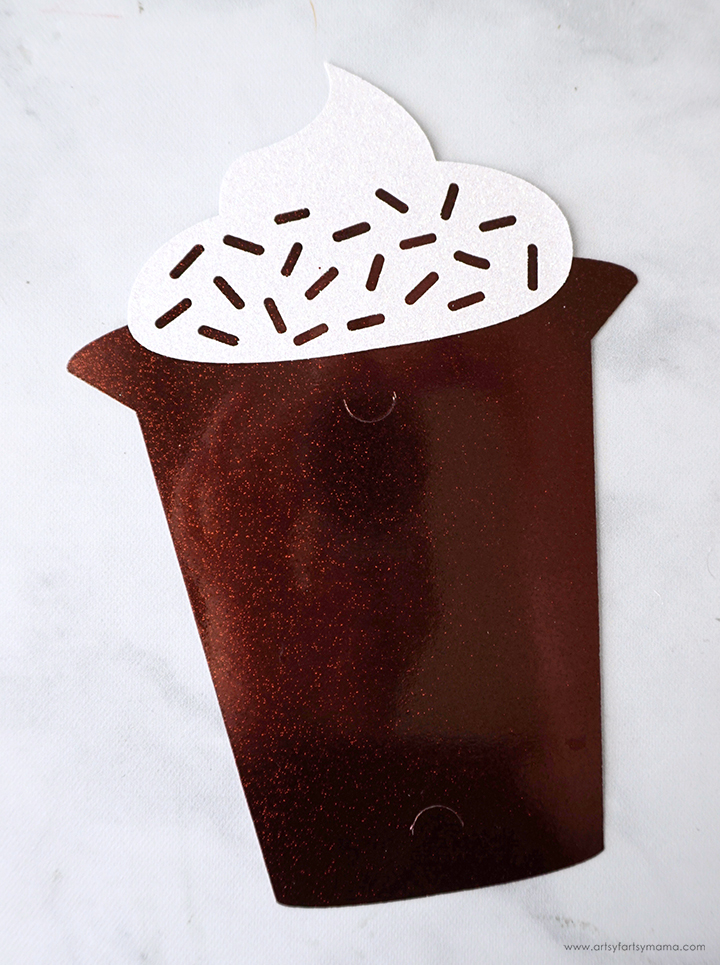
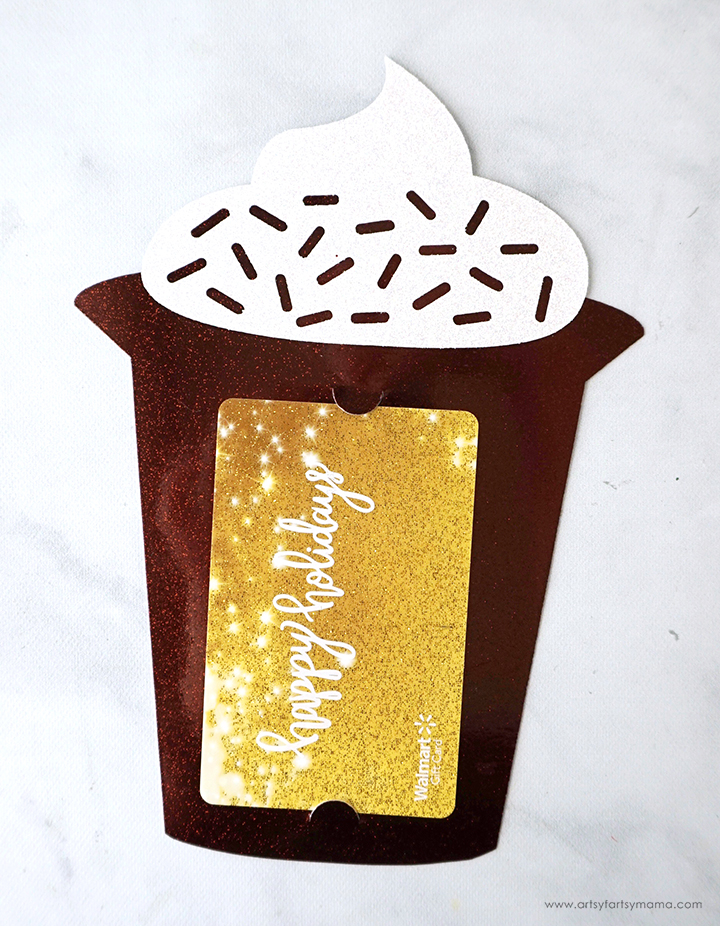
To place the gift card, gently lift the flaps on the brown cocoa piece and slide the gift card underneath.


Once the cocoa piece is in place, the gift card is hidden and you're left with a cute paper hot chocolate card! I think this is such an adorable way to share an otherwise "boring" gift, plus you are adding that handmade touch that makes a gift extra special.
As always, I would love to see your creations! Share yours on Instagram, Facebook, or leave a comment/photo on the project pin on Pinterest! #AFMCrafts
Don't forget to Pin, Like, and Share!


I unable to get a svg file when I download it doesn't have that option.
ReplyDeleteI am finding no where to download this svg cut file. Help please.
ReplyDeleteThere is a link located under the second photo in the post.
DeleteWhere can I download this Svg file of the hot chocolate gift holder
ReplyDelete