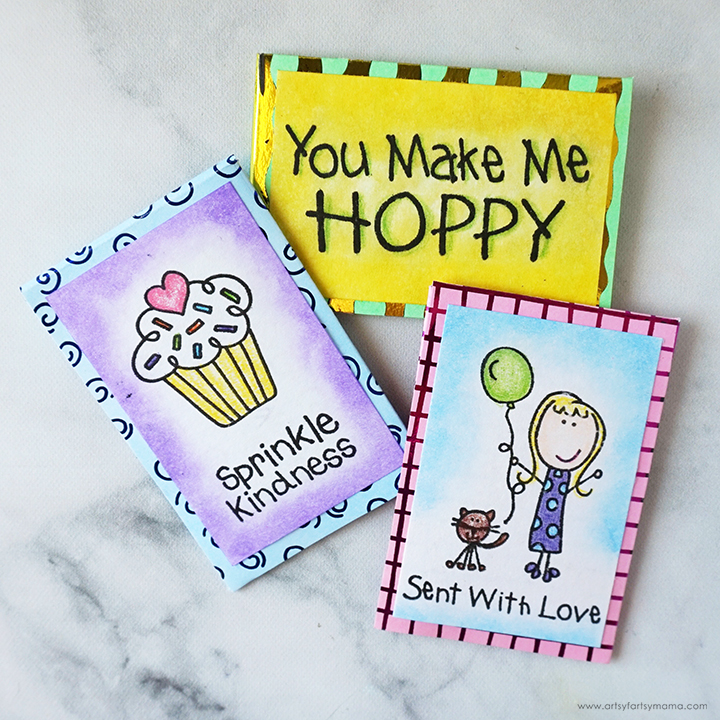
Turn a gift card into something special with these Stamped Gift Card Envelopes!

Gift cards have the reputation for being a "boring" gift idea, but there are so many ways you can make a gift card be a more personal gift. For example, these Stamped Gift Card Envelopes made using the Laura Kelly ThermOWeb line is such a fun and unique way to "wrap" gift cards for the special people in your life. I'm even sharing a free printable template so that you can be giving creatively wrapped gift cards in no time!

The Laura Kelly ThermOWeb collection includes 7 incredible patterned toner sheets and 8 vibrant colors of foil transfer sheets to choose from! I love them all, and it's so much fun to mix and match the patterns and colors to make all kinds of different gift card envelopes.

What gives these Stamped Gift Card Envelopes the extra-personal touch is Laura Kelly's ThermOWeb Stamp Sets, which are so cute and creative! There's so many options to make something for every personality. Along with the stamps, you will also need some acrylic stamp blocks, stamp pads, and blending brushes.


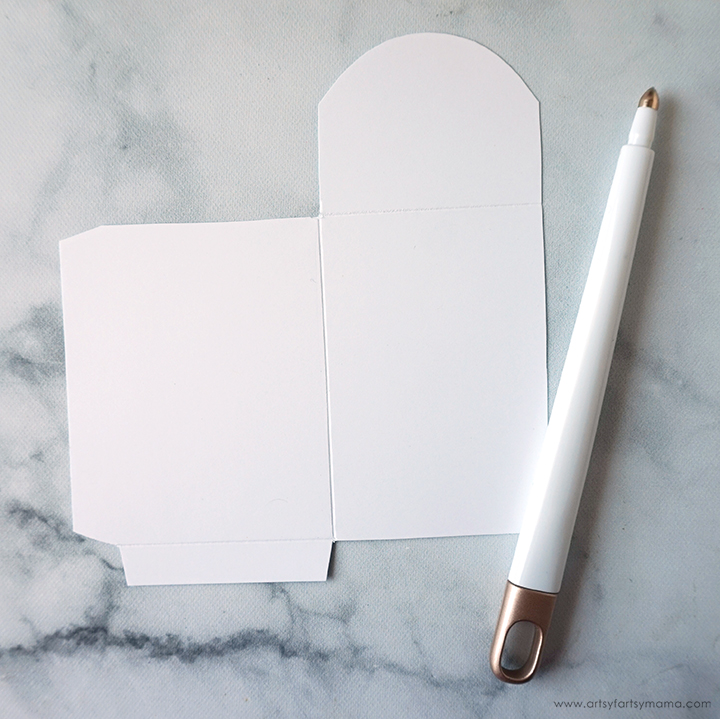
Download and print the gift card envelope template. Carefully cut the template out and set it aside.

To make a gift card envelope, start by choosing one of the Laura Kelly patterned toner sheets. Any of them will work! The papers are black and white, so I wanted to add some color before adding foil to the design. An easy way to do this is to use a stamp pad and a blending brush.
Place the toner sheet on top of a scrap piece of paper. Tap the blending brush on the stamp pad a couple of times, and lightly press it down and drag the brush in small circular movements on the edges first to apply the color. Start at one side and work your way toward the other until the toner sheet is completely covered.

Place the envelope template over the toner sheet and either trace the pattern or hold it in place while you cut it out. Don't worry about the dashed lines on the template at this point, just follow the outer solid line to cut the template out.

Choose one color of foil transfer sheet to coordinate with the paper. Use a tissue or paper towel and gently wipe the toner sheet. This will remove any extra ink off of the toner, which is what the foil needs to stick to.
Heat up your laminator* to the 5ml setting. Place the foil on top of the toner sheet (color-side up), and put both into a folded piece of parchment paper to cover the front and back. Insert the parchment paper into the laminator. Remove the paper from the parchment, and peel away the foil sheet to reveal the colorful shine!
*Laminator settings may vary based on brands, temperatures, and speed settings.

I love that colorful shimmer from the foil! The Denim Jeans Blue foil transfer sheet is such a gorgeous color.

Turn the sheet over and use a scoring tool and a ruler to create the score lines as seen on the template. This will make the envelope easier to fold. The reason for making the score lines on the back is so that you don't accidentally scratch off any of the foil on the front.

Fold the envelope on all of the scoring lines, and add a line of tape runner to the bottom and side tabs. Fold the tabs in, and then bring the other side of the envelope around, line up the edges, and press it down to make sure the tabs stick well.

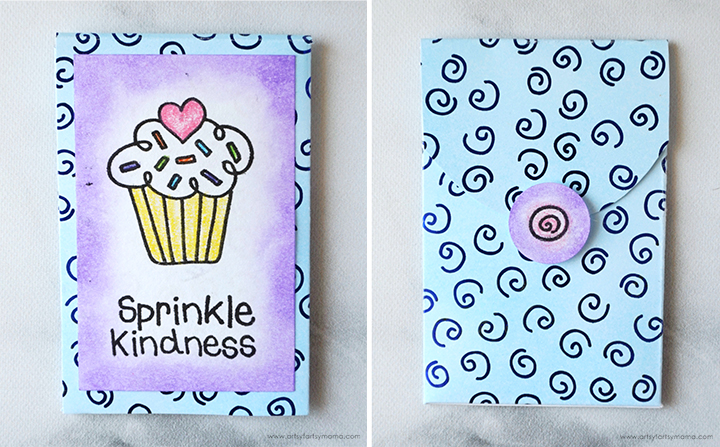
Cut 2" off the end of an index card so that you have a rectangle measuring 3" x 2". Choose an assortment of Laura Kelly Stamps to put on the front of the envelope for your message. There are so many options to fit the personality of the gift recipient. I love pairing the cupcake image with "Sprinkle Kindness"!
Place the stamp from the Laura Kelly stamp set onto an acrylic stamp block. Tap the stamp on a black stamp pad a few times. Before stamping on your project, practice using the stamp a few times on a scrap piece of paper to get a feel for it. Once you're comfortable, stamp onto the center of the index card.

For an extra pop of color, I used a small blending brush and a coordinating color of stamp pad to apply the ink around the edges of the index card.

Next, use some colored pencils to color in any stamp images, like the cupcake! This is a simple and fun way to add some extra color and personality to the envelope.

Add some tape runner to the back of the index card and center it on the front of the envelope.

Put your gift card and a little note (written on another slice of the index card) inside the envelope.

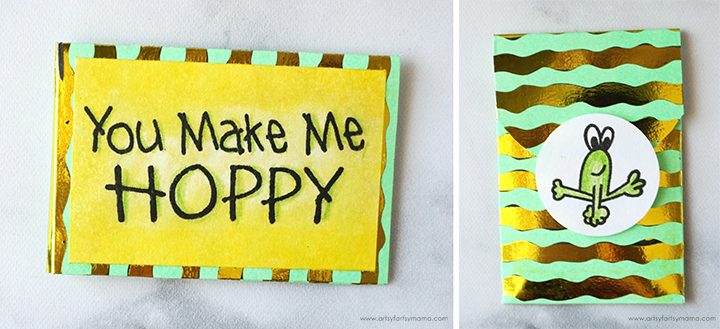
Instead of using a sticker or adhesive to close the envelope, you can use another stamp on paper and cut out with circle punch! I also added color to this with colored pencils.

Stick a 3D foam square on the back of the paper circle. I love these double-sided adhesive squares because they stick really well, and make your paper pieces stick up off of the project!

Peel the backing off of the square, close the envelope, and push the paper circle down over the edge to keep the envelope closed.


This envelope is one of my favorites! Made for one of my daughter's teachers, the Me & My Peeps Stamp Set is perfect for personalizing a gift card envelope. We made the character look like her teacher, added a pet, and added a book to the "sticker" on the back.
Which Stamped Gift Card Envelope is your favorite? I love how they are all made using the same template/layout, but all look so different! It would be a lot of fun to have a craft day with friends using the Laura Kelly Designs Therm-O-Web Collection to make a collection of envelopes so that you can share a little bit of kindness with those who need a little extra love.
Don't Forget to Pin, Like, and Share!


