Sprinkle kindness wherever you go with Handmade Kindness Cards!
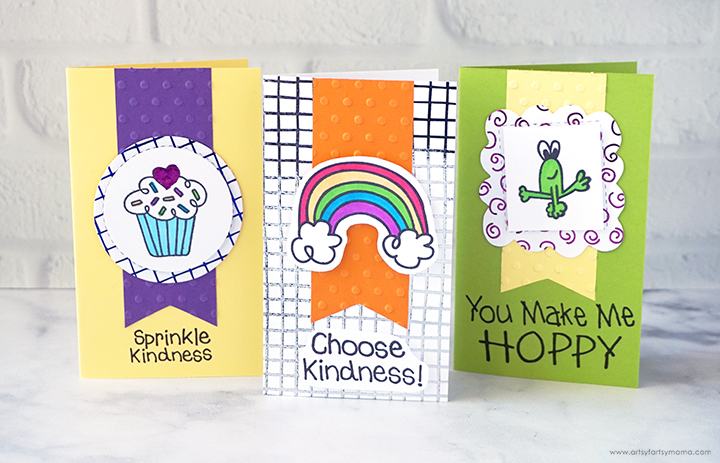
Spreading kindness with others is a great way to help others smile, and it also makes you feel better yourself. Laura Kelly's Kindness on Purpose book has inspired me to become more creative in the ways that I am sharing kindness with others that I come in contact with. Therm-O-Web just launched a new line with Laura, and I am so excited about it! I decided to use the items in the collection to create some simple Handmade Kindness Cards that anyone can make, and will be fun to share with everyone you know!

This week was the big launch of the kindness crafting products from the Laura Kelly Designs Therm-O-Web Collection! I was so excited to get the entire line sent to me, including adorable stamp sets, toner sheets, and vibrant foil transfer sheets to coordinate with the Kindness on Purpose book.

Along with the Laura Kelly Designs Therm-O-Web Collection, I also used these supplies to make my Kindness Cards:

Heat up your laminator* to the 5ml setting. Place the foil on top of the toner sheet (color-side up), and put both into a folded piece of parchment paper to cover the front and back. Insert the parchment paper into the laminator. Remove the paper from the parchment, and peel away the foil sheet to reveal the colorful shine!
*Laminator settings may vary based on brands, temperatures, and speed settings.





Isn't this card so cute? I think it would go well paired with a gift card for cupcakes or ice cream, or even with an adorable mix of sprinkles! This card was so easy to make, and is a lot of fun for beginners. I love all of the bright colors, patterns, and textures!!

The toner sheets are made of cardstock, so they can be cut with scissors, a Sizzix, or any Cricut Machine. I used a Laura Kelly badges die for Sizzix on the foiled piece, and used a 2" circle punch for the white circle to go in the center.
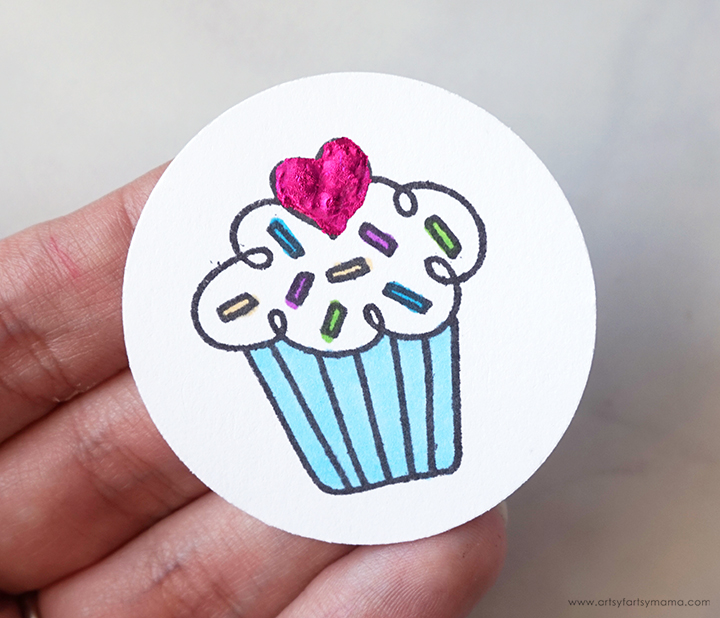
Place the cupcake stamp from the Laura Kelly stamp set onto an acrylic stamp block. Tap the stamp on a black stamp pad a few times. Before stamping on your project, practice using the stamp a few times on a scrap piece of paper to get a feel for it.

After stamping the white circle, color the cupcake with bright, fun colors using Tombow Markers.

For a little extra shimmer, I wanted to apply some foil to the cupcake image. This isn't printed with toner, so you can't run it through the laminator. However, if you use a DecoFoil Adhesive Pen, you can "color" or draw anywhere you want to add foil! Cover the heart on the cupcake with a thin layer of adhesive and let it dry until it becomes clear. It won't actually dry, but it will become tacky like a gel.

Place a small piece of foil over the heart (color-side up) and scrape over it with a fingernail or craft stick. This will help the foil to really stick to the adhesive for full coverage. Peel the foil away for the big reveal!

Place a 3D Foam Square in the center of the die-cut foil circle. Place the cupcake piece on top of the square and press it down well. Because the foam square is thicker than regular tape or adhesive, it will make the cupcake circle pop up away from the backing, which is a pretty fun detail for cards!

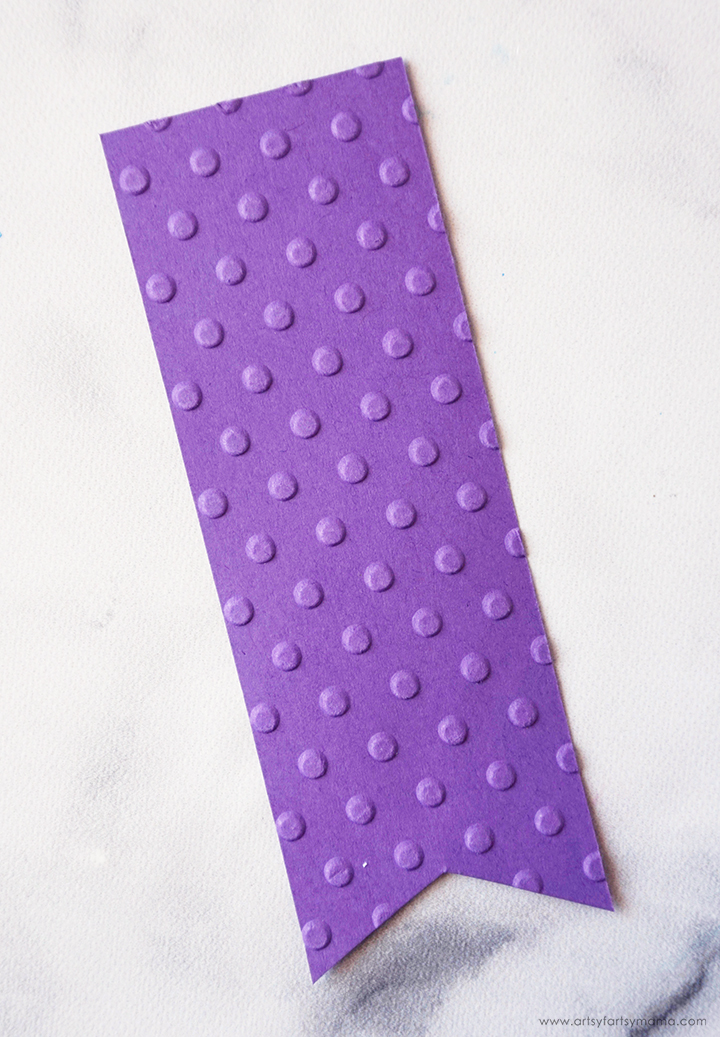
Choose a piece of cardstock for your card and set it aside. Choose another piece of coordinating color cardstock and cut it into a rectangle measuring about 1.5"x4". The cardstock is just fine to use as-is, but I wanted a little more texture.
I ran the rectangle through the Sizzix using a polka-dot embossing folder to get this adorable look! To get the "pennant" look at the bottom, bring the bottom corners together and cut toward the center at a bit of an angle.

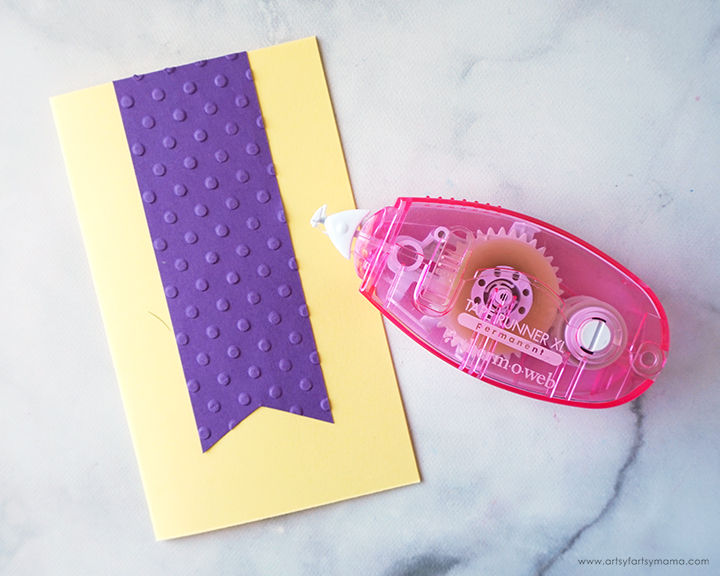
Cut the piece of cardstock for your card into a rectangle measuring 6"x5". Fold it down the center to make a finished 3"x5" card. Attach the pennant piece down the center of the card using Zots or a tape runner.

Next, center the cupcake circle on top of the pennant and stick it down with Zots or a tape runner.

Last, but certainly not least, put the "Sprinkle Kindness" from the same Laura Kelly stamp set onto an acrylic stamp block. Tap the stamp on a black stamp pad a few times and practice using the stamp on a scrap piece of paper. Once you're ready, center the stamp below the pennant in the center of the card.

I also wanted to show you how you can use the same card template/layout, but with different colors, stamps, foils, and papers to get a completely different look!

Cut out another coordinating cardstock card and pennant, and a badge using one of the foiled toner sheets. Instead of the circle, I changed things up by using a square this time! You will also need a piece of white cardstock cut to fit inside the square.

The stamp I used for this card is a little larger, so I stamped it on first before adding the other elements. This "Hoppy" stamp is from the same Laura Kelly stamp set. Again, place it onto an acrylic stamp block and tap the stamp on a black stamp pad. Practice using the stamp on a scrap piece of paper. Once you're ready, center the stamp on the bottom end of the card.

Stamp the cute little frog from the Laura Kelly stamp set onto the center of the white cardstock square. Color it in using Tombow Markers. Use a 3D Foam Square to attach the two square pieces.

Use Zots or a tape runner to attach the pennant and the frog piece to the center of the card. Can you believe that is all you need to do to make this simple card? I think this would be so cute to pair with frog-themed gifts, like candy frogs, frog jewelry, or a gift card to Froggy's Lair!

For the last card (today), I stamped this cute rainbow from the same Laura Kelly stamp set straight onto a piece of white cardstock. Again, place it onto an acrylic stamp block and tap the stamp on a black stamp pad. Practice using the stamp on a scrap piece of paper a few times before adding it to your final piece.
Color the rainbow in with vibrantly colored Tombow Markers.

This "Choose Kindness" stamp is actually one piece in the stamp set, but I wanted to put the sentiment on two separate lines. I just cut them apart with scissors and put them onto two separate acrylic stamp blocks. On the same cardstock as the rainbow, stamp "Kindness" first and then center "Choose" above it.
*If you want to stamp the pieces as one line later on, the stamps will match up perfectly where they were cut. Just line them up on a wider acrylic stamp block.

Use scissors to cut around each of the stamps, leaving a white border around each of them. Because the stamps are handwritten/drawn, your cuts don't have to be perfect! Have fun with it!!
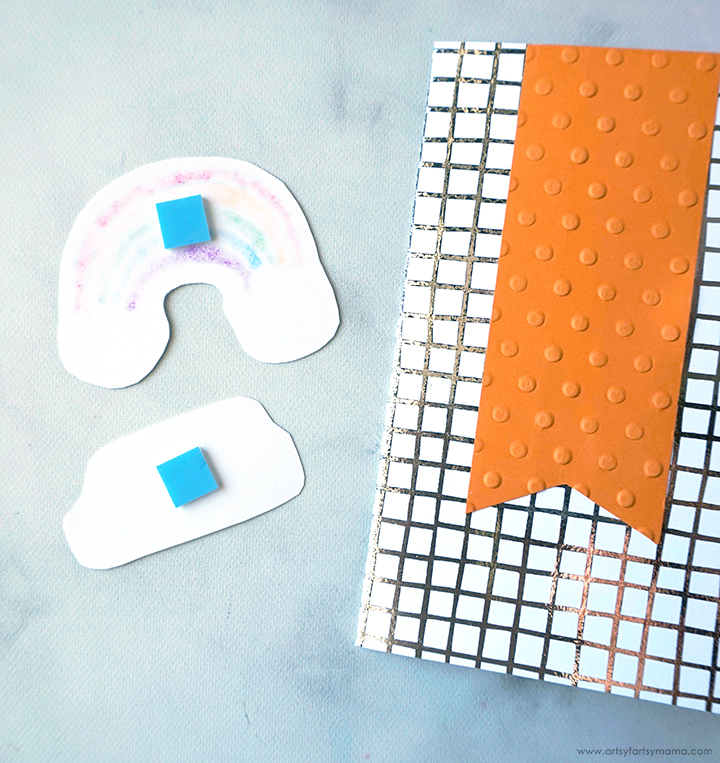
For the card base, I trimmed one of the foiled toner sheets to measure 6"x5" and folded it to make the card. Next, I embossed an orange piece of cardstock for the pennant and attached it to the center using tape runner. Turn the stamped pieces over and place a 3D Foam Square on the back of each one.

Center the rainbow on the orange pennant, and the sentiment below. I think this card is my favorite of the three, and could be paired with so many gift ideas! I also love that it can be given to share more kindness to our LGBTQIA+ friends, especially since this month is Pride Month!!

Which card is kindness your favorite? I love how they are all made using the same template/layout, but all look so different! It would be a lot of fun to have a craft day with friends using the Laura Kelly Designs Therm-O-Web Collection to make a collection of Kindness Cards so that you can share a little bit of kindness with those who need a little extra love.
As always, I would love to see your creations! Share your creations on Instagram, Facebook, or leave a comment/photo on the project pin on Pinterest!
Don't forget to Pin, Like, and Share! 


