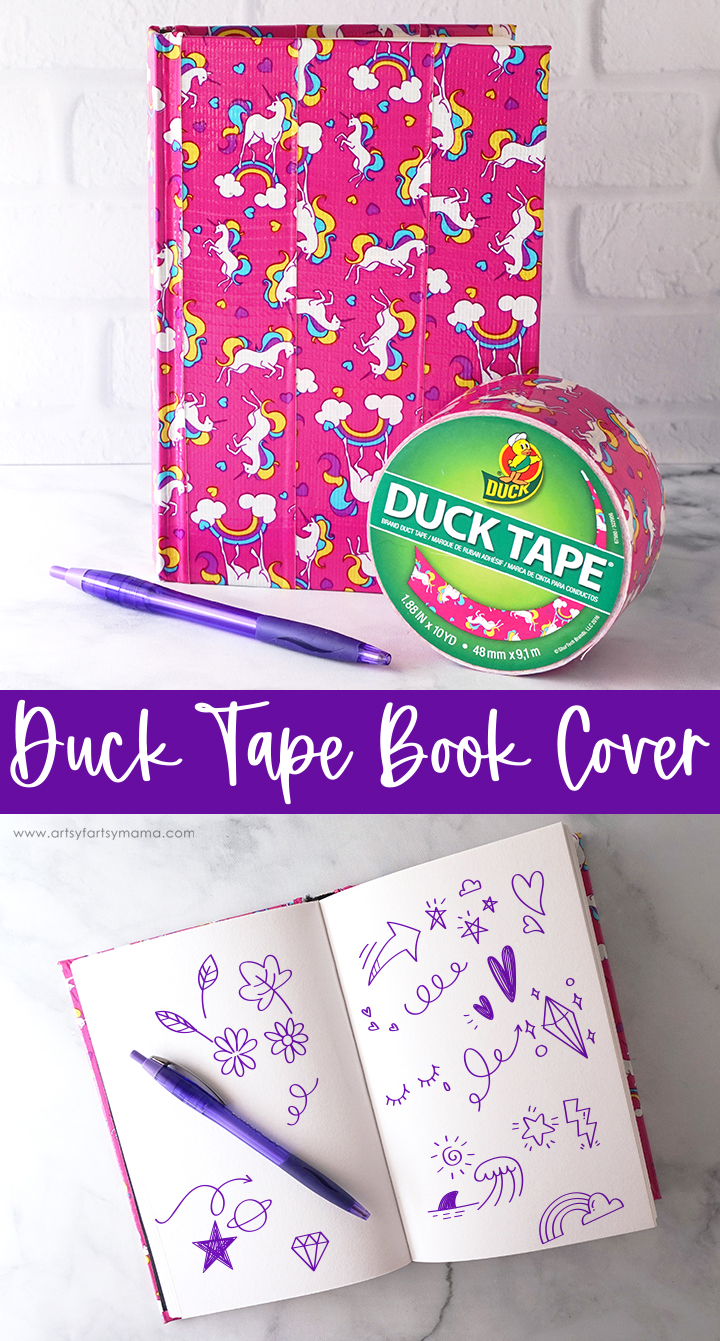
Give an old book cover new life with a colorfully patterned roll of Duck Tape!

Did you know that there are all different colors and fun patterns of Duck Tape available right now?! There is literally something for everyone out there! Plus, you can do so many things with it - like actually fixing things, crafting, or giving ordinary items an extraordinary makeover! For example, we decided to give an old book new life with some unicorn-patterned tape, which turned out to be really simple and my daughter couldn't be more excited about it!

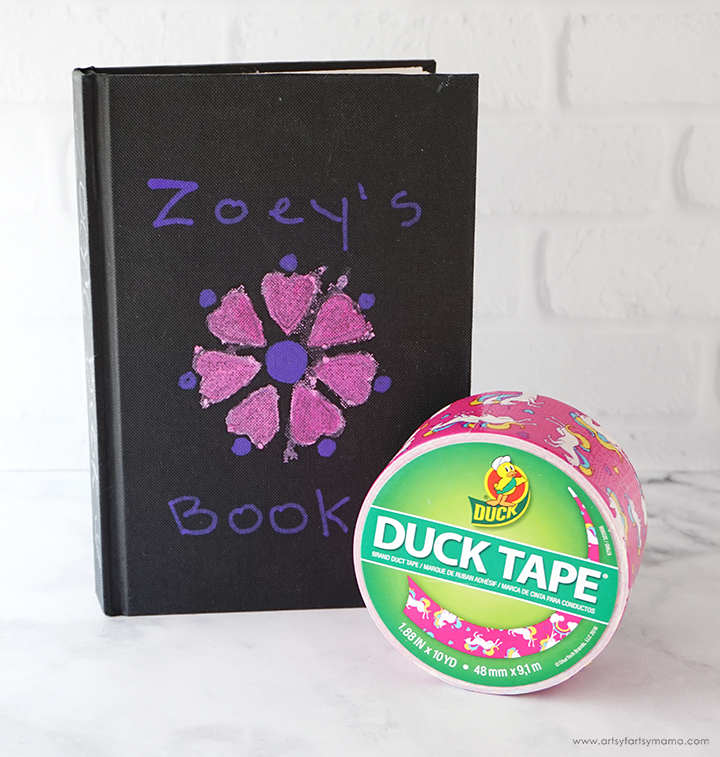
While doing some spring cleaning, we found an old hardcover journal that my daughter used to "draw" in when she was little. The cover was decorated with paint markers, which was perfect for that 4 year old. However, since it's going to be repurposed for a tween drawing comics, we agreed that it needed a new look!
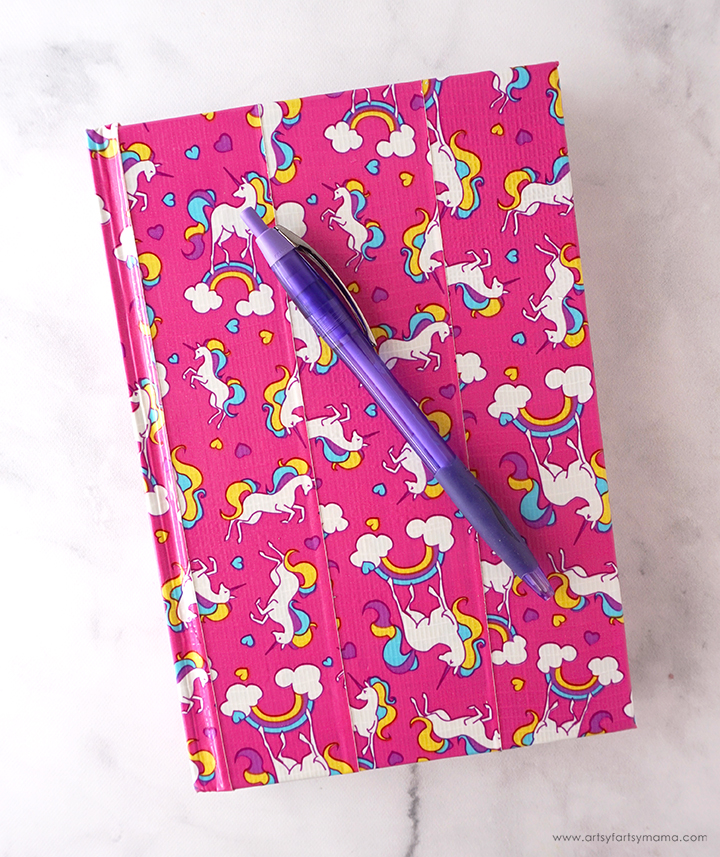
Instead of painting over the markers or covering the book with paper, we decided to go with Unicorn Print Duck Tape! It was a tough choice, but she LOVES this pattern and I think it turned out so fun on this project!

Choose one side of the book cover to start with. Cut a piece of Duck Tape about 1" longer than the book length. Place the piece of tape on the outer edge and smooth it down well. Cut a triangle out of both corners. This will remove the bulk where the tape would overlap when folded in the corners. Wrap the ends of the tape around the top and bottom edge of the cover and stick them down on the inside of the cover. Then, wrap the tape around the outer edge and stick it down well. It doesn't matter if the ends are perfectly even!!
Cut another piece of tape and line the edge up with the piece already placed down on the book. Press it down well, and wrap the ends of the tape around to the inside of the cover. Put another piece of tape down, which should reach the spine of the book. Repeat the entire process for the opposite side of the book.


This part of the covering is probably the hardest, but it honestly isn't that tough. You just need to make sure to follow these steps and you'll be fine!
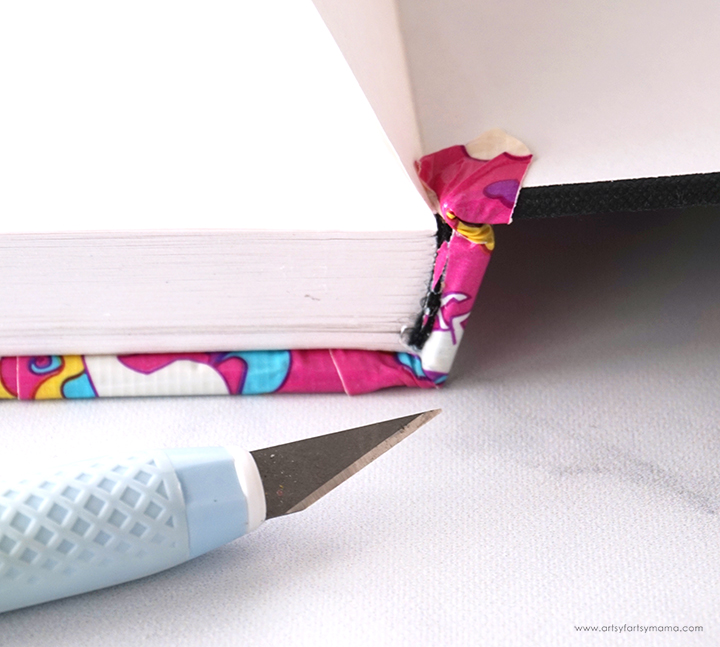
Use a craft knife to cut slits in the tape on either side of the spine. It's much easier to manage the tape when it's split at this part of the book that has so much movement. Fold the center part of the tape down, and press it into the inside edge of the spine. Press it down really well, and then carefully cut away the excess tape with the knife.
Open the book up all the way on either side (but do this one at a time), and then pull the edge of the tape right into the crease. Press it down well! If the tape is overlapping the crease at all, cut away any excess tape. Repeat for the other end of the book.

Now that the outside of the book is covered, it's time to clean up the inside! Use a ruler (or freehand) and carefully cut the ends of the tape and make it even around all three edges inside each cover.

Doesn't this book look SO fun now? My daughter absolutely loves it, and is so proud to take it with her everywhere she goes. Using Duck Tape is such a fun and simple way to customize practically everything you own, and it's super affordable! Let the kids pick out some fun patterns, and let them get creative for the day!
As always, I would love to see your creations if you make one for yourself! Leave a comment or tag a photo on Facebook, Twitter, or Instagram! #AFMcrafts
Don't forget to Pin, Like, and Share!


