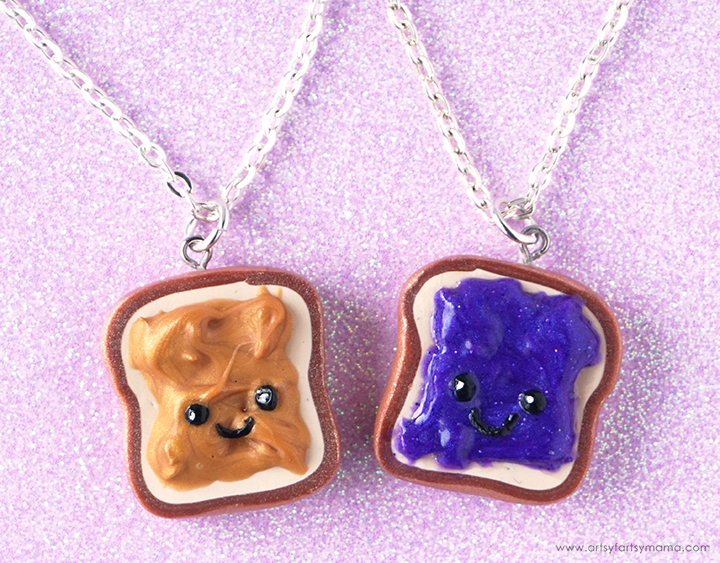
It's peanut butter jelly time! Make these adorable clay charms to share with a bestie, or to wear as a set!

Peanut butter and jelly are one of those classic combinations that just belong together. If you're looking for a fun gift idea, these adorable polymer clay charms are perfect to share with a bestie, or to wear together as a set! Teens would have a blast making these for their BFFs, and there's no reason adults can't make a set for for their own gal pals or even for themselves! I hope you enjoy this tutorial as much as I loved putting it together for you!

To make these adorable Peanut Butter & Jelly Charms, you will need these supplies:
- Sculpey Polymer Clay: White, Black, Ecru (light tan), Gold, Copper, and Purple Pearl
- Clear Liquid Sculpey
- Sculpey Gloss Glaze
- Clay Tools
- Clay Slicer Tool
- Clay Roller
- Disposable Mixing Cups
- Strong Adhesive
- Jewelry Eye Pins
- Jump Rings and Jewelry Chain
- Earring Hooks

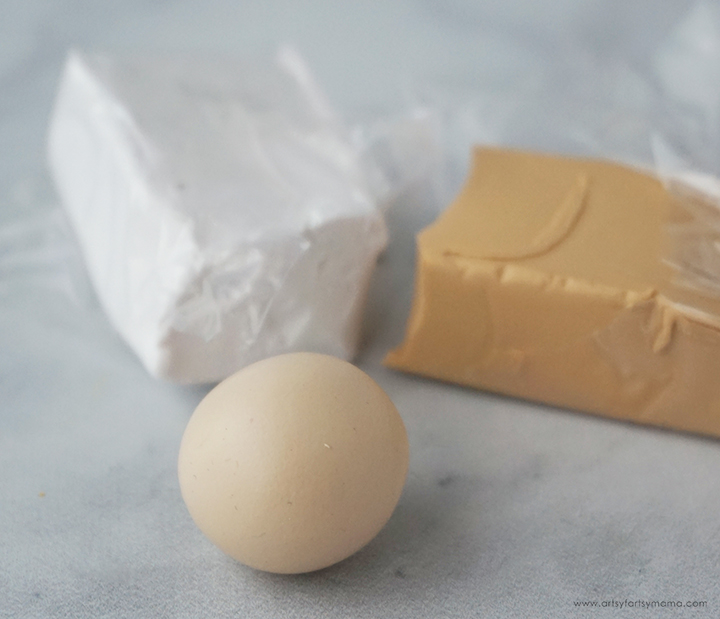
Mix white and Ecru/light tan clay together in a 2:1 ratio. Knead until the colors are fully combined. Create a ball measuring about 1/2 inch.

Use a roller to flatten the ball out into a rectangle measuring about 1" x 1/2" and about 1/2" thick. These measurements do not have to be exact.
Roll out a piece of the copper clay until it's pretty flat. Cut a 1/2" wide strip out of the clay and wrap it around the sides of the rectangle. Cut away the excess and lightly press all the way around. Use your finger to blend the seam until you can no longer see it. Reshape the clay into a small, rounded rectangle, if necessary.

Stand the rectangle on its side and use the slicer tool to cut the clay right down the center (vertically). Now you should have two matching rectangles of clay.

Use the slicer again and cut off the outer sides of the clay pieces. This will remove any particles that attached to the clay (it happens), and will make both sides of the clay perfectly flat. If you have any holes or wrinkles in the lighter part of the clay, don't worry! Bread has holes, too!
Shape the rectangles into more of a "bread" shape by holding the piece on the sides between your fingers. Gently squeeze the sides together while tapping the top down a little. Repeat for the other piece, and that's it! Easy, right? If the pieces become misshapen, you can gently roll them again to flatten them out.

Carefully insert eye pins through the top of each charm. If the pins are too long, trim them with jewelry wire cutters and then put them in again. Be careful not to poke the end of the pin through the front or back of the charm!

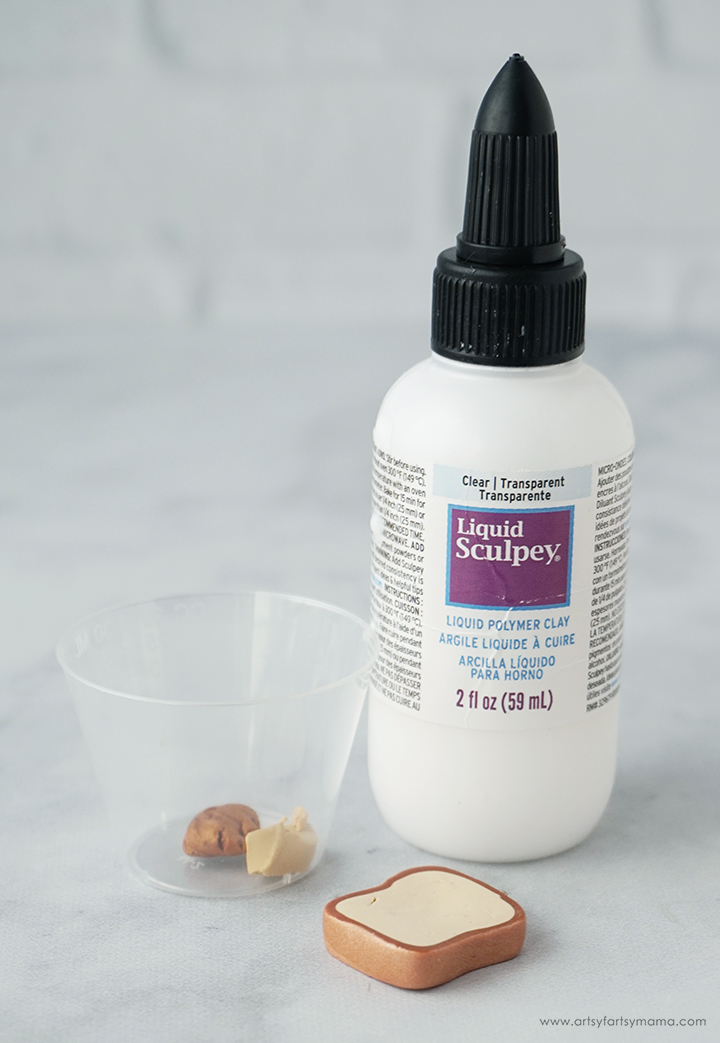
In a small mixing cup, add in a piece of Purple Pearl* clay and add a generous amount of Clear Liquid Sculpey. This will thin the clay to make it look like jelly!
*Change the color of the clay to make a different flavor of jelly!

Knead and stir the mixture together until you get a jelly-like consistency. If it's too thick, add a little more liquid. Too thin? Add a little more clay. I also added a little bit of glitter for extra sparkle!

Use the pointed clay tool to "spread" the jelly onto one of the bread pieces. You can create your own "spread" texture and shape, which I think adds some realistic detail to the charms! This purple mixture will stay in liquid form until it is baked, so handle it carefully!
Clean the tool with soap and warm water. Dry well.

For the peanut butter, add a small piece of the tan clay along with a slightly larger piece of gold clay into the mixing cup. Add in some Clear Liquid Sculpey and mix the same way as the jelly. The peanut butter consistency shouldn't be as thin as the jelly, but should still be "spreadable".

Use the pointed clay tool to "spread" the peanut butter onto the other bread piece. I love how realistic it looks, and as long as you don't touch it after this, it will keep its shape after baking! Awesome, right?!

Roll out four balls of black clay, all the same size. These will be the eyes, so they can be as big or as small as you want! Next, roll out a thin snake using the same black clay. Cut off a small piece of the snake, and shape it into a "U" for the mouth. Repeat for one more mouth. Use the pointed clay tool to carefully put the pieces into place. Remember, the PB+J are still liquified, so be careful not to put the face in too deep or accidentally stick your finger in it!
Bake the clay charms according to package directions. Let the pieces cool completely before handling.

After the charms were cooled, I added a "highlight" to the eyes with acrylic paint - using the end of a pin!
Even though the eye pins were baked into the project, it can still be pulled back out. To keep it from slipping, carefully pull the eye pin out and add a little bit of strong adhesive to the end. Place the pin back into the hole in the charm, and it should be good to go once the glue dries!

To protect your project and to add some shine, paint a little bit of Sculpey Gloss Glaze over all of the jelly and the face with a small paint brush, and paint just the eyes on the peanut butter charm. Apply a thin coat of Sculpey Satin Glaze to the rest of the charms for a smooth, matte finish that will also protect your project. Apply the glaze in thin coats and let it dry completely.

Add a jump ring to each of the eye pins, and then thread a chain through the rings to complete a necklace for each charm.

This would be a fun "besties" gift idea for yourself and a friend, or even for your own child and their BFF. I recommend pairing the necklace with this adorable peanut butter & jelly-themed Kindness on Purpose Noteables or Sprinkle Kindness Lunch Notes!

If you don't want to split this pair apart, I don't blame you! They belong together, after all!! Instead of adding a jump ring and chain, simply attach earring hooks to the eye pins to create an adorable set of earrings!!

To make them into a sweet and unique gift, pair the earrings with peanut butter & jelly-themed Kindness on Purpose Noteables or Sprinkle Kindness Lunch Notes!
Don't forget to Pin, Like, and Share!


Lindsay, this is such a BRILLIANT idea! You are so talented! We will be featuring it this week over at the Creative Crafts Linky Party! Thanks for joining in the FUN!
ReplyDeleteCreatively, Beth