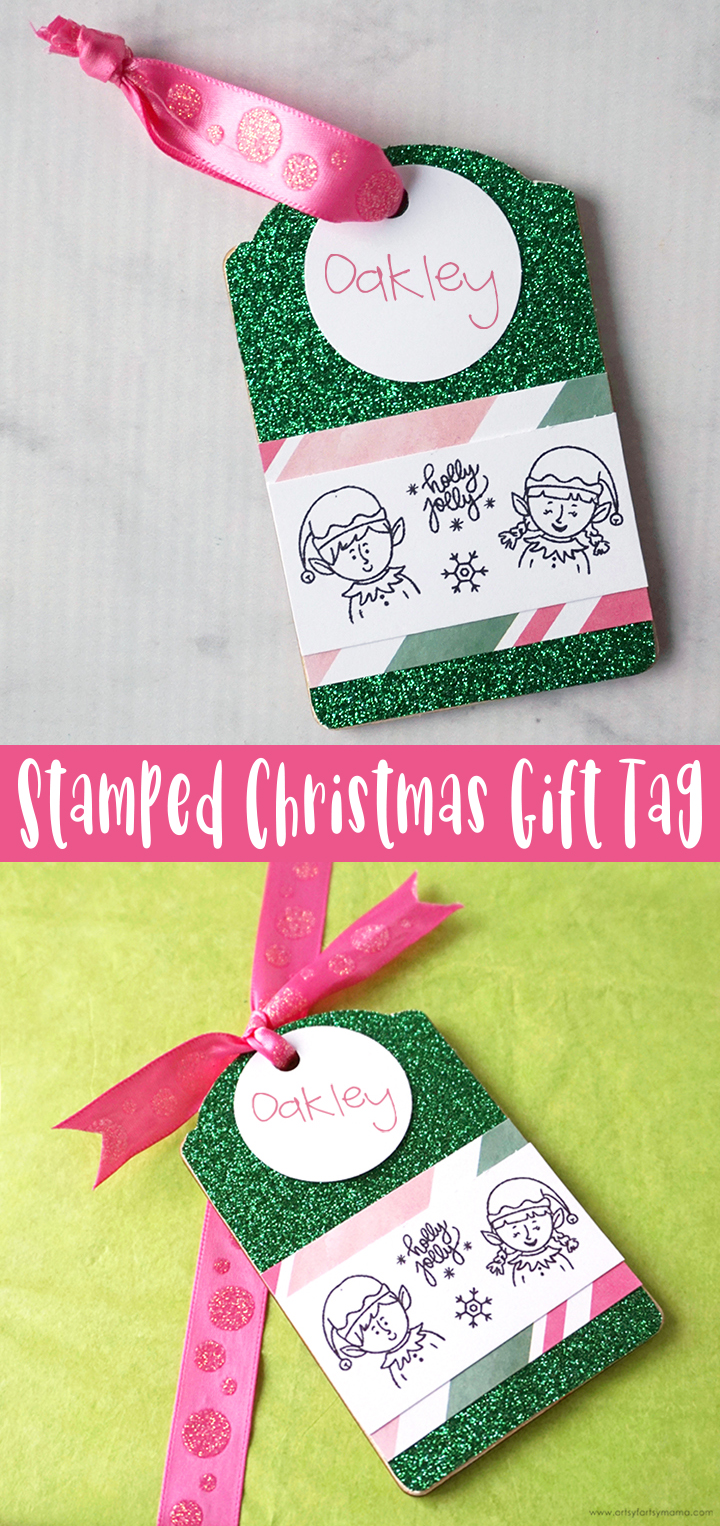
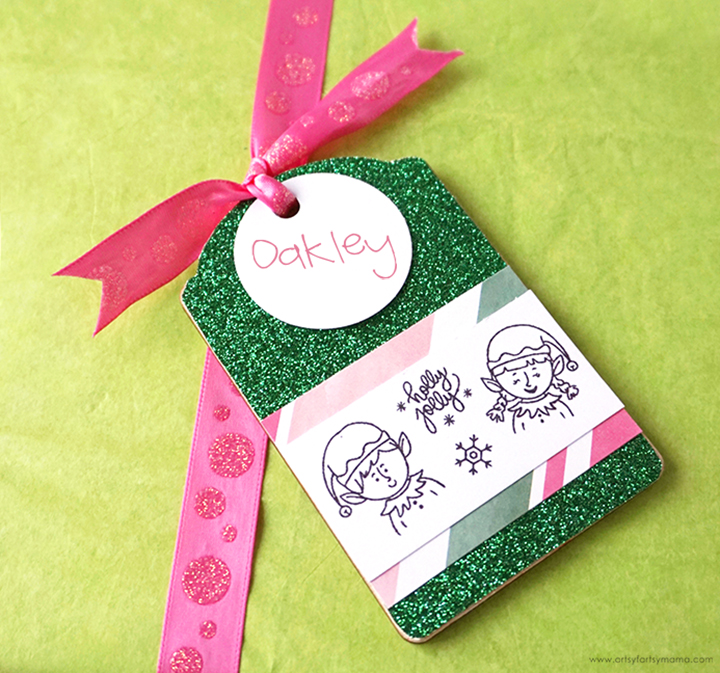
Decorate your Christmas packages with handmade Stamped Christmas Gift Tags!
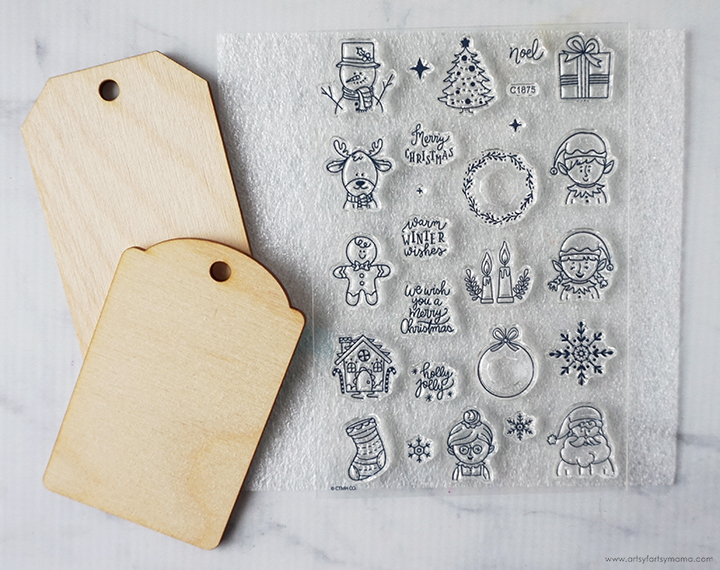
To make these Stamped Christmas Gift Tags, you will need these supplies:
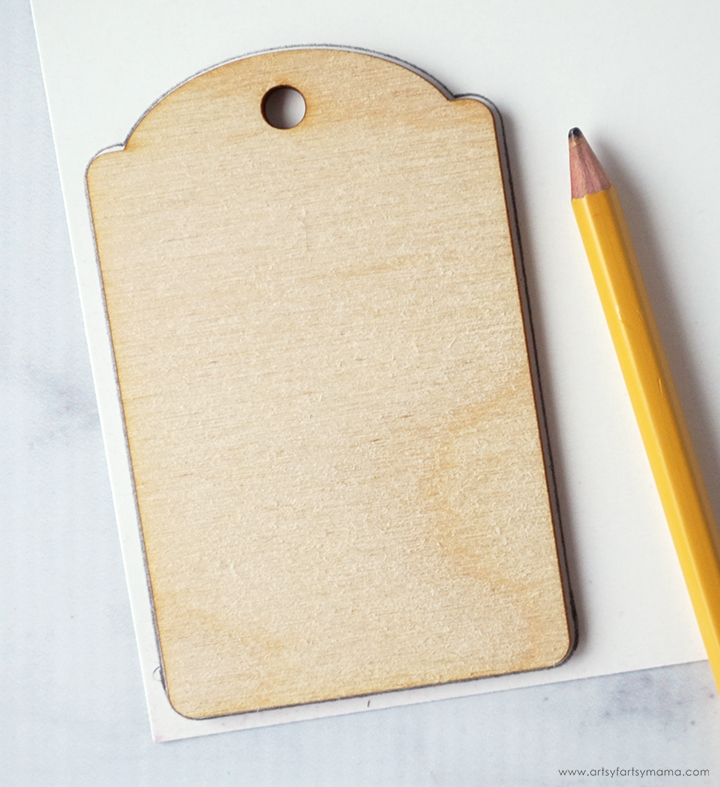
Turn a sheet of glitter cardstock over and trace the wood tag with a pencil. Carefully cut just inside the traced line using scissors. Another option is to use the SVG file that comes with the wood tags and cut the shape out using a Cricut or other cutting machine.
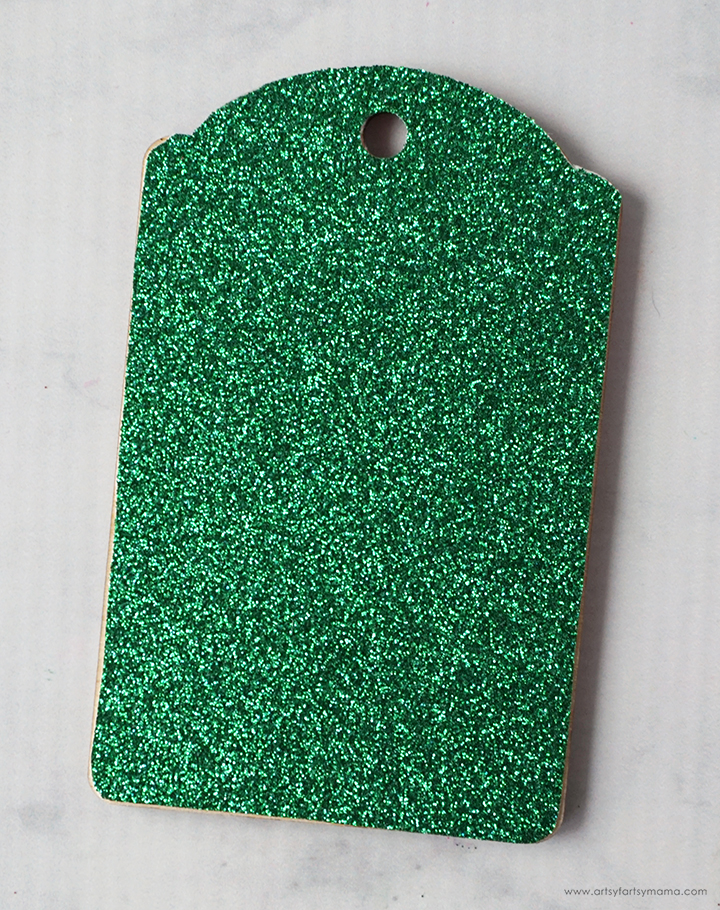
Use your favorite adhesive to attach the glitter cardstock to the tag. Press it down well. If you have any paper overhang, trim it away with a craft knife.
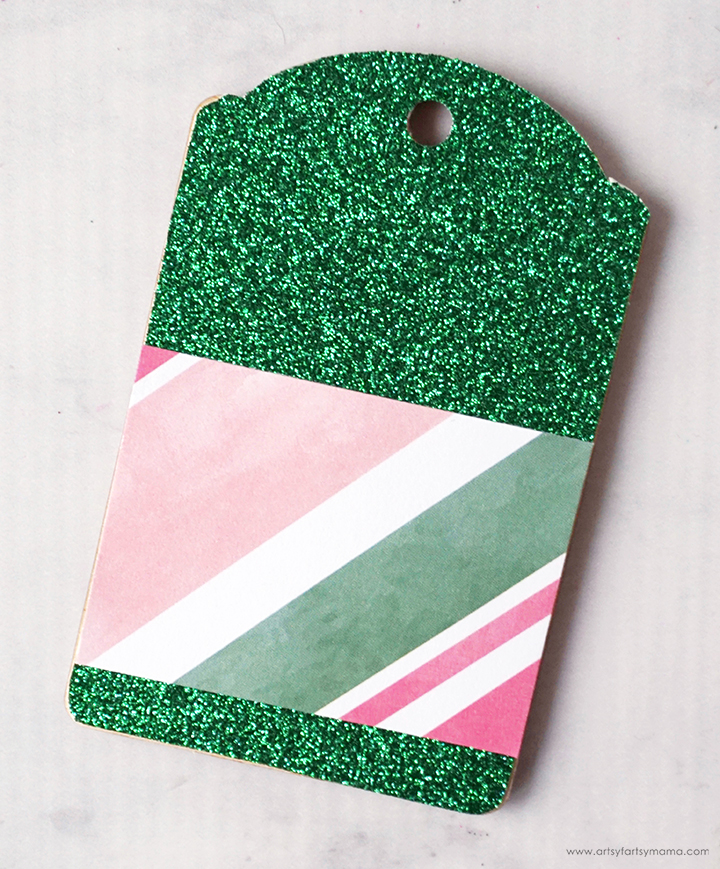
Cut a piece of coordinating patterned paper to measure 2 1/2" x 1 3/4". Attach it to the front of the tag a about 1/2" or so from the bottom using adhesive.

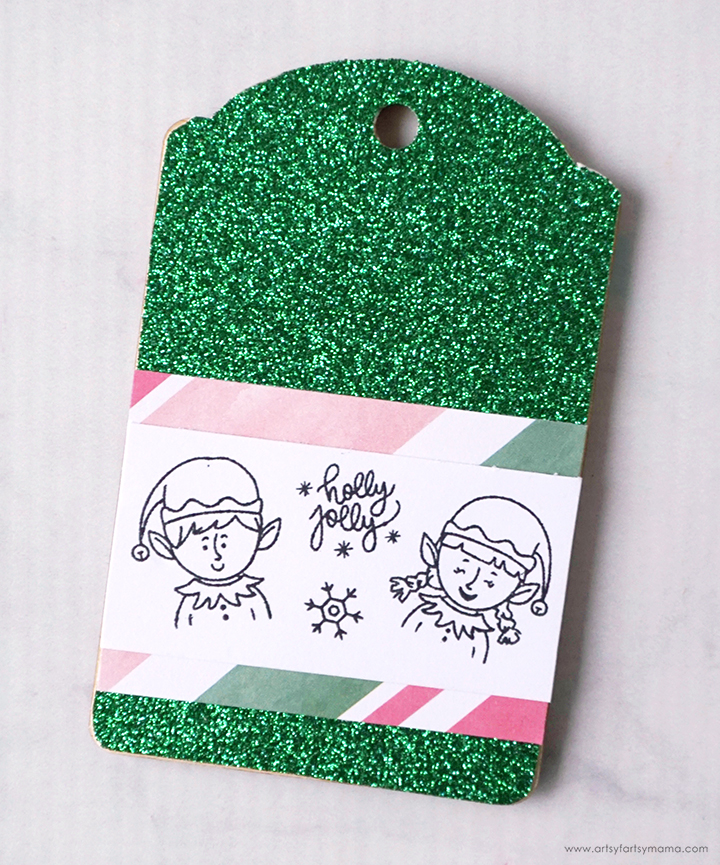
Cut a piece of white cardstock measuring 2 1/2" x 1 1/4". Center it on top of the patterned paper using adhesive.
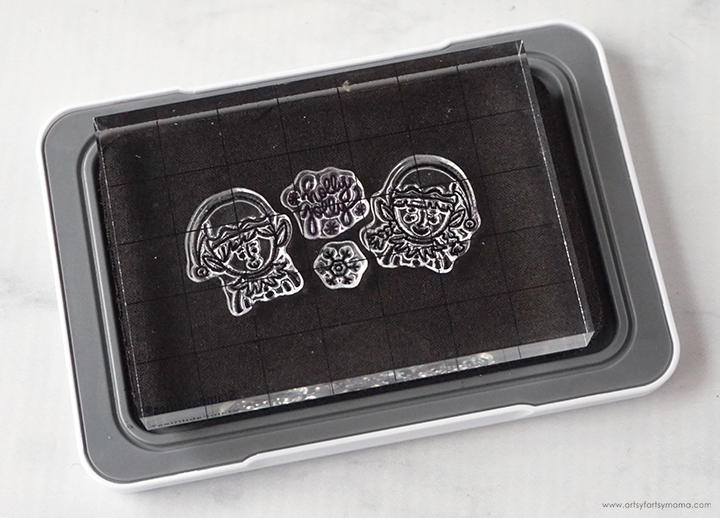
Choose a few stamps from the Jolly Characters Stamp Set and arrange them on an acrylic stamp block.
Tap the stamp on a black stamp pad a few times. Before stamping on your project, practice using the stamp a few times on a scrap piece of paper to get a feel for it.

Center the stamp on the white cardstock piece in a straight down motion, using firm and even pressure all over the stamp image. Lift the stamp straight up off the paper. If you use too much pressure, the stamped image may be blurry.
Like any craft supply, stamps are an investment. To make sure your stamps last as long as possible, be sure to clean your stamps and blocks immediately after use using warm water and a mild soap. The longer you leave the ink on the stamp, the harder it will be to remove it. You can use a Stamp Shammy or even a soft toothbrush to scrub off stubborn ink. Let the stamp and block air dry. Do not EVER use alcohol, acetone, bleach, or any oil-based cleaners on your stamps!
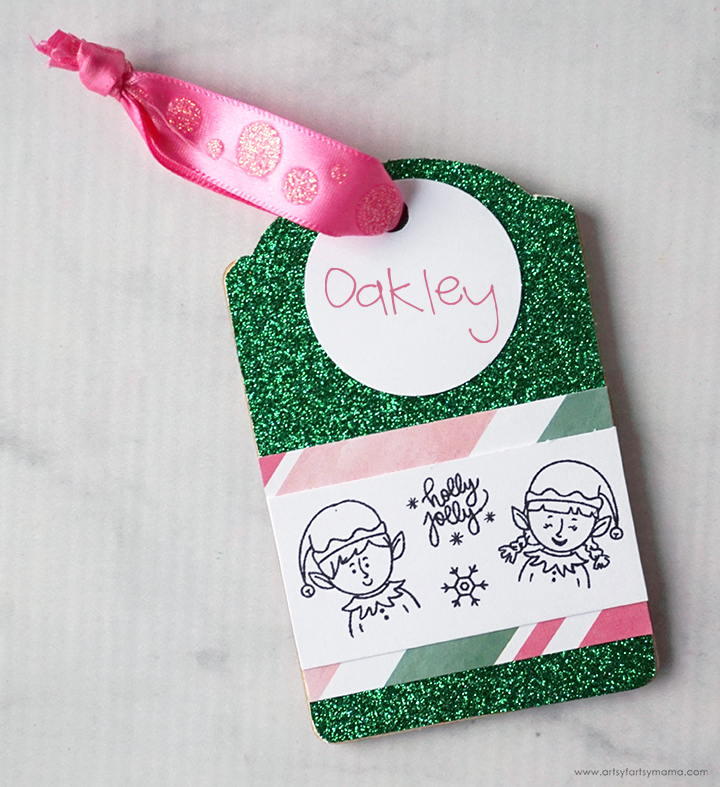
After making the card to this point, I was debating on how to make this card reusable year after year. I cut a circle out of cardstock using a 2" punch. Punch a hole in the top using a hole punch and write the gift recipients' name on it. Thread a ribbon through both the hole in the wood tag and the paper circle.

Tie the gift tag to your holiday gifts. After the gift has been opened, remove the circle with the name written on it, and use the tag again for gifts next year. Doesn't this look SO cute?! I am thrilled with how this project turned out and hope you love it as much as I do!
Have you heard about the new Close to My Heart VIP Program? Join the VIP Program for $35 and get $15 to spend now, OR sign up before December 31st and receive $25 in VIP spending credit! You'll also get all kinds of bonuses as part of the program:
- Earn 15% spending credit on full retail amount paid for every purchase!
- FREE Stamp of the Month set with qualifying purchase each month.
- Access to exclusive VIP specials throughout the year.
- Access to exclusive Facebook group just for VIP customers.
- Exclusive workshop bundle available for purchase.
- FREE Facebook Live event for the workshop.
I hope you enjoy this project, and as always, I would love to see your creations if you decide to make it yourself. Please share your projects and tag me on Instagram, Facebook, or leave a comment/photo on the project pin on Pinterest!
Don't forget to Pin, Like, and Share!
