This is the way.... to make a Mandalorian Baby Yoda Snow Globe!

Are you a Star Wars, Mandalorian, and/or a Baby Yoda fan? I've always loved Star Wars, and Baby Yoda, aka "The Child", has stolen my heart. This Baby Yoda Snow Globe is easy to make, and surprisingly only cost me $5! It's a quick project to make over the weekend, and would also be a galactic gift idea for fellow Star Wars fans.

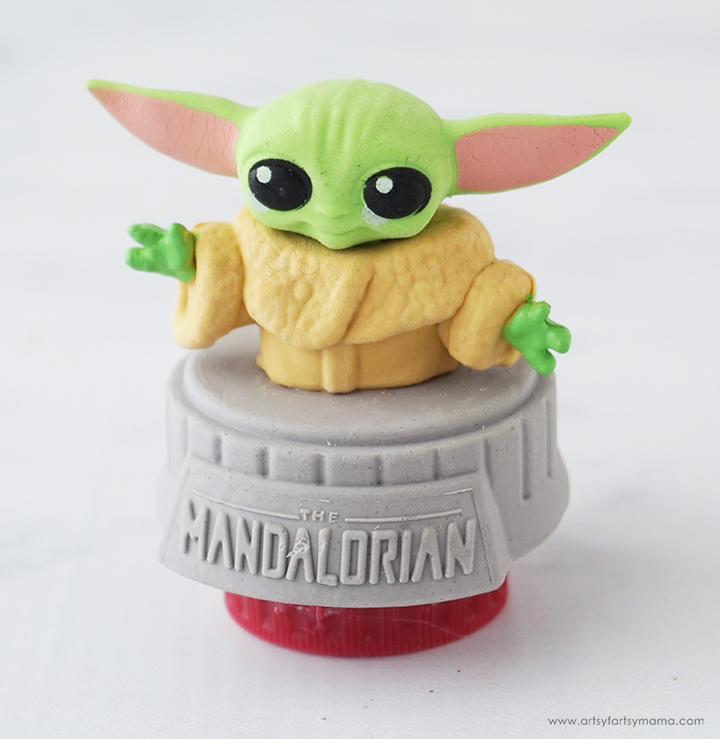
As soon as I saw this Mandalorian "The Child" Eraser in the Target Dollar Spot for just $1, I knew I had to have him! It was one of those things where I didn't know what I was going to do with it, but was now determined to find a project to use it in.

I purchased this 4" snow globe earlier this year without any big plans for it. It comes with an inner seal piece and lid that screws on tight to protect it from leaking, which was what sold me on it in the first place. After finding the Baby Yoda eraser and looking through my craft supplies, destiny found "The Child". He fits perfectly inside, like it was meant to be!

The eraser comes apart in separate pieces: head, body/arms, and the base. To prevent Yoda from coming apart in the snow globe while shaking it, I took the eraser apart and then glued the pieces back together with strong adhesive.
You will also need the lid of a 20 oz soda or water bottle. It can be any color!

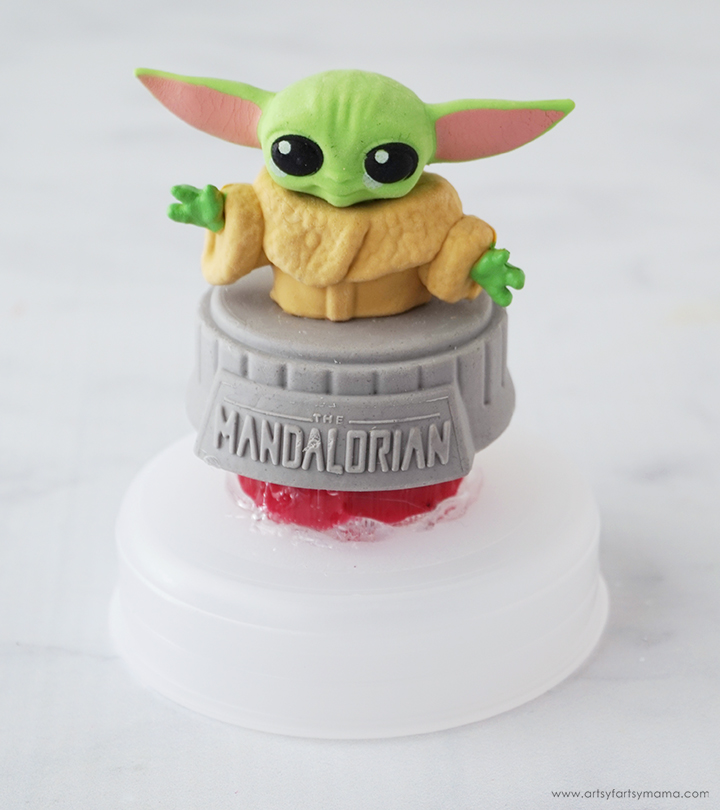
There is a large circle hollowed out of the bottom of the eraser that is the same size as the bottle lid. Attach the soda lid to the bottom of the eraser using hot glue. Hold the lid in place until the glue sets. If you want to prevent burning your fingers, I recommend wearing some finger caps.

Place the Yoda in the center of the inner seal piece of the snow globe. Use hot glue to hold it in place and to seal the edge of the lid. Hold the Yoda in place by putting your finger on the top of his head and let the glue cool until set.
The point behind this step is to make Yoda a bit taller so that you can actually see him when all of the filling is at the bottom of the snow globe.

Add a couple of thin layers of glue around the lid. I found it best to add glue to the back, let it dry, and then add some to the front. Be sure to let each layer set completely before adding another, otherwise it will just melt down into a giant blob. While the last layer is still wet, sprinkle silver glitter all over it. Let it cool, and then brush off the excess glitter.
The idea behind this step is to cover up the lid entirely, and to help this area blend in once the snow globe is assembled.


Mix up about 1 1/2 cups of hot water and add 1-2 tablespoons of glycerin (found in baking sections or at a pharmacy) or light corn syrup. Stir well to combine. Plain water will also work great, but the glycerin will help the glitter to fall to the bottom of the snow globe a bit slower. Fill up the globe almost to the threads at the base.
Slowly place the inner seal (with Yoda) into the globe. Watch the water level - if it looks like it's about to overflow, take off the lid and remove a spoonful of water. If you feel like you need more glitter, snowflakes, or anything else, now is the time to do so. Keep repeating until you can push the lid in tightly without any water leaking. Wipe away any water that spilled around the edges.

Screw the lid onto the globe. Shake the snow globe well, and watch the magic of the force swirl around The Child! This snow globe makes me smile every time I look at it, which I think is a sign of a successful project. I think this would make such a creative gift idea for someone who loves The Mandalorian and Baby Yoda.
I hope you enjoy this project, and as always, I would love to see your creations if you decide to make it yourself. Please share your projects and tag me on Instagram, Facebook, or leave a comment/photo on the project pin on Pinterest!
Don't forget to Pin, Like, and Share!


