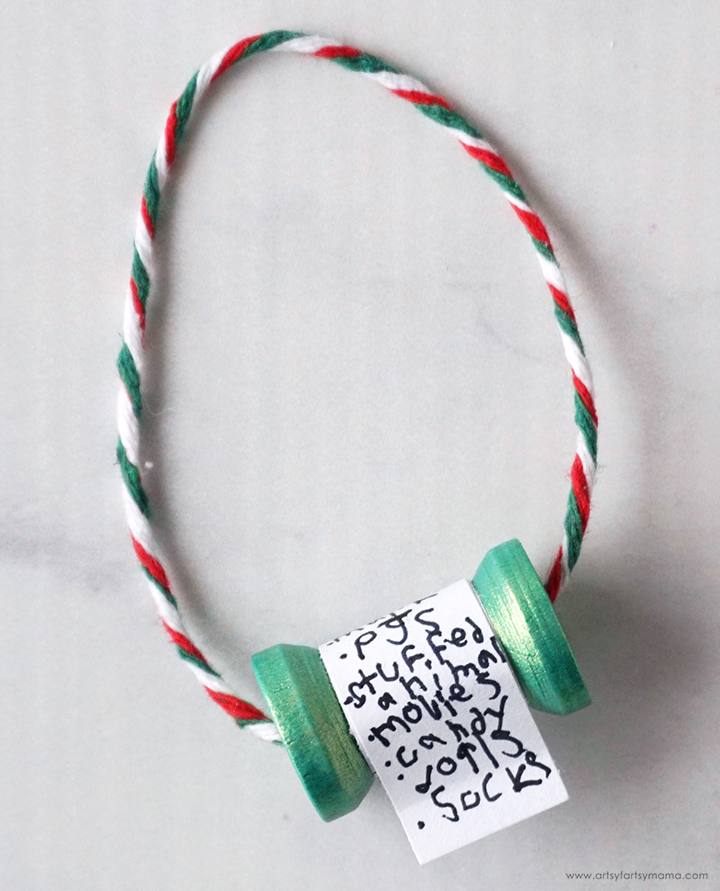
Use your kid's Christmas wish list to make a special keepsake Christmas ornament!


To make your own Christmas Wish List Ornaments, you will need:
- Wooden spools
- Acrylic paints (I used FolkArt Color Shift and FolkArt Treasure Gold)
- Christmas Bakers Twine
- Paint Brushes
- Copy Paper
- Pen or Marker

Lightly sand the wooden spools, if necessary, and then paint. I found it easiest (and much cleaner) to stick them on the end of a small paint brush, and then cover them all with a coat or two of acrylic paint. I love the look of the FolkArt Color Shift (Emerald Flash and Red Flash) and the metallic shimmer of FolkArt Treasure Gold (gold and silver).

With the paper inserted into the paper trimmer horizontally, cut strips of paper about 9/16" wide. Cut those strips of paper in half, so that you get two 4" x 9/16" pieces.

Fold the strip of paper in half. Starting at the fold, have your child make their Christmas Wish List using a pen or marker. Of course, you can help make the list for smaller children, or just let them scribble all over it. Don't forget to also put the year somewhere on the ornament!

Use a little bit of adhesive to attach the blank end of the paper strip to the spool. Hold it in place until the glue dries (should only take a minute or two).

Wrap the paper around the ornament. When you get to the fold in the paper, add a little bit more adhesive right above the crease.

Finish rolling the paper over, and press the paper down where you put the adhesive. Hold it in place until the glue sets.

I wrapped the end of the paper around a pencil so that it flips up a little bit. When you look underneath, you can see the entire list wrapped all the way around the spool.

Cut a 8"-10" piece of Christmas bakers twine and thread it through the center of the spool. Tie the ends together, and then rotate the loop until the knot is hidden inside the spool.


These will become such special ornaments through the years. It will be fun for kids to look back at past Christmas Wish Lists, and get excited to make a new one each year. When you take down your Christmas decor, I would recommend storing these together in an airtight container to keep them safe from any moisture.
I hope you enjoy this project, and as always, I would love to see your creations if you decide to make it yourself. Please share your projects and tag me on Instagram, Facebook, or leave a comment/photo on the project pin on Pinterest!
Don't forget to Pin, Like, and Share!


This is such a sweet ornament idea!
ReplyDeleteAlexandra
EyeLoveKnots.com
Wow, this is such an adorable idea!! Thanks for all of the super cute printables too!!
ReplyDeleteThese are too darn cute! They could also be a project for grown ups. Maybe for a nursing home or senior center? Or Happy Thoughts written any time of the year. I totally LOVE the name of your site, I've been artsyfartsy for over 50 years now. ;)
ReplyDeleteThank you so much! It's a great project for everyone, for sure. I love the idea of happy thoughts!
Delete