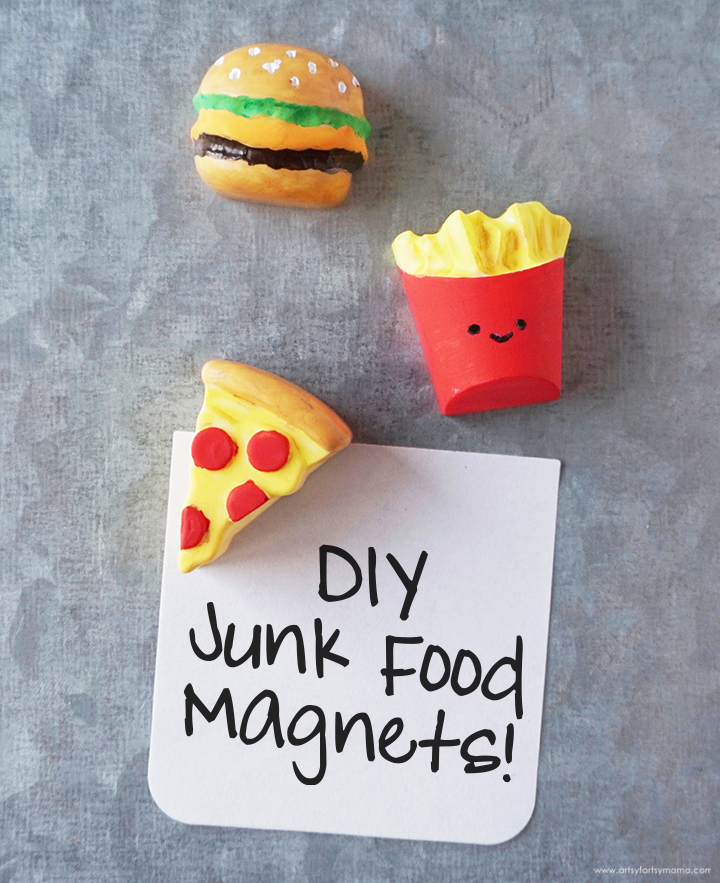
Give your locker or refrigerator a personal touch with custom DIY Junk Food Magnets made out of resin!

New to resin? Be sure to check out Resin 101: Getting Started with Resin!


Read the FastCast resin directions thoroughly before starting. It's important to know that once you combine the two components of the resin, you have to work quickly. It completely sets in about 10 minutes! Be sure to work in a well-ventilated area and wear disposable gloves.

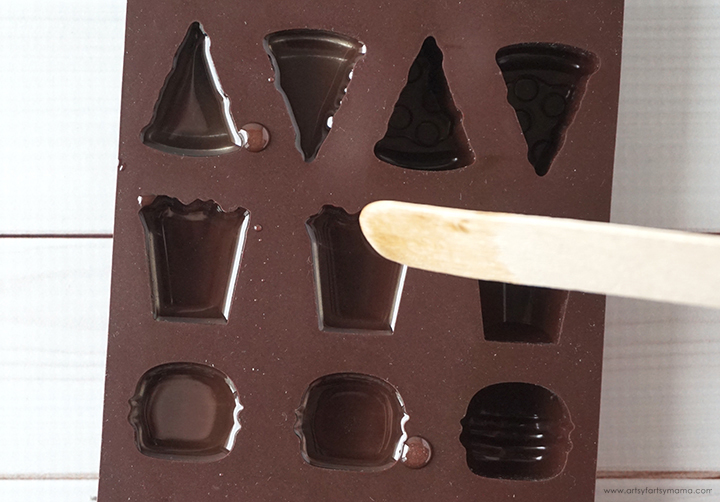
Carefully pour the resin into the silicone junk food mold cavities using a stir stick. Be careful not to overfill the molds. If you drip any resin on other parts of the mold or accidentally over-pour, don't panic. The resin is MUCH easier to remove once it has cured than when it's wet.

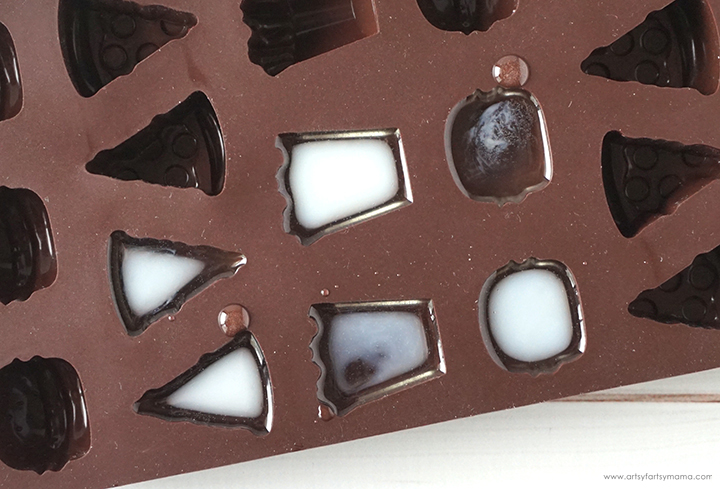
Let the resin sit in an even area to cure. The difference between FastCast and regular resin is that FastCast cures in just 10-15 minutes instead of overnight. As the resin cures, it gets hot and you will see it quickly change from clear to opaque right before your eyes!

The resin is completely cured when it is no longer tacky to the touch, and you can pull the sides of the mold away from the resin without it sticking. If it seems to be opaque, but is a little squishy or tacky when you pull the mold away, let it sit for a little longer.

You can use any acrylic paint on resin, but I've found that multi-surface paints go on smoother. Get creative using a small detail paint brush to color the resin food pieces. Some of the lighter paint colors may need 2-3 coats for full coverage. For best results, let each layer of paint dry completely before adding another.

To give everything a nice sheen and to protect the acrylic paint, I sprayed a coat of Spray Sealer over all of the pieces and let them dry completely.

Use some strong craft glue to attach the magnets to the back of the resin food pieces. Let the glue dry completely before placing on a magnetic surface.

Have fun sticking your magnets to your refrigerator, locker, or anywhere you keep your magnets! Depending on the colors of paint you use, the possibilities are endless.

You will need these supplies to make your own Junk Food Magnets:
- FastCast Resin
- Measuring Cups
- Stirring Sticks
- Disposable Gloves
- Junk Food Silicone Mold (found at Michaels)
- Acrylic Paint
- Small Detail Paint Brush
- Castin’ Craft Resin Spray Finish
- 1/4″ Magnets
- Strong Craft Glue
*Save 10% on resin supplies when you shop ETI with code AFM

Pour 1 part resin and 1 part hardener into 2 separate mixing cups. Combine the resins and slowly stir the resin mixture together with a stir stick for one minute. Pour the resin into a clean mixing cup, and stir the resin again for another minute with a clean stir stick.


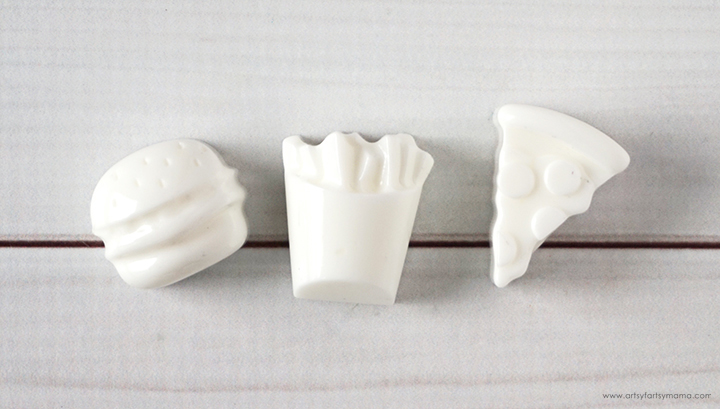
Carefully remove the resin pieces from the mold. Trim away any excess resin with scissors, if necessary.


To give everything a nice sheen and to protect the acrylic paint, I sprayed a coat of Spray Sealer over all of the pieces and let them dry completely.


Why are mini things of food just the best! Thanks for sharing!
ReplyDeleteThe painting is so detailed and perfect! I love!
ReplyDeleteThese would be such cute pins and charms too!
ReplyDeleteYay! Resin is just so amazing! I love getting to see all of the different things it is being used for!
ReplyDelete