This Book Pocket Pillow is perfect for story time, sleepovers, car rides, and more!

My daughter is a bookworm, and is always on the go. I made this Book Pocket Pillow for her to take her books with her wherever she goes, and be comfortable at the same time! This pillow is the perfect size to cuddle up with to read on a sunny afternoon, and the pocket on the front will hold your kids favorite books and flashlight, or a beloved stuffed animal to take to a sleepover or on a long car ride. It's such an easy pillow to make, and would even recommend it as a great beginner project!

First, you will need to get a pillow insert. Fairfield accent pillow inserts come in all different sizes, which gives you options in your home decor! This 12" square ultra plush pillow insert has a washable liner that you can decorate, and the zipper allows you to add or remove filling for your comfort.

After you decide on the pillow, you need fabric! I wanted to use a lot of color, so I chose three coordinating fabrics from a Riley Blake Fat Quarter Bundle. One fabric pattern for the back, one for the front, and the other for the front pocket. Get creative and choose fabrics in your favorite colors and patterns!

I cut the fabrics using a rotary cutter, cutting mat, and acrylic ruler. The back pillow cover is going to be an envelope style like my Reindeer pillow cover, so there isn't any velcro or zippers involved!
The amount of fabric you need all depends on the size of your pillow. You don't need a pattern for this pillow cover, just measurements! Here is how I went about cutting each of the fabrics:
Front Piece: Cut the fabric 1" larger than your pillow insert on both sides.
* For example, my pillow insert is 12" square, so I cut the front piece 13" square.
Front Pocket Piece: Decide how tall you want the pocket to be and double the length. The width needs to be the same width as the front piece.
* I wanted the pocket to be about 7" tall, so I cut the fabric 14" long and 13" wide.
* I wanted the pocket to be about 7" tall, so I cut the fabric 14" long and 13" wide.
Back Pieces: Each piece will be the same width as the front. The length needs to be about half the height PLUS 3 inches so that the "envelope" will overlap in the back.
* Both pieces measured 9 " long and 13" wide. To get this measurement, the height of the pillow is 12". Half of that is 6 inches + 3 additional inches = 9 inches total.

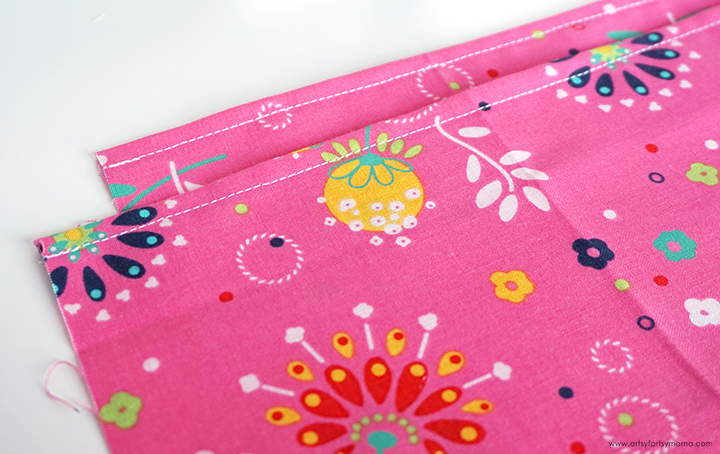
Fold the bottom edge of the back piece over 1/4" and press (I recommend keeping the EasyPress Mini nearby). Fold the edge again another 1/4" and press. Topstitch to create a finished edge. Repeat for the second piece and set both pieces aside.


Press the front piece with the EasyPress and lay it down facing up. Lay the pocket piece facing up right on top of the front piece with the bottom edges aligned.

Next, lay one of the back pieces face-down on top of the front pieces with the raw edges lined up at the top. Place the other back piece face-down on top with the raw edges lined up at the bottom. Pin the fabrics in place all the way around.
Sew all the way around the pillow with a 1/2 seam allowance. Cut the corners off at an angle (without cutting through the seam). If this cover is going to be washed frequently, I recommend sewing with a zig-zag stitch or serge along the edges to prevent fraying.

Turn the pillow cover right side out and use something like chopsticks to turn the corners out. Lay the cover flat, and press all of the seams well with the EasyPress.


After adding their favorite book, flashlight, or stuffed animal in the pocket, kids are ready for their next reading time, sleepover, or study session! These pillows are a great gift idea for kids of ALL ages, and are actually especially helpful for kids who are displaced and need a convenient way to carry around their belongings.
If you make a DIY Book Pocket Pillow using this tutorial, I would absolutely LOVE to see it! Tag me @ArtsyFartsyMama and use #AFMCrafts!
Don't forget to Pin, Like, and Share!


This came out so totally adorable. Plus, I love that book!!!
ReplyDeleteSuch an Awesome Idea. Thank You for sharing.
ReplyDeleteThis is such a great idea. Thank You for sharing.
ReplyDeleteAny chance I can see the back of the pillow case?
ReplyDeleteThis is so cute! Going to make one for my grandson!
ReplyDelete