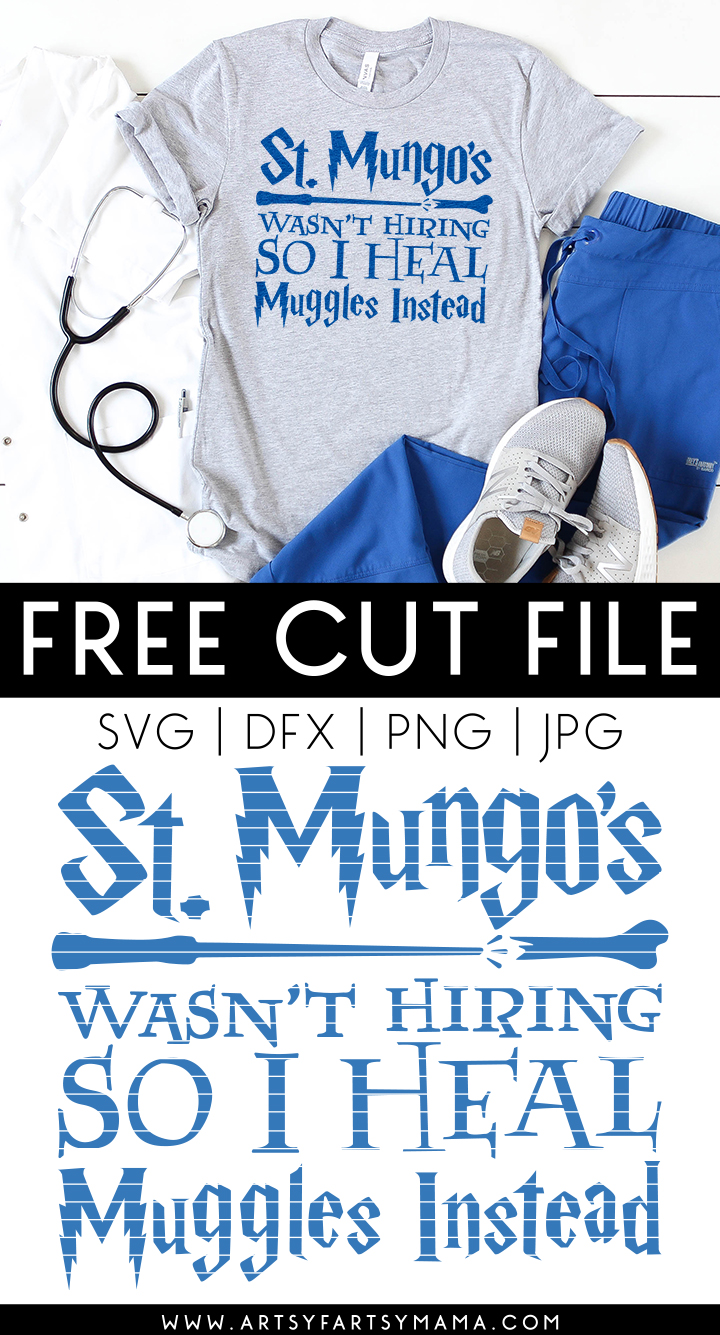
This St. Mungo's shirt (with FREE cut file) is perfect for nurses and doctors who love Harry Potter!
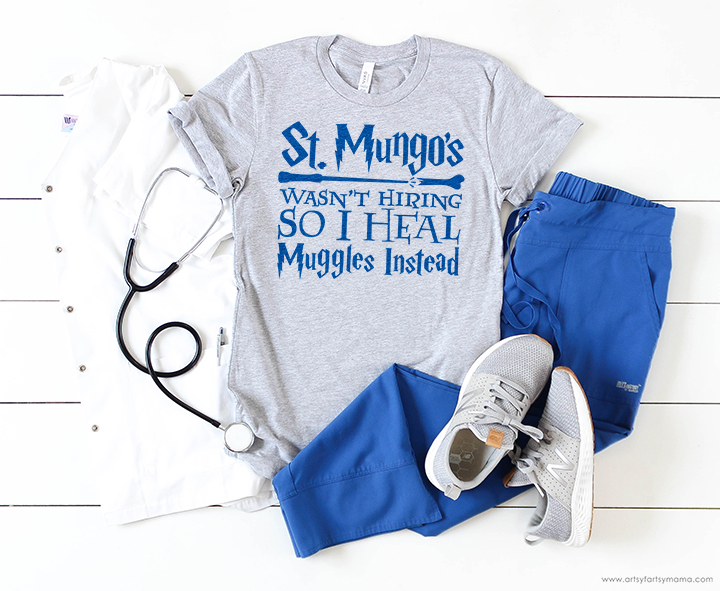
I wanted to put a little something together to thank those in the medical field who are giving everything to keep everyone safe and as healthy as possible. If you or someone you know is in the medical field and also happens to be a Harry Potter fan, this FREE cut file is for you! For those who aren't familiar, St Mungo's Hospital for Magical Maladies and Injuries is the hospital that wizards go to for serious wizarding injuries in the Harry Potter fandom.
This shirt would be a fun gift idea for doctors or nurses who love Harry Potter, or for anyone in the medical field who dreams of healing wizards! I've made a couple of shirts for my aunts who are nurses, and I'm sure we'll be making more items using this cut file for other nurse appreciation gifts.
To make your own St. Mungo's Nurse/Doctor shirt, you'll need these supplies:
- Blank T-Shirt
- St. Mungo's Nurse/Doctor Cut File (personal use only - commercial use available)
- Cricut Maker or Cricut Explore Air 2 machine
- HTV/Iron-On Vinyl OR Glitter HTV/Iron-On Vinyl
- EasyPress 2
- EasyPress Mat
- Iron-On Protective Sheet
- Weeding Tools
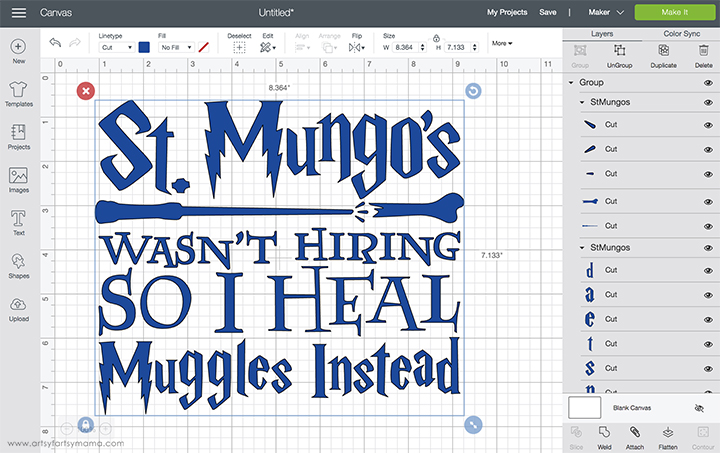
Upload the "St. Mungo's Nurse/Doctor" cut file into Design Space and size the image to fit your shirt. Make sure to mirror your image before cutting the iron-on vinyl! Otherwise, your design will be backwards when you put it on the shirt. To do this, select the mat thumbnail in Design Space before cutting, and click the "Mirror" toggle to reverse the image.
*Here's a great tutorial on how to upload your own images into Cricut Design Space.
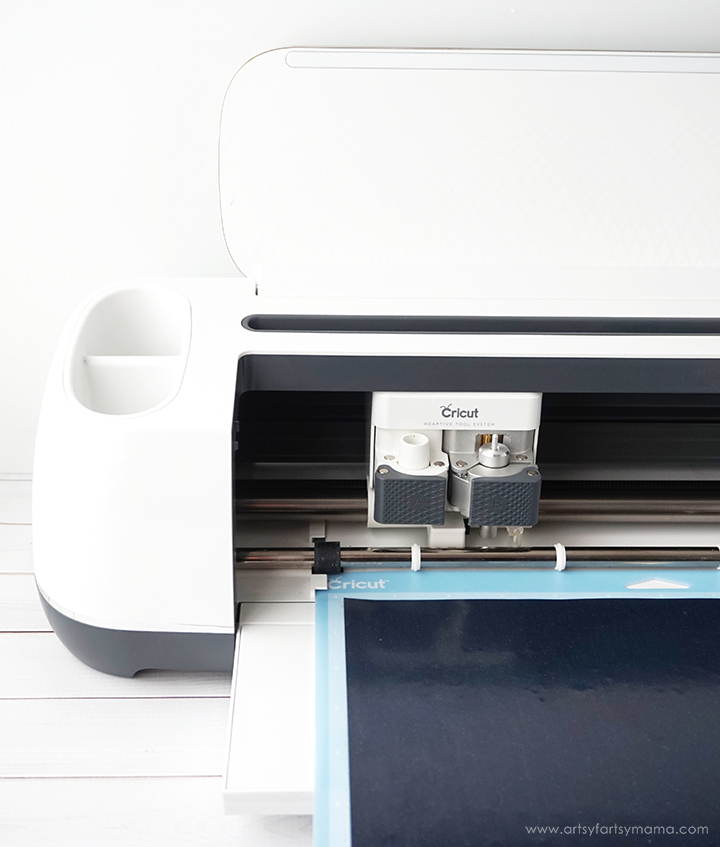
Place the vinyl face-down on the mat and load it into the machine. Change the material settings to the type of vinyl you are cutting, and then click the "Go" button to cut the vinyl.
"Weed" the excess vinyl by removing all of the parts that don't belong in the design. I usually peel away the outer edges starting at the corner and working my way around the design. Then I use weeding tools to remove the smaller pieces of the design.
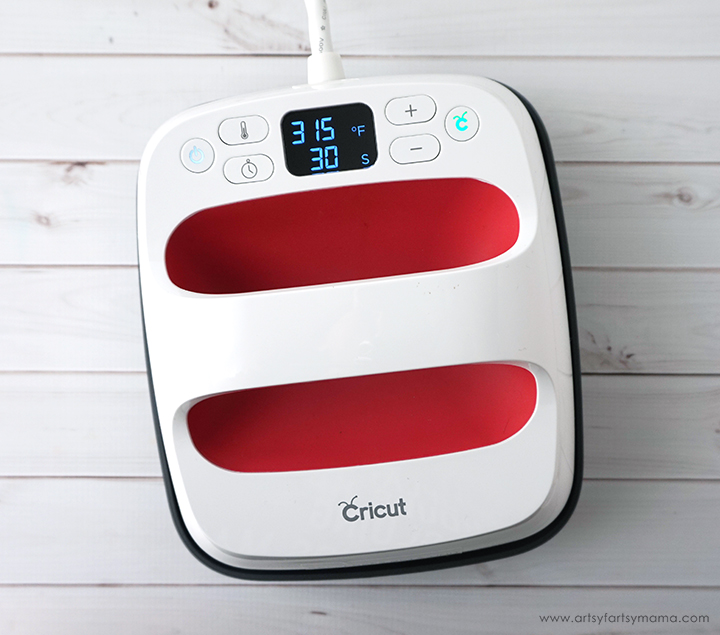
Plug in the EasyPress 2 and power it on. Each kind of HTV has a different heat and time setting, so be sure to check the recommended EasyPress settings before getting started. Adjust the heat and time setting to your shirt and vinyl specifications. Once the light turns green and the machine beeps, it's ready to use.
When the EasyPress is up to temperature, place your shirt on the EasyPress Mat and preheat the area for 5-10 seconds. Lay the HTV down on the shirt, with the clear carrier sheet facing up. Set the EasyPress over the vinyl and press the green "C" button. Hold firmly in place while the timer counts down. Turn the shirt over and press the EasyPress firmly again for 15 seconds.

The cut file comes with multiple file types, so you can actually cut the design with any vinyl cutting machine. All I ask is that you use the file for personal use only. I hope you enjoy using this cut file, and I would absolutely LOVE to see your creations!!
Who is your favorite Harry Potter character?
Don't forget to Pin, Like, and Share!


How do I download the free svg? It’s not letting me.
ReplyDelete