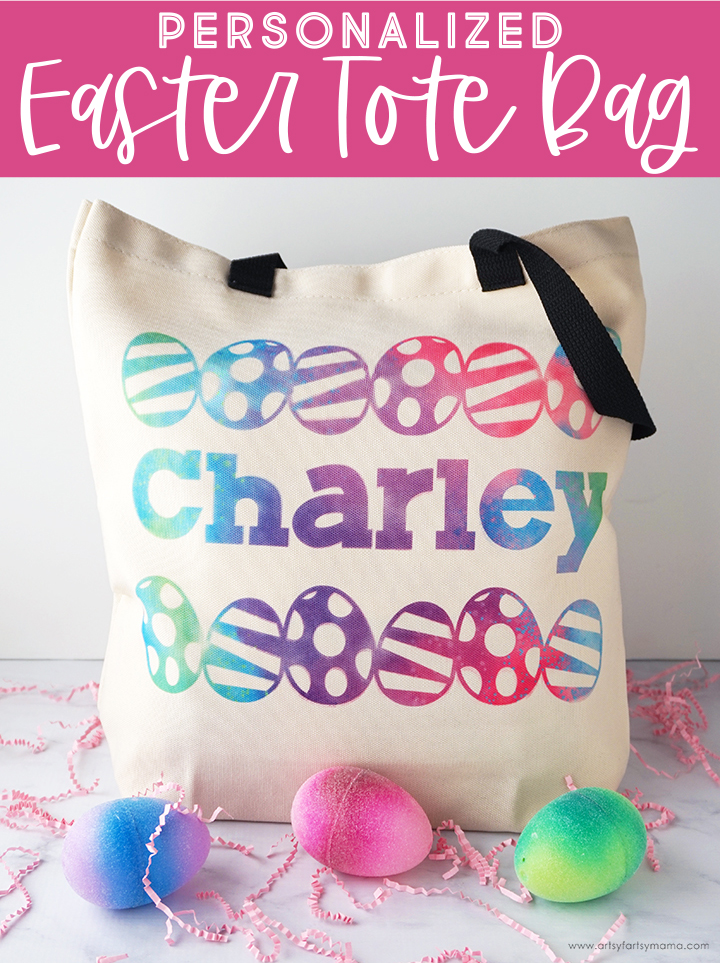
Kids will love collecting ALL the eggs this Easter with a Personalized Easter Tote Bag!
This post contains affiliate links for your convenience. As always, I only share things that I use myself and truly recommend!
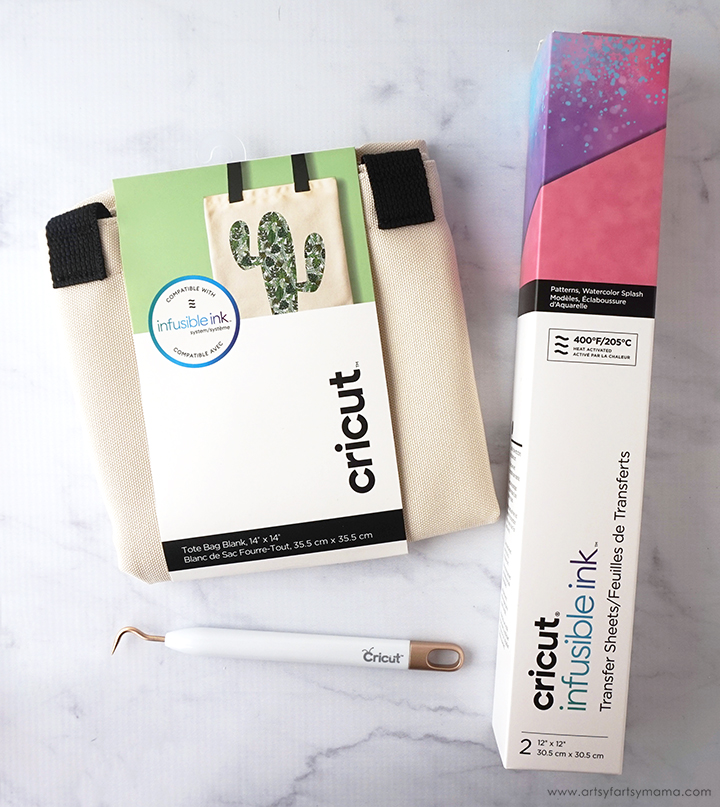
To make your own Personalized Easter Tote Bag, you will need:
- Cricut Maker or Cricut Explore Machine
- Personalized Easter Tote Design Space Project
- Cricut Infusible Ink Transfer Sheet
- Cricut Tote Bag Blank
- Cricut StandardGrip Mat (Blue)
- Weeding Tools
- Lint Roller
- 12" x 10" Cricut EasyPress 2
- 12" x 12" Cricut EasyPress Mat
- Butcher Paper
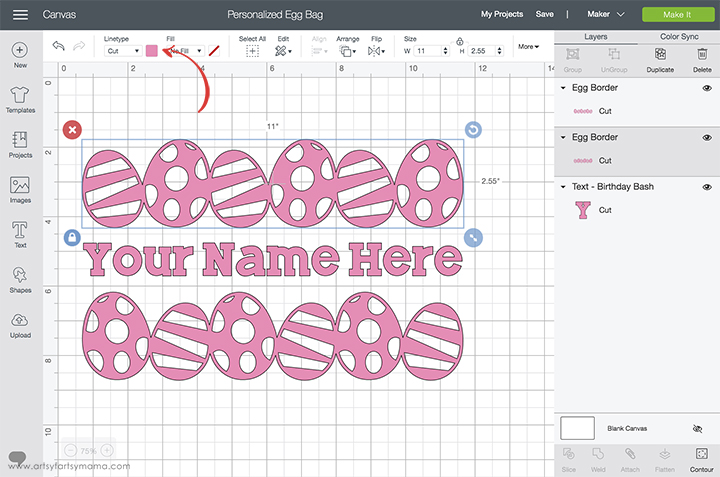
Open the Personalized Easter Tote Project in Design Space. I've sized the project to fit perfectly on the Tote Bag Blank. Select "Customize" to be able to make edits to the design.
I recommend changing the color of the design to something similar to the Infusible Ink Transfer Sheet you will be using. To do this, select the parts of the design and then click on the colored square in the menu bar and choose a color.
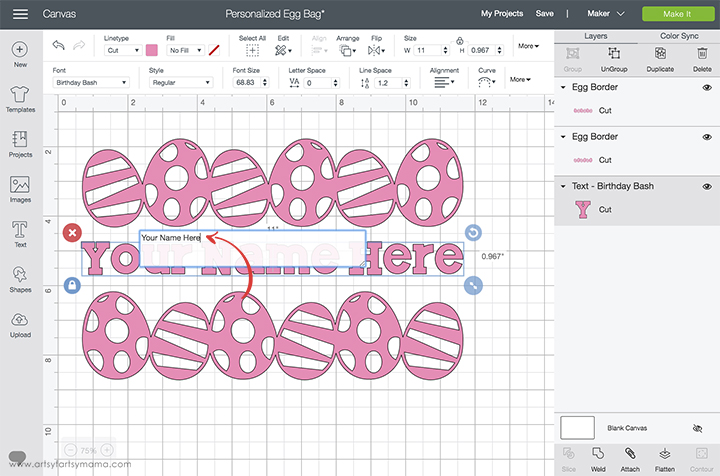
Next is the most important step - changing the text to the name you want to put on your tote bag! Double-click the "Your Name Here" and a text box will pop up. Delete the text and type in the name you want. If you want to change the font, you can click the drop-down menu in the tool bar at the top and choose one of the Cricut fonts or use one from your own computer system.
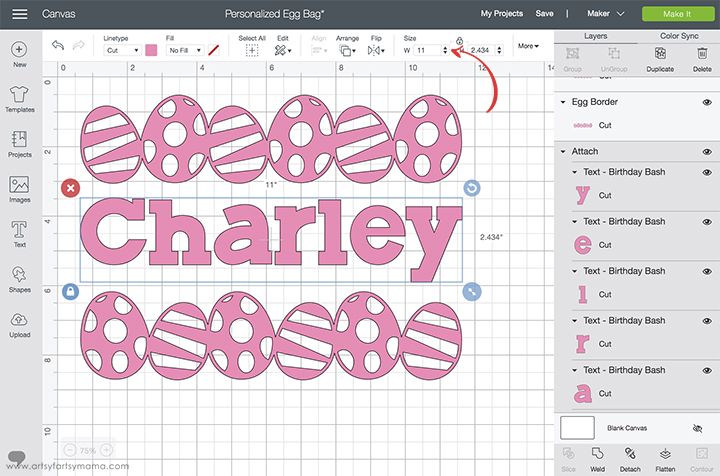
Now that the name is in place, you will probably need to change the size for it to fit with the rest of the design. To do this, go to the "Size" area in the top menu bar and change the width to be the same width as the egg designs.
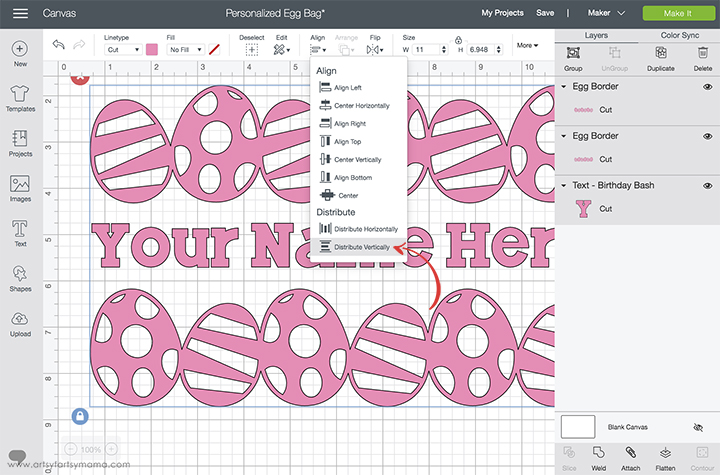
To make sure everything is aligned perfectly, select the entire design and click the drop-down menu in the "Align" section of the toolbar. Choose "Center Horizontally" to make everything aligned, and then choose "Distribute Vertically" to make sure the spacing between the eggs and the text is even.
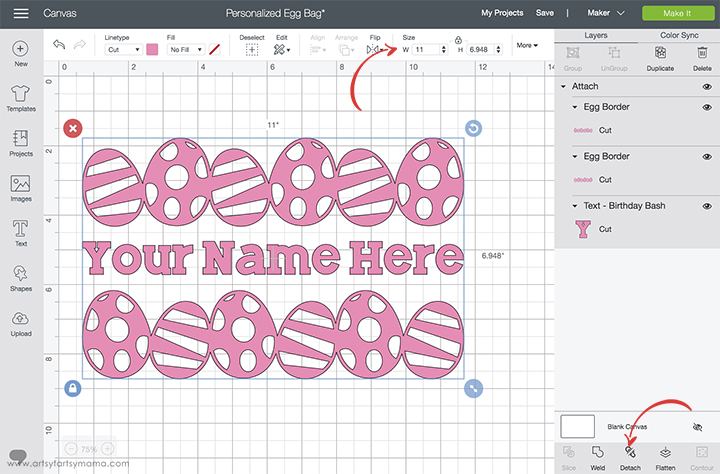
Keep everything selected and click "Attach" in the bottom right toolbar. This will make sure that your design will be cut in this exact format instead of everything being separated and arranged on the mat. At this time, make sure the complete size of the design is the size you want for the tote bag and adjust, if necessary. Once you are ready to cut, click the green "Make It" button in the top right corner.
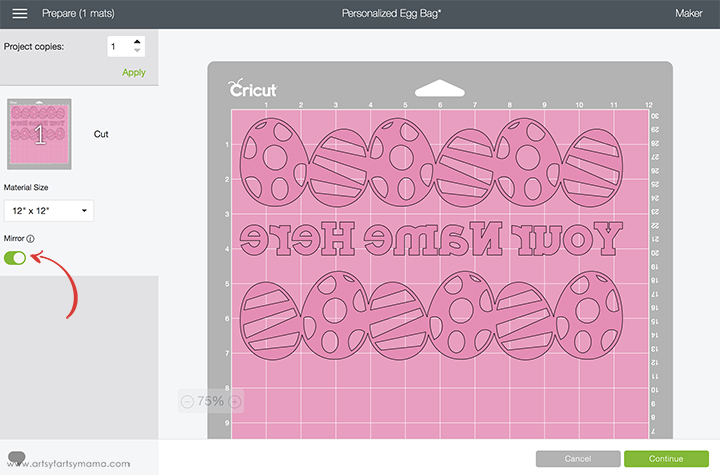
Before cutting, make sure to mirror your design so it won't be backwards when you put it on the tote bag. To do this, click the "Mirror" toggle below the mat preview to reverse the image. Click the green "Continue" button to connect to your machine and cut the project.
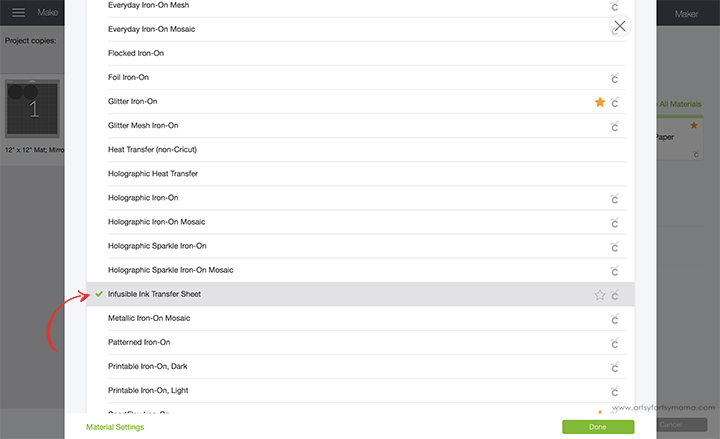
After connecting to your machine, click the Material Settings menu and select Infusible Ink Transfer Sheet to make sure to get the perfect cut setting.
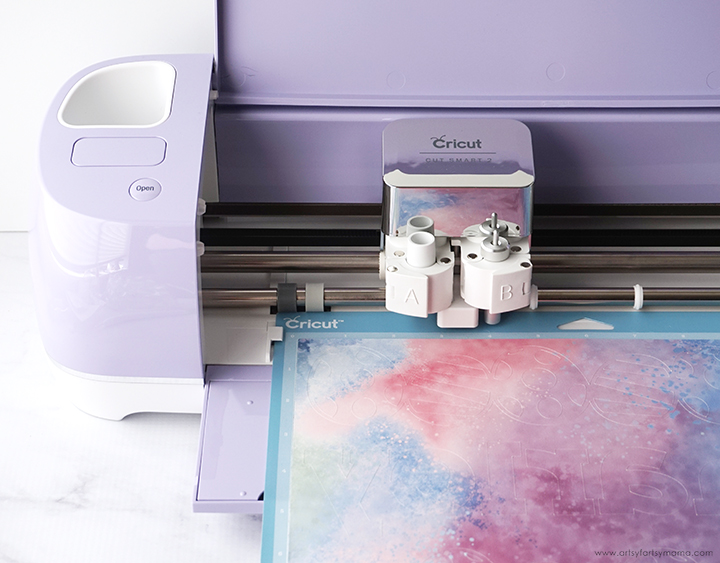
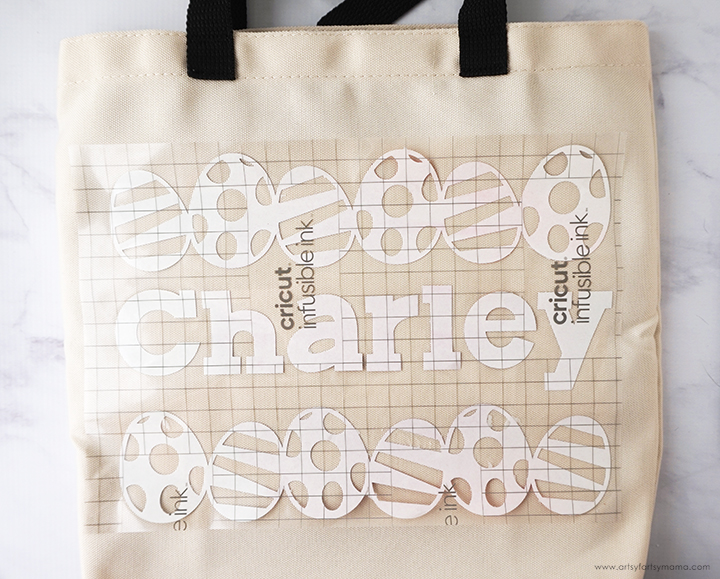
Lay the Infusible Ink Transfer Sheet with the design facing UP on a blue StandardGrip Mat. Don’t worry that the colors look a bit muted. After heating it up, the Infusible Ink colors are super vibrant! Load the mat into the machine and press the button with the Cricut symbol when prompted to cut the design.
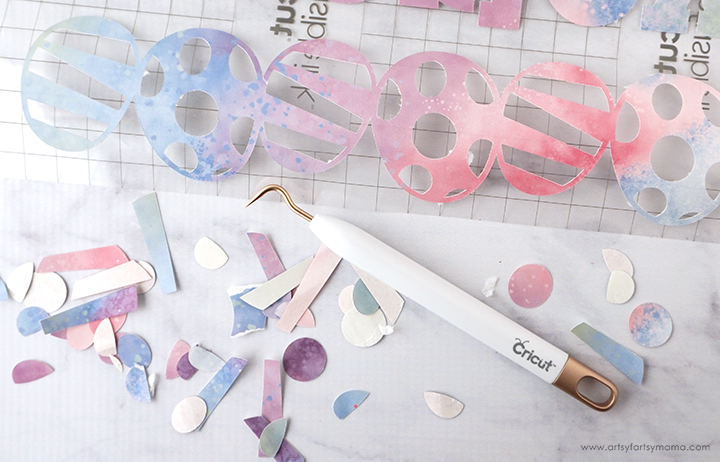
The transfer sheet feels more like paper than vinyl, so keep that in mind when you're weeding. Bend the corner of the transfer sheet back and forth a few times until it separates from the carrier sheet.
"Weed" away the excess vinyl by removing all of the parts that don't belong in the design, starting with the outer edges and then working your way around the design. Use weeding tools to remove the smaller pieces of the design, like the insides of letters and the egg designs.
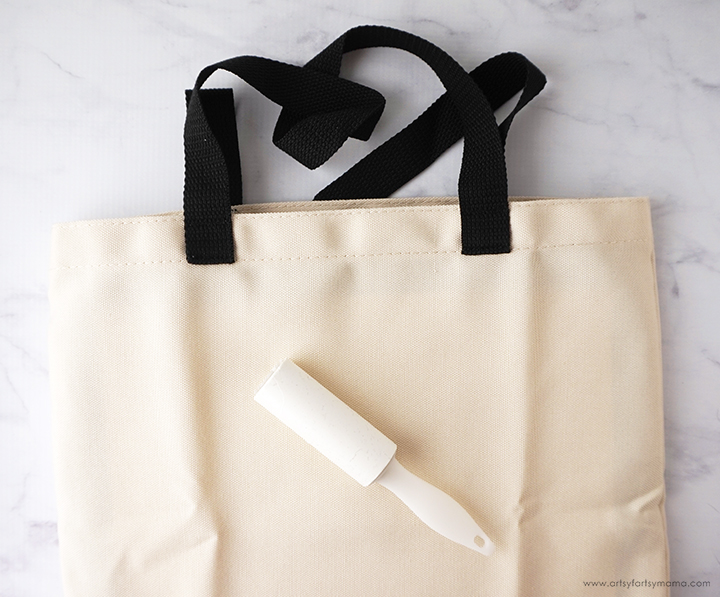
Use a lint roller to remove any small debris from the bag surface.
*To infuse your design into a Cricut blank, you will need a Cricut EasyPress 2. The original EasyPress will work okay, but the Infusible Ink is designed to get the best results with the EasyPress 2.
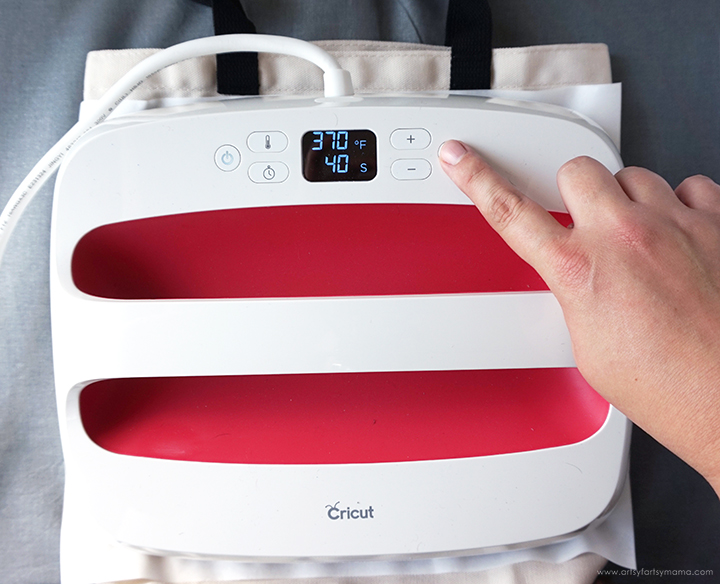
Lay a piece of butcher paper over the design on the tote bag. Make sure the EasyPress 2 is set to 385º for 40 seconds*, and then carefully set it down on top of the stack of materials. Press the button to start, and hold the EasyPress in place with light pressure while the timer counts down. When the timer beeps, slowly and carefully lift the EasyPress and the butcher paper.
While the liner is still warm, carefully peel the design away from the tote. If any of the transfer sheet is stuck to the bag, you can remove it with tweezers.
*Be sure to check the Cricut Heat Guide to get the right settings for your projects!
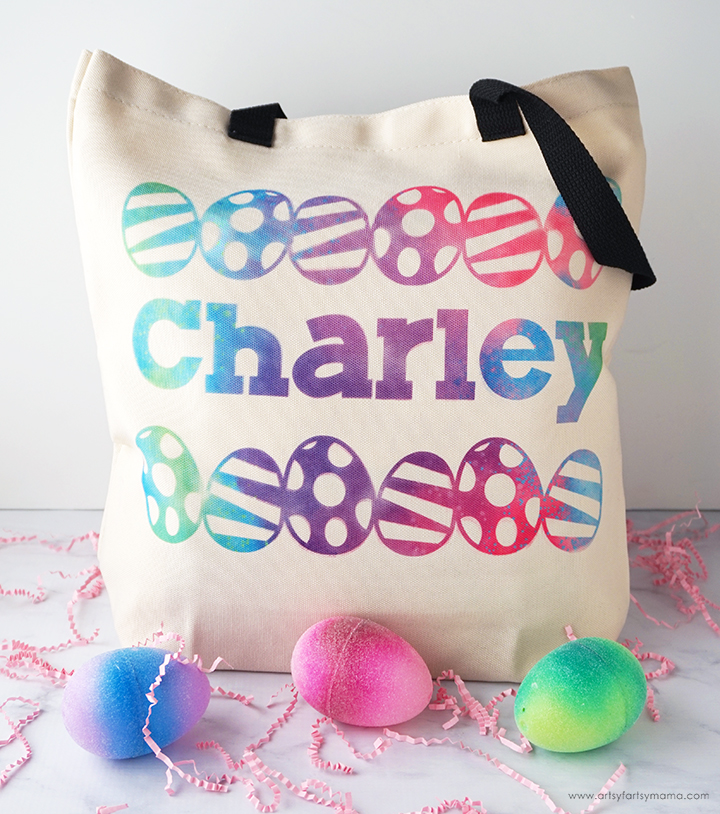
The Infusible Ink is different from iron-on vinyl because the ink is actually absorbed into the fabric fibers when you apply heat. If you run your hand over the bag, you can't even feel that there's a difference between the ink and the bag itself! To keep the bag looking its best, wash the bag inside out with cold water and mild detergent, and then tumble dry low or line dry.

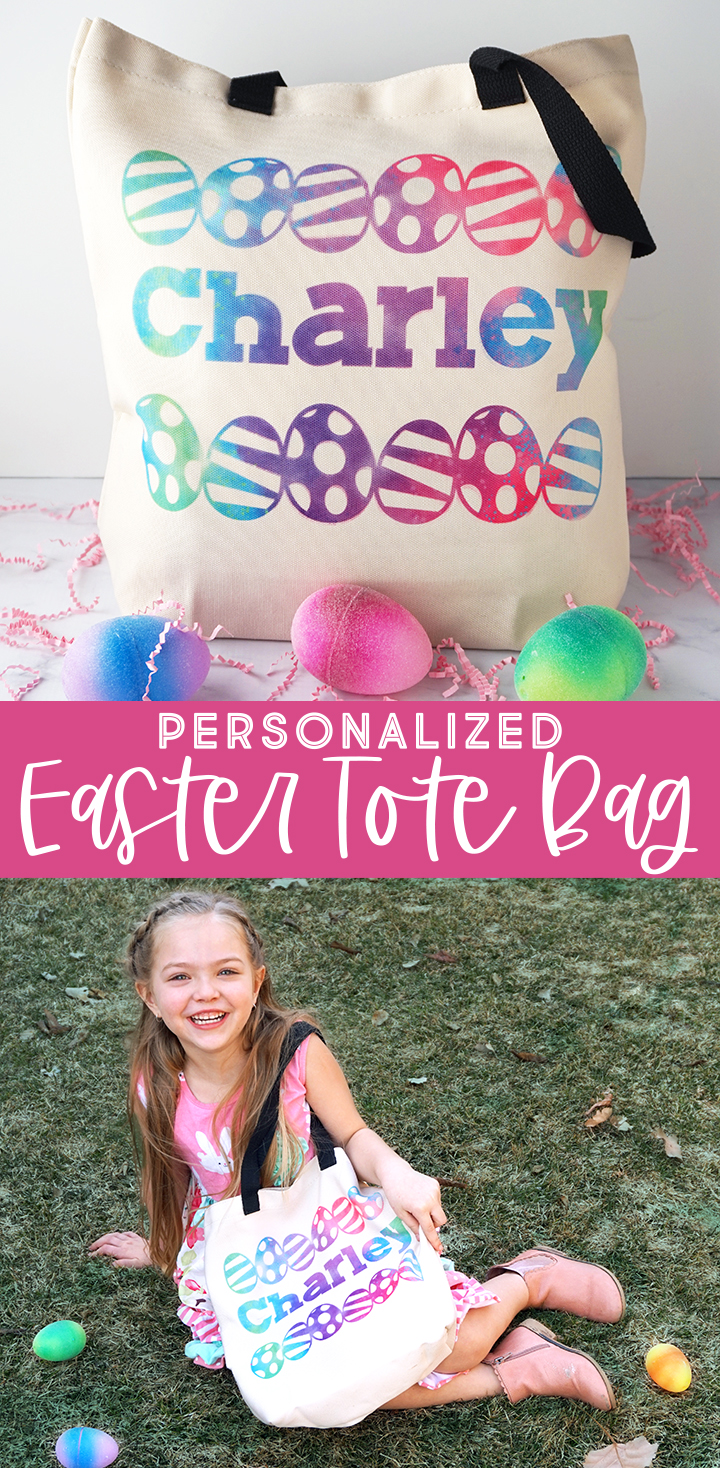
Isn't my niece the cutest? She is SO ready to snatch up alllll of the eggs at our family Easter egg hunt this year, and I'm so excited that all of the kids will have a perfectly-sized tote bag with their names on it to hold all of their goodies in!
Don't forget to Pin, Like, and Share!
What are your favorite Easter traditions?


This bag is absolutely adorable!! You've convinced me to use Infusible Ink on a project! Love the pattern to this sheet!
ReplyDelete