Give friends a big thumbs up with these I "Like" You Valentines made with the Cricut!

I think making classroom Valentines are so much fun! Let's be honest: we all love getting "Likes" on social media, so why not throw Likes around like confetti this Valentine's Day? These I "Like" You Valentines are a simple and quick Valentine make for the classroom, co-workers, or for anyone who deserves a "thumbs up"!
To make your own I "Like" You Valentines, you will need these supplies:
- Cricut Maker or Cricut Explore machine
- I “Like” You, Valentine Design Space Project
- Cricut Pens - red, black
- Cardstock - red, white
- Paper Adhesive
- Heart-Shaped Lollipops
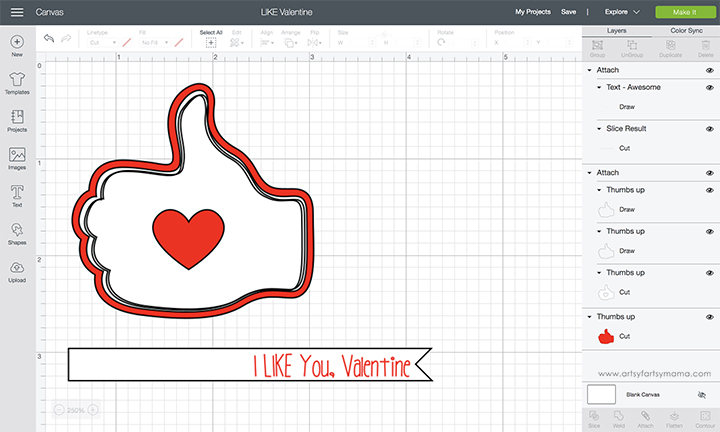
Open the I “Like” You, Valentine Design Space project to get started. To make the project as-is, you can click on the green “Make It” button to go straight to cutting. If you want to make any edits, click the “Customize” button. This will take you to the project canvas, where you can make changes to the project size, edit colors, or add/delete text. Once you are done, click the green “Make It” button in the top right corner.
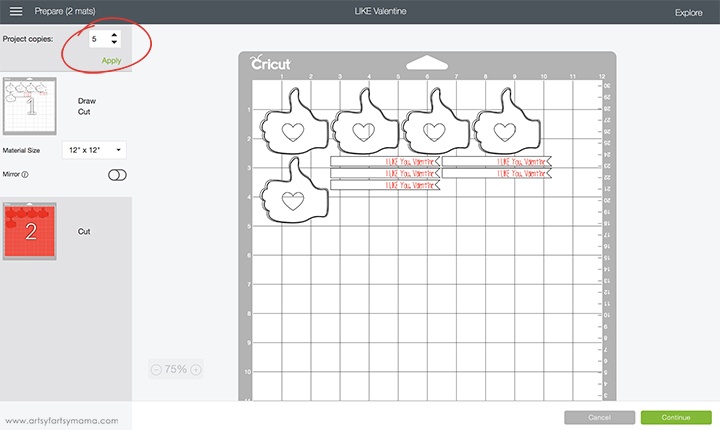
Since you are most likely going to be making more than one Valentine at a time, here’s a simple trick to make multiples in one step! In the mat preparation screen, select the amount of Valentines you want to make in the “Project Copies” drop-down menu. Once you click “Apply”, the images will multiply to fill up the mats. This will also help you to know how much paper you will need for multiple projects.
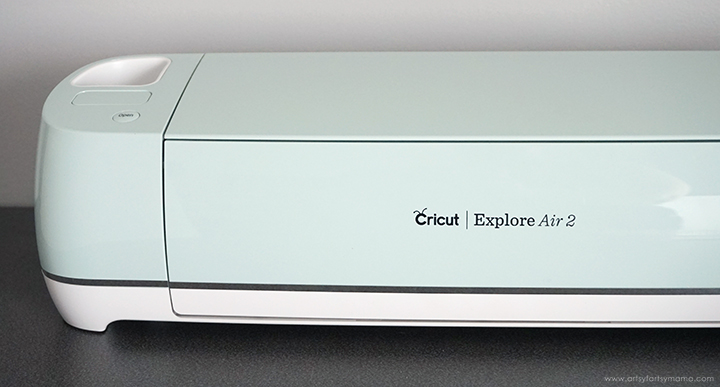
Turn the knob on the Cricut Explore to “Cardstock” or to “Custom” to choose your specific materials from the drop-down menu before cutting. Place your paper on the LightGrip (blue) mat and load it into the machine.
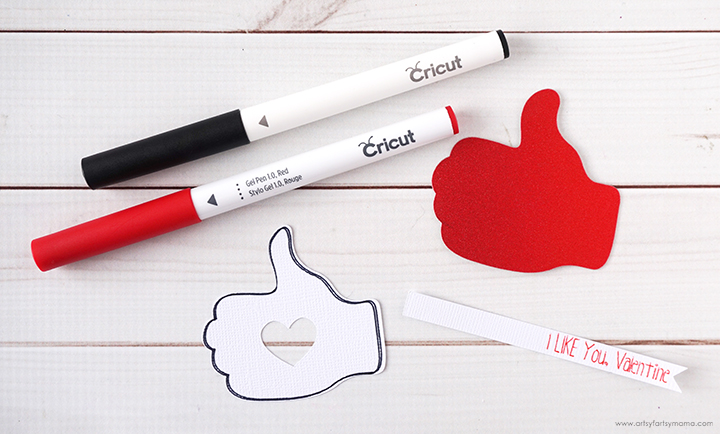
Keep your Cricut Pens handy and load them when prompted to do the writing part of the Valentine for you. Look at that perfect handwriting and the drawing on the hand! I could never do that on my own!!
Once all of the pieces are cut, separate them into single sets for easier assembly.
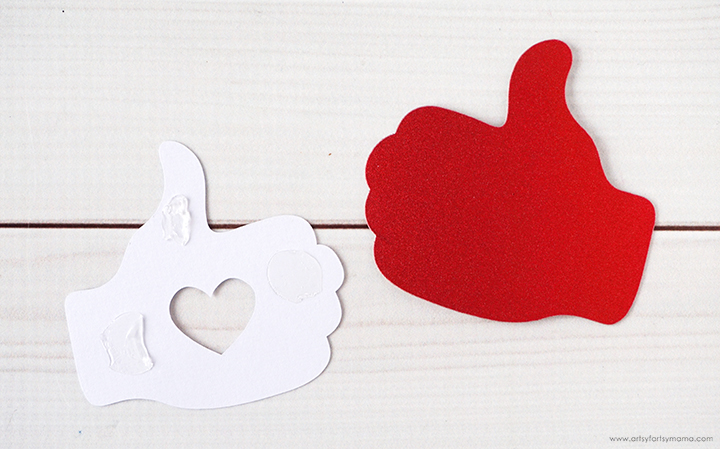
Turn the top hand piece (with the writing on it) over and add some adhesive to the back. I prefer to use glue dots or lines of tape runner, but you can use whatever you like using best on paper projects.

Center the top piece adhesive-side down on the bottom piece. Press it down to make sure the papers are stuck together well.

Turn the strip of paper with the Valentine message over. Add some adhesive from the center all the way to the straight edge. Place the strip facing up, with the wording right next to the lollipop stick.
Bring the other end around the stick and press it onto the back of the strip. Press the paper together well and where it's attached to the stick to make sure it won’t fall off. You may need a small piece of tape to attach it to the stick if you didn’t use enough glue.

Place some adhesive on the front of the lollipop and lay the hand piece down on top. Press well to hold it in place. Repeat the process for the rest of the Valentines!
If you want to go the non-candy route, you can always use items like pencils, pens, or other things that have a “stick” for the little flag/tag to hold on to!

I really LIKE how these Valentines turned out, and love that they are so easy and quick to make for an entire classroom. Kids can even do the assembly themselves, which I think should be the main idea when it comes to making Valentines.
If you decide to make some of these I “Like” You Valentines for yourself, please share them! I love seeing your creations.
Do you like making your own classroom Valentines?


These are adorable. I Like You and I Like This Project! <3
ReplyDelete