Tell someone special the reasons you like them with an "I Like You Because..." Valentine Card!
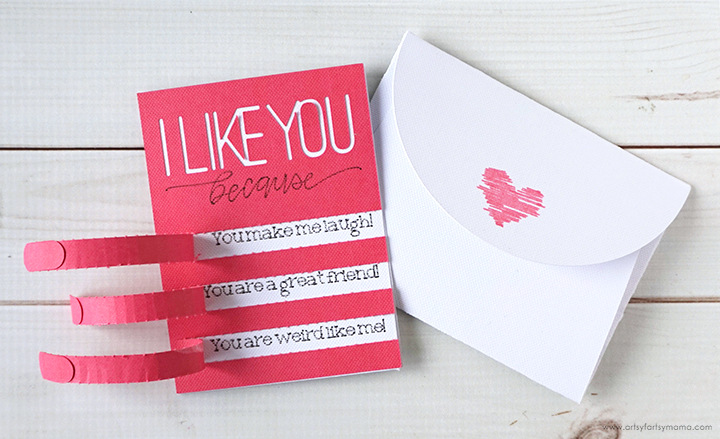
My husband and I exchange cards every Valentine's Day, and it's such a fun tradition to try to find the most unique cards. Instead of shopping this year, I am going to make his card myself! I came up with this fun and interactive "I Like You Because..." Valentine Card that you can easily customize and create using a Cricut Maker machine. This would also be a great card to give to girlfriends on Galentine's Day, to share with a teacher, or to give to someone who needs a little cheering up!
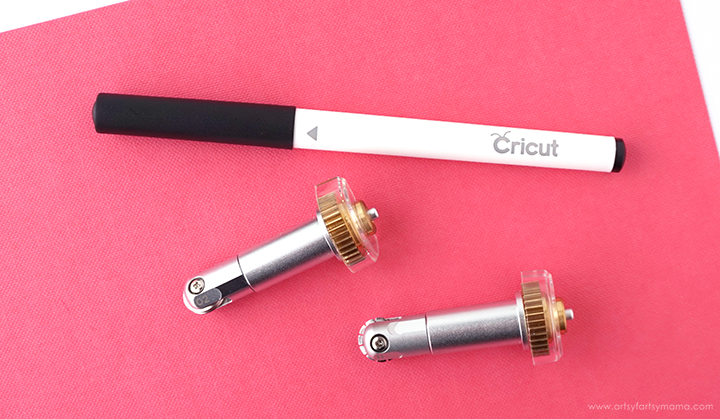
To make your own "I Like You Because..." Valentine card, you will need these supplies:
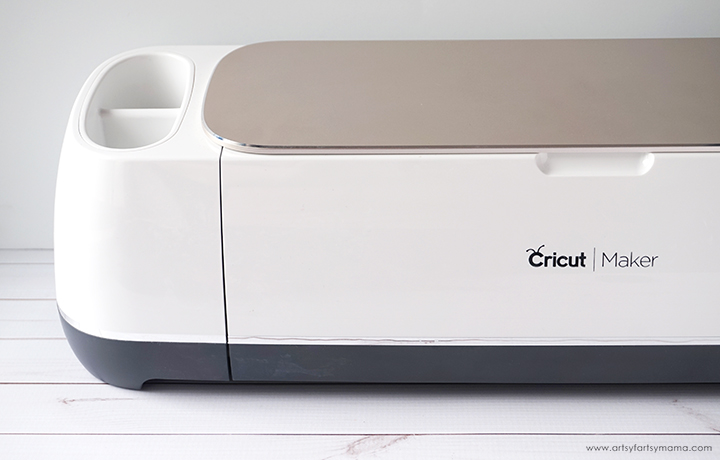
- Cricut Maker machine
- I Like You Because... Design Space Project
- Scoring Wheel
- Basic Perforation Blade
- Cricut Pens - red/pink, black
- Cardstock - red/pink, white
- Paper Adhesive
Open the I Like You Because... Project in Design Space. You will want to make sure that you select the "Customize" option at the bottom so that you can change the text on the card! Once you are in the project, select the text boxes one at a time and change the "Your Text Here" to the top 3 reasons that you like the person you are making the card for. DO NOT MOVE THE TEXT BOXES!!
To make sure that the text stays in place when you cut/write the card, there are a few important steps. Select all three of the text boxes and the card base. While those items are selected, click "Attach" (with the paperclip icon) from the menu in the bottom right corner.
Everything else in the project is ready to go, so once you have attached the card base and the text, you can click the green "Make It" in the top right corner to go to the cutting process.
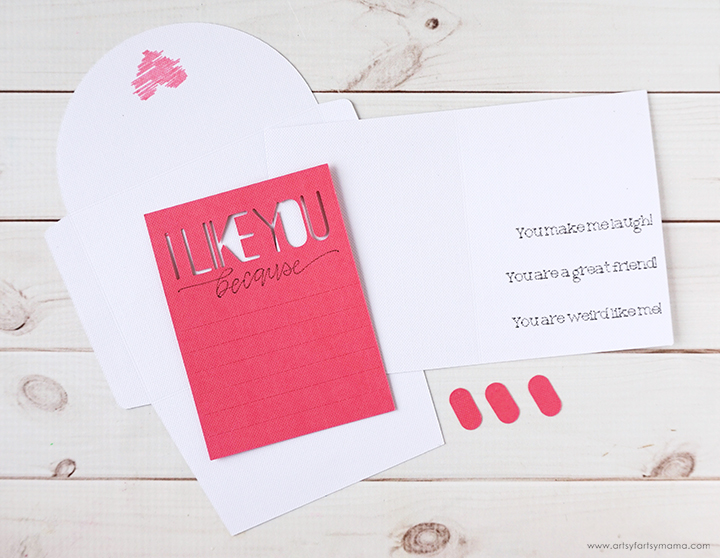
The pieces aren't pictured here, but make sure to keep the inside of the "K" and "O" from the "I Like You" portion of the card to attach later!
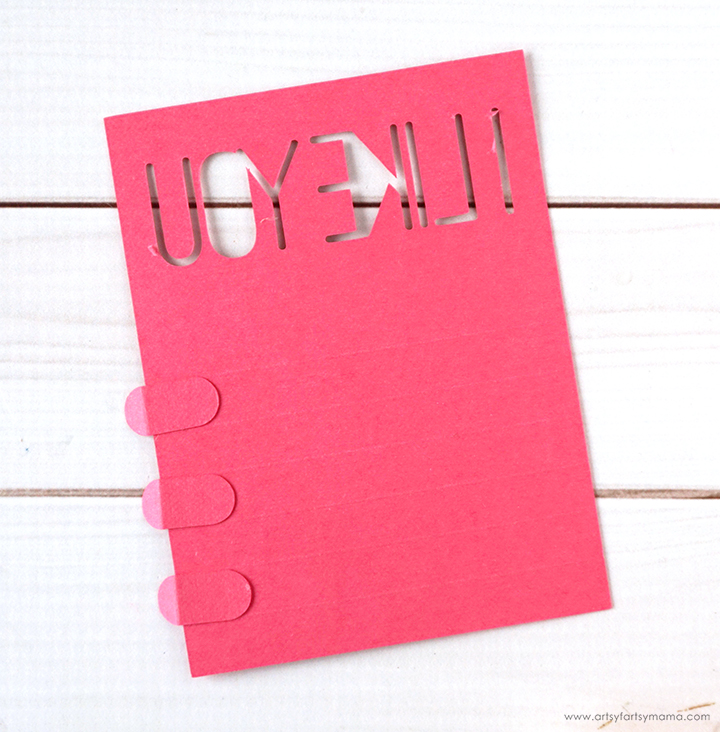
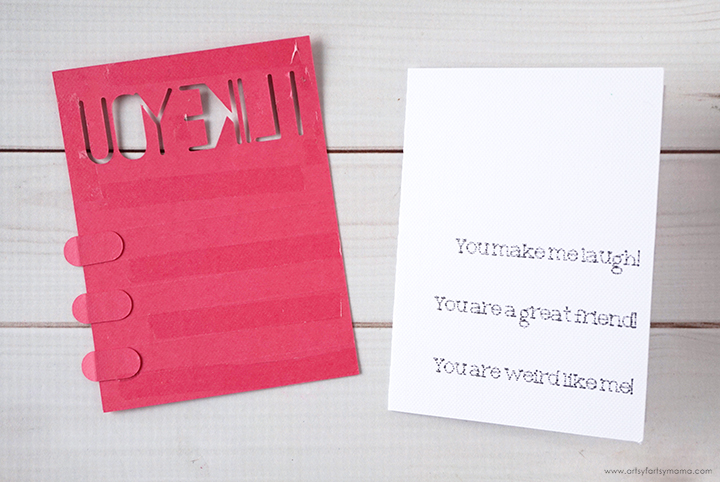
Fold the card base along the score line in the center and set it aside. Add some adhesive on the back of the front piece everywhere EXCEPT along the perforated strips where the tabs are (see image above). If you get adhesive on those areas, you won't be able to pull the strips open later.
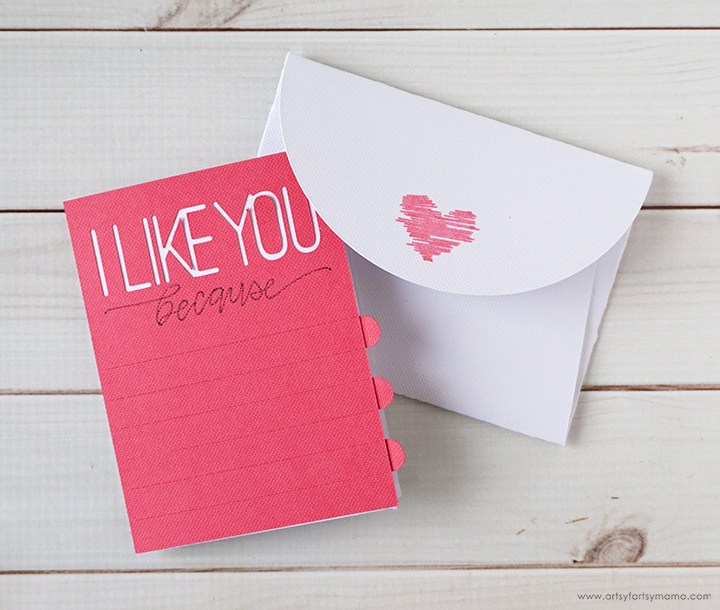
Lastly, fold the envelope along all of the score lines. Fold the bottom section up, and use some adhesive to attach it to the side tabs.

Turn the front of the card over. There are three oval-shaped tabs with a score line. Find the score line and fold the tab forward. Add some adhesive to the rest of the tab and place it face-down on the card between the perforated line segments. This will make it easier for the card recipient to pull the card strips open.

Fold the card base along the score line in the center and set it aside. Add some adhesive on the back of the front piece everywhere EXCEPT along the perforated strips where the tabs are (see image above). If you get adhesive on those areas, you won't be able to pull the strips open later.

Align the front piece with the edges of the front of the card. Press down well so that the paper stays in place. Use a little more adhesive to stick the centers of the "K" and "O" to make the "I Like You" text more readable.

Lastly, fold the envelope along all of the score lines. Fold the bottom section up, and use some adhesive to attach it to the side tabs.
Now you can write your message in the card, place it in the envelope, and give it to your significant other, friends, teacher, or whoever needs to know how much you care about them!
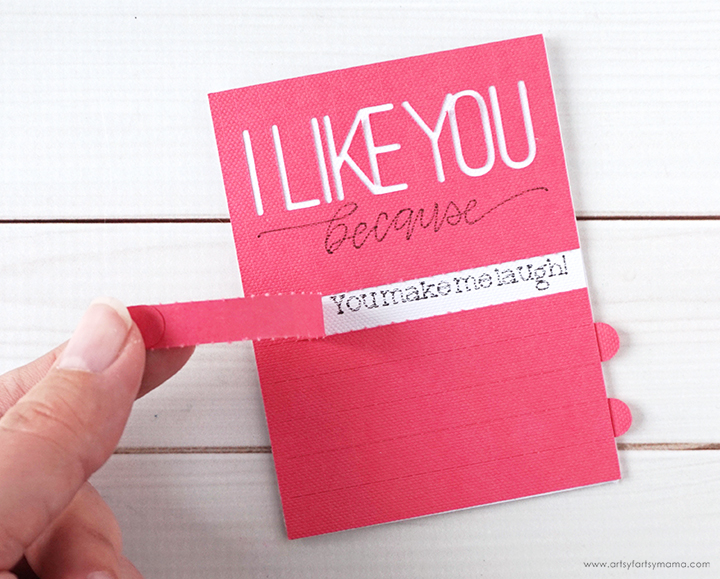
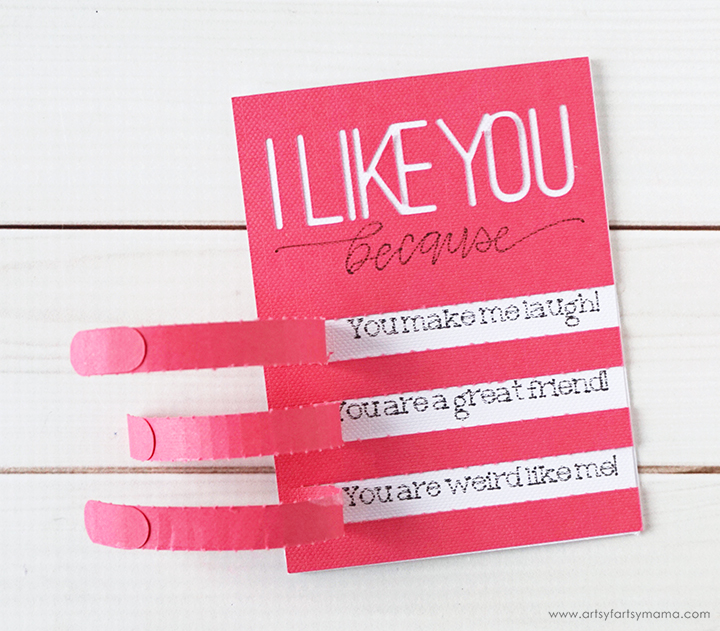

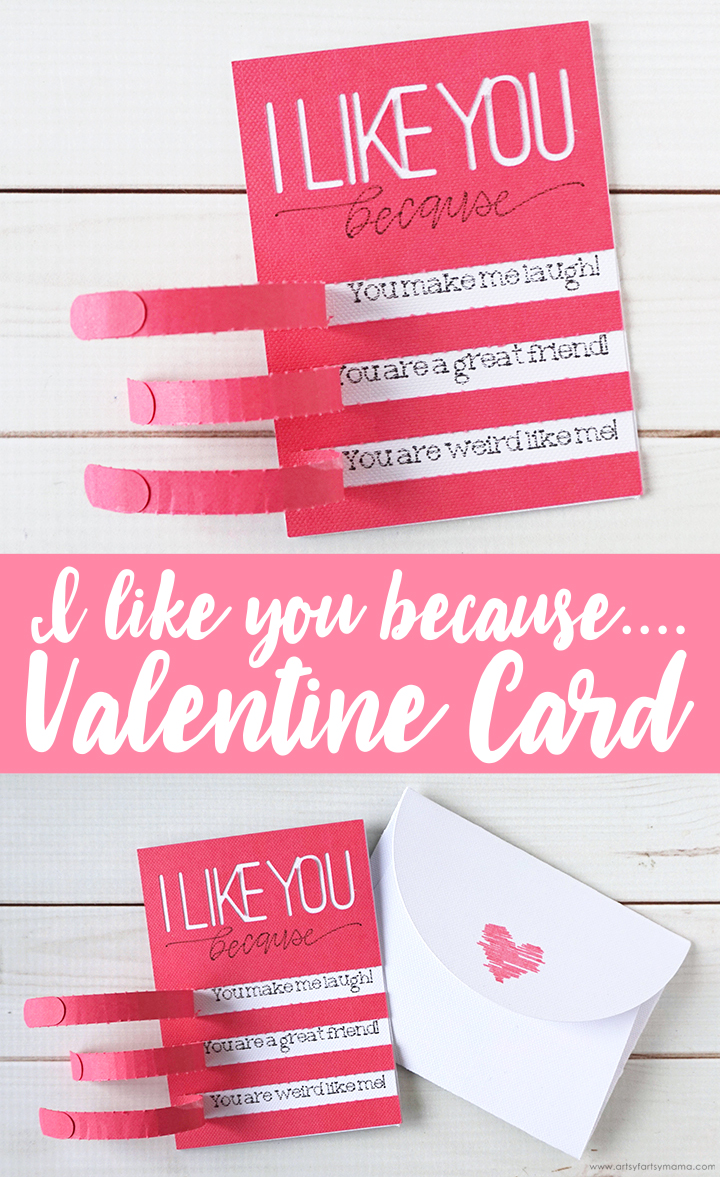

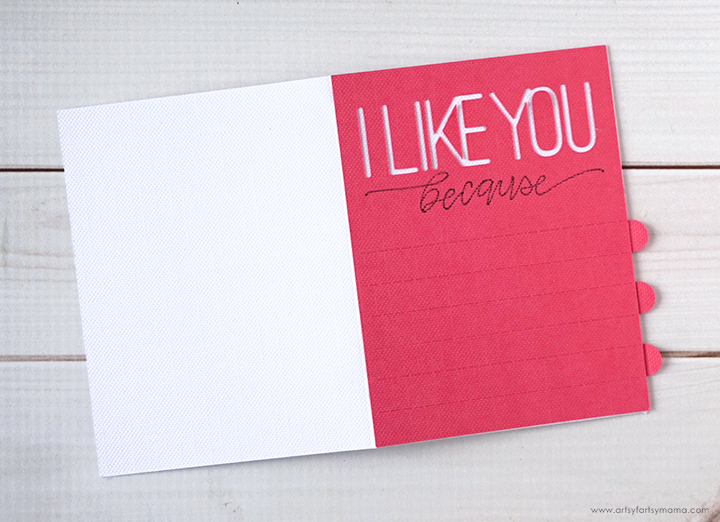
Now that I've shown you how to make the card, this is how the card works: hold on to the tab on the edge of the card with your fingertips and pull gently. The perforated lines tear easily to reveal your customized strip of text. Such a fun surprise!

Pull the rest of the tabs to reveal the other two lines of text. You can add any kind of message you want, which makes this project so much fun. I also love that it's easy to change up the text to be appropriate for all different kinds of people to share it with!

What do you think of this card set? I think my husband is going to love his card, and I'm looking forward to helping my daughter make some for her little friends and teacher this Valentine's Day. I had so much fun creating this project and would love to see your creations if you decide to make one!
Who would you share this "I Like You Because" Valentine Card with?
Don't forget to Pin, Like, and Share!


I LOVE this! Pinning!
ReplyDeleteHi! Lovely way to present a card. Although I have a doubt and it is regarding the envelope with the detailed heart, I would like to imitate it but I do not know how you have done it so that the heart looks that way. It's very beautiful. Thank you!
ReplyDeleteHi!
ReplyDelete