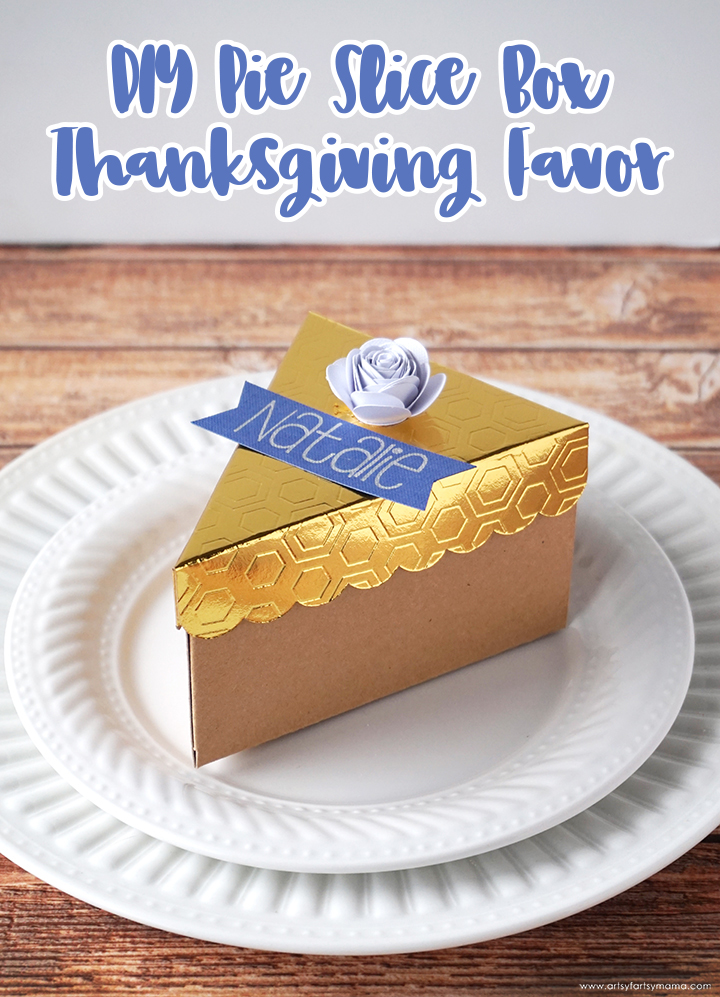
Let everyone take home a slice of fun with these Pie Slice Box Thanksgiving Favors!
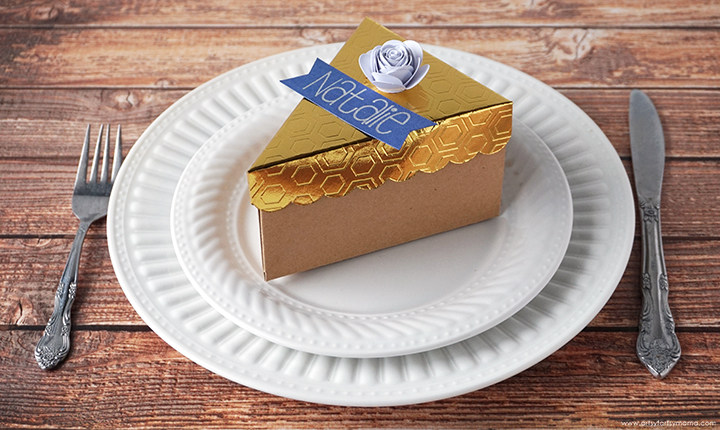
Besides bringing my famous Slow Cooker Mashed Potatoes, one of my favorite things is making favor boxes for our Thanksgiving guests. These Pie Slice Box Thanksgiving Favors look like the popular Thanksgiving dessert and will make a big impact on your table. They are also SO easy to make with a little help from the Cricut Maker!
To make your own adorable Pie Slice Box Thanksgiving Favors, you will need:
- Pie Slice Box Design Space Project
- Cricut Maker machine
- Cricut Scoring Wheel
- Cricut Fine Debossing Tip
- StandardGrip Mat
- White Cardstock
- Blue Cardstock
- Kraft Board (Natural)
- Foil Kraft Board (Gold)
- Metallic Silver or Gold Pen
- Quilling Tool
- Glue Dots or Tape Runner
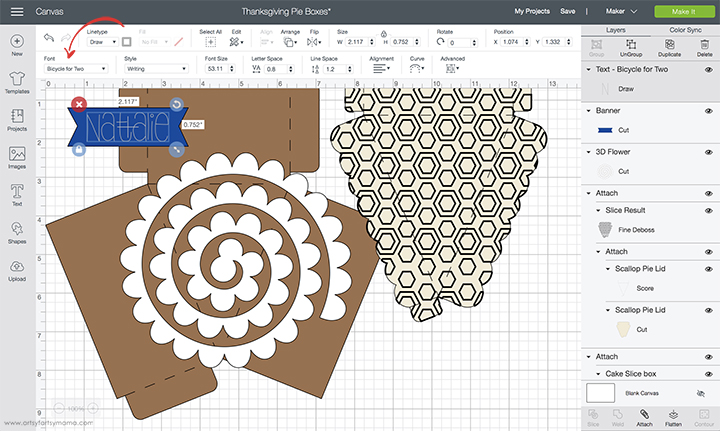
Open the Pie Slice Box project in Design Space. Customize the name on the tags by double-clicking the text, and then change the text to your desired name. You can change the font by clicking the drop-down box in the menu bar (see the red arrow above). Once it is how you like it, select the text and the blue banner and click "Attach" in the bottom right bar. Attaching will keep the text paired with the banner piece so that they cut/write together.
If you are making more than one box, duplicate the name banner for as many people as you need. Detach the tags to edit the text, then re-attach when you are done. Don't worry about duplicating the rest of project. You can do that in the next step after you click the green "Make It" button in the top right corner.
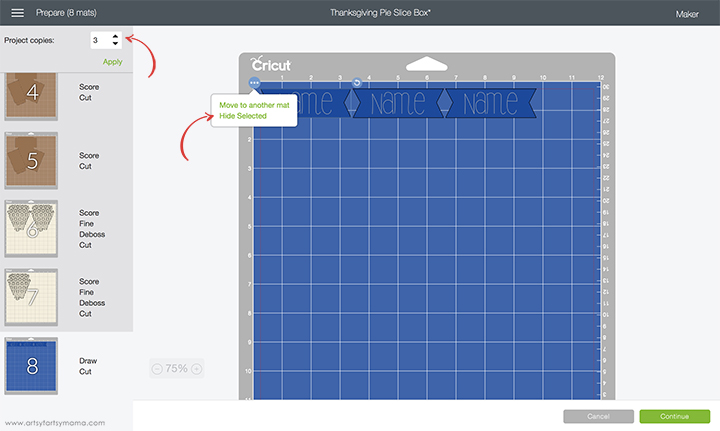
In the Mat Preparation screen, you can easily duplicate the rest of the project. Select the amount of boxes you want to make in the Project Copies drop-down box, and then click "Apply" to let Design Space figure out the mats for you!
If you have custom name tags, they will also get duplicated in this process. You most likely won't need multiple tags with the same way, so here's an easy fix: go to the mat with the name tags. Click on one of the multiples, and then click the little circle with 3 dots in the top left corner of the image (see above). Then, choose "Hide Selected" to hide the tag. Repeat for all of your multiple name tags, and then click "Continue" to go through the cutting process.
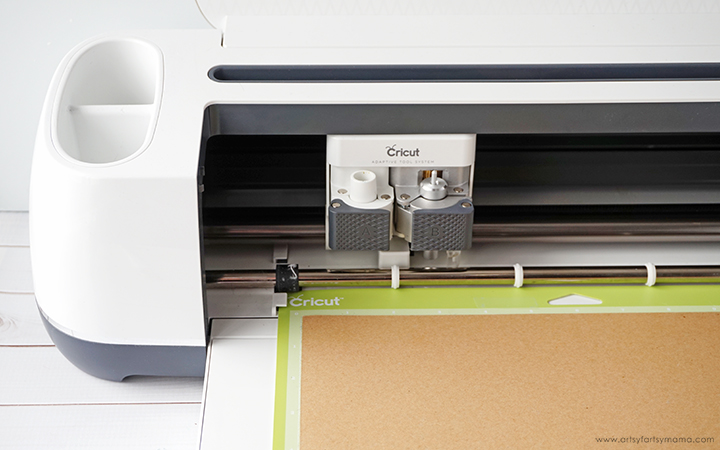
Connect to your Cricut Maker machine via Bluetooth or cord. Click the "Browse All Materials" on the right-hand side of Step 1 to choose from a huge list of materials to cut from. Scroll down to choose the specific type of paper you will be cutting to ensure a perfect cut.
Lay the Cardstock/Kraft Board on the green StandardGrip Mat and load it into the machine by pressing the flashing arrow button on the machine. When the button with the Cricut logo begins flashing, you can then press it to cut your project out. Keep your Scoring Wheel and Pen nearby so you can load them when prompted.
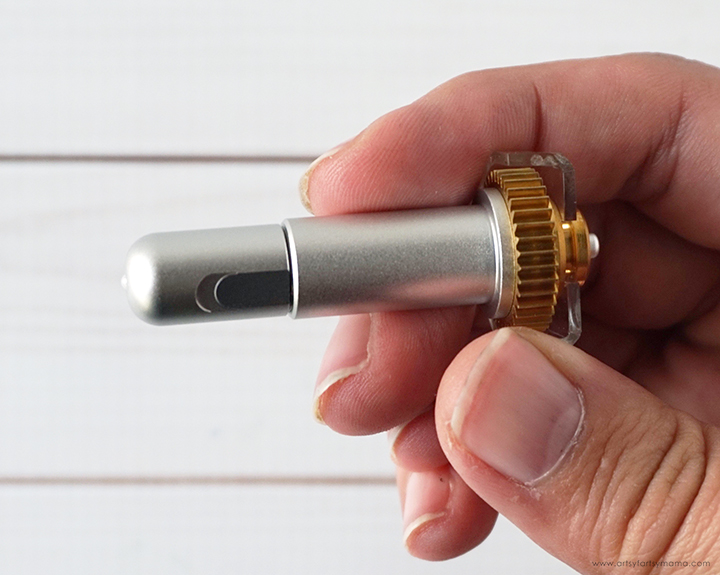
For the top of the box, I wanted to try something new using the Fine Debossing Tip on Foil Kraft Board. Debossing is where the design is pushed into the material, where embossing is when it is raised up. I am thrilled with how it turned out (as you will see), and I see a lot more projects using this tool in the future!
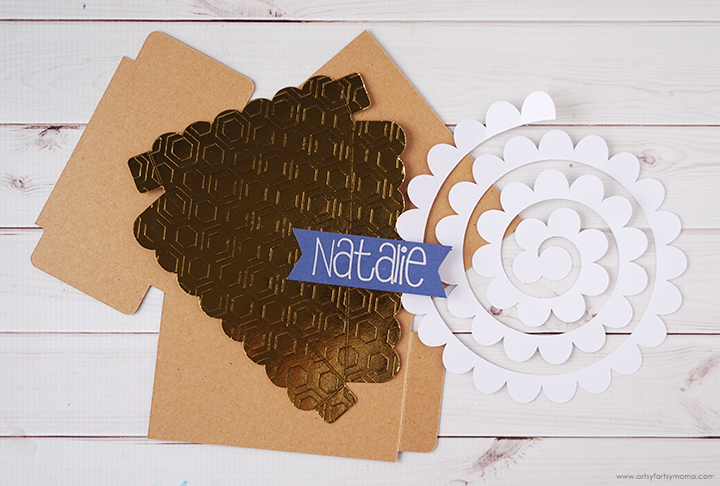
Here is the project all cut out. Isn't it fun? I love the metallic shimmer on the name tag, and I couldn't love the textured, debossed foil any more! What do you think?
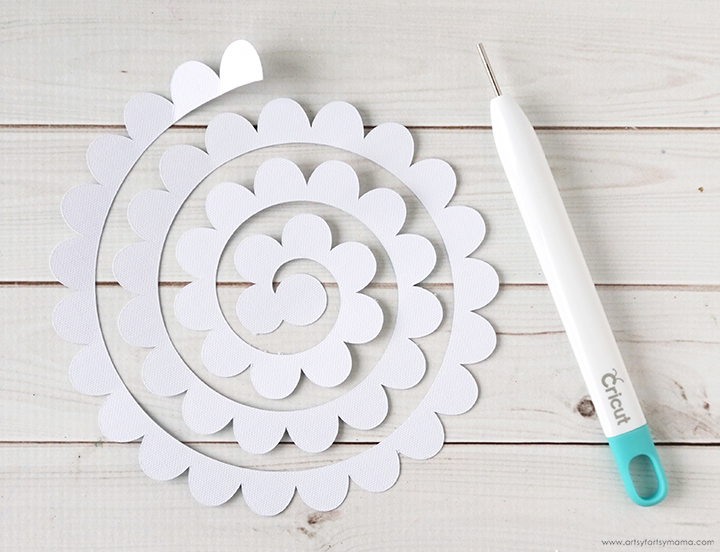
I started by making the flower first. You will need the spiral flower piece and a Quilling Tool.
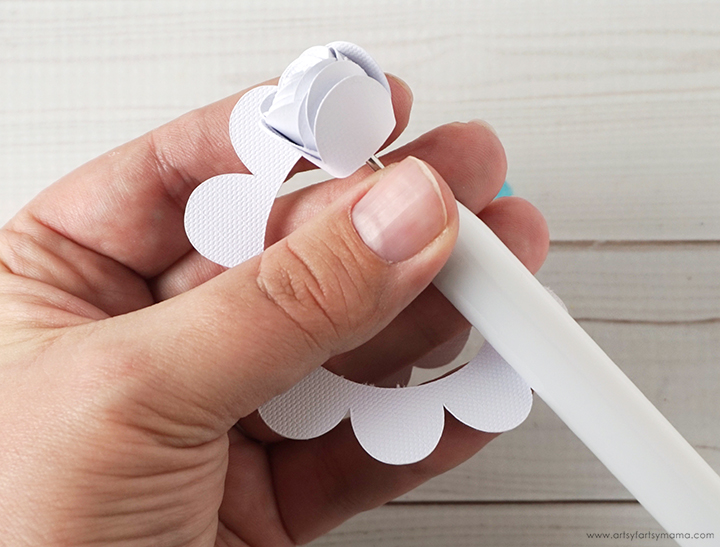
Slide the end of the flower into the slot in the tool to hold the paper in place. Roll the tool around in your fingers while holding the flower part steady in the other. Wrap the paper around tightly until you get to the circled end.
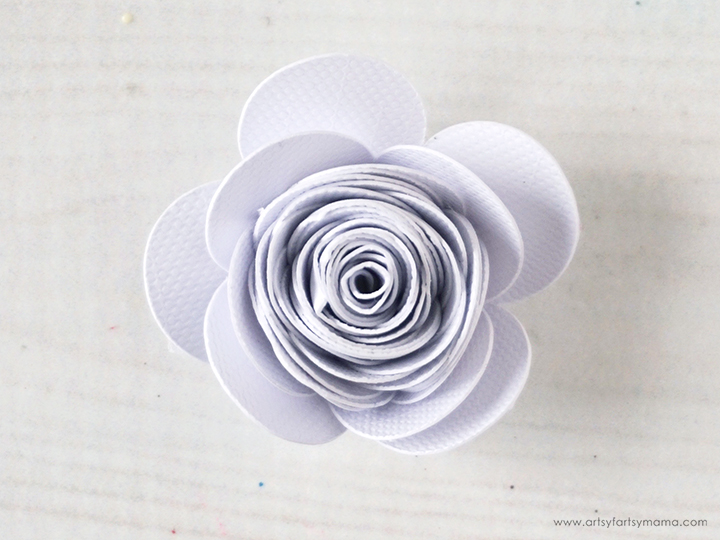
Place a glue dot or a bit of hot glue on the circle end of the flower and press it into the bottom of the rolled paper. For more step-by-step instructions (with images), check out how I made my Paper Succulent Wreath. Set the flower(s) aside for later.
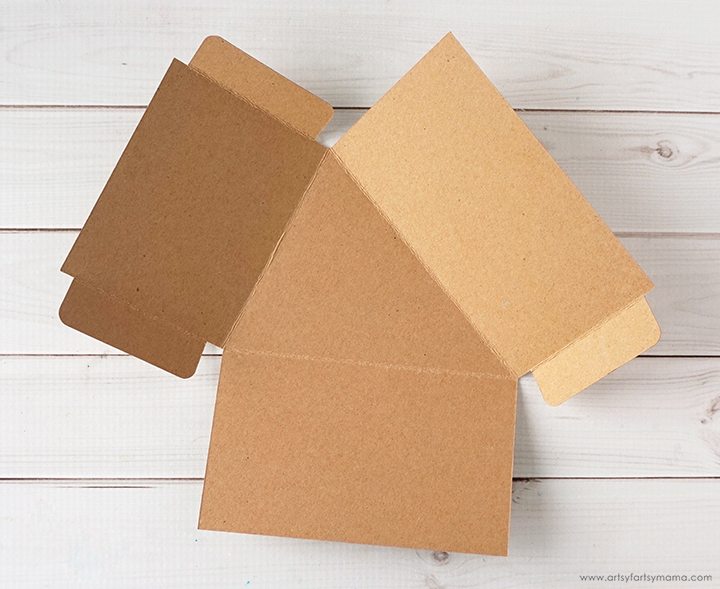
For the bottom of the box, carefully fold along all of the score lines.
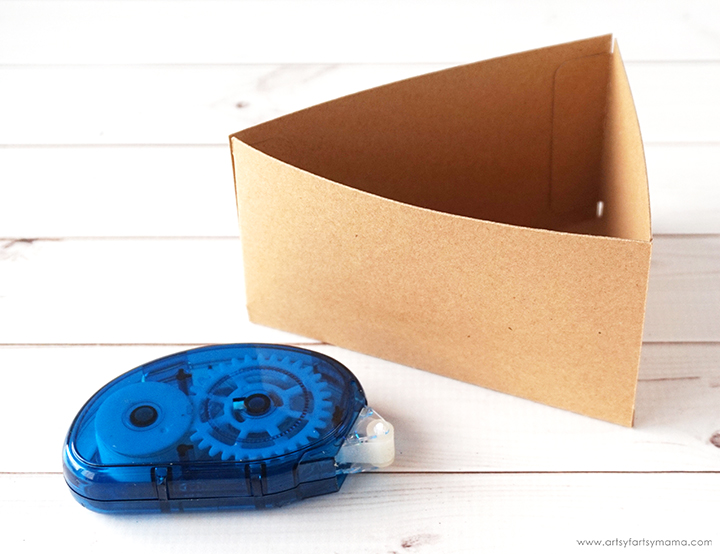
Add some Glue Dots or Tape Runner to all the tabs on the box template. Fold the box up and stick the tabs to the inside of the box. Press the tabs down well to make sure they stay in place.
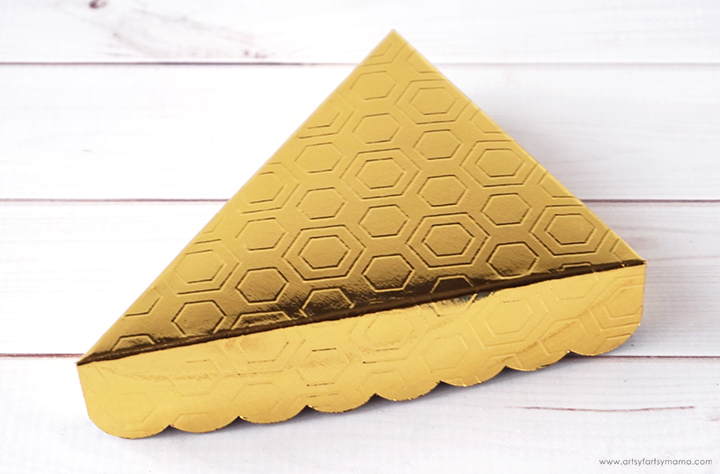
Repeat the same folding and adhesive process for the top piece of the box.
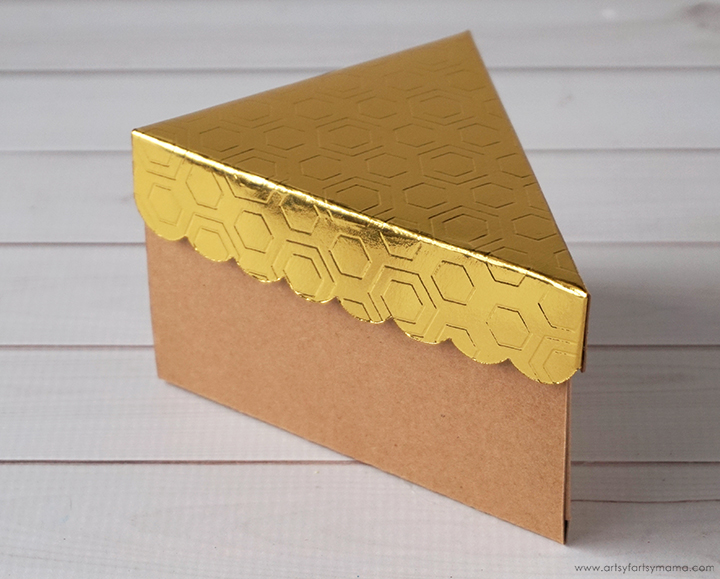
Make sure that the top piece fits perfectly on the bottom box piece, and make any adjustments if necessary.
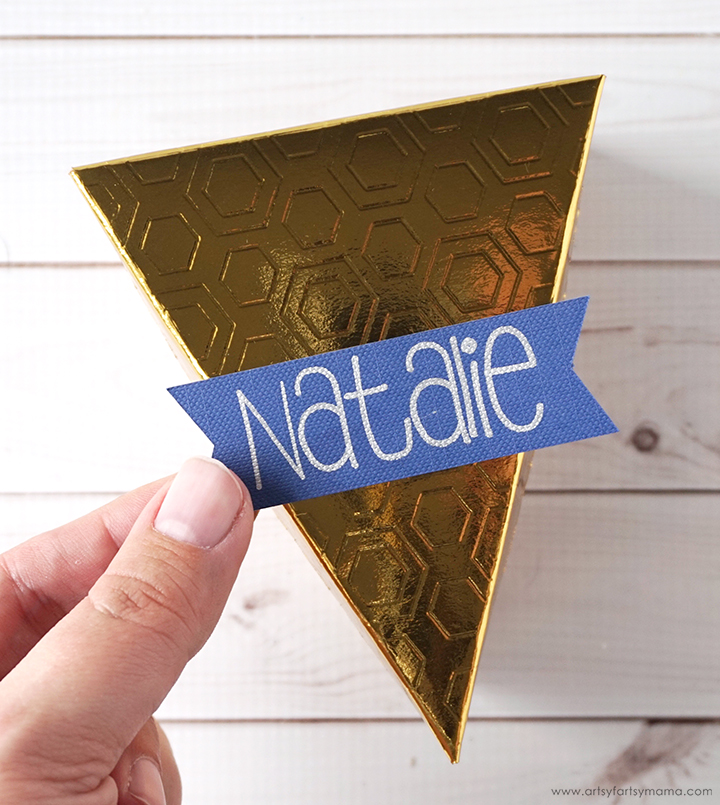
Add some Glue Dots or Tape Runner to the back of the name tag and place it on top of the box. IMPORTANT: Make sure that the name tag(s) are given time to dry after being cut/written, because the pen ink WILL smear if you don't!! Trust me.
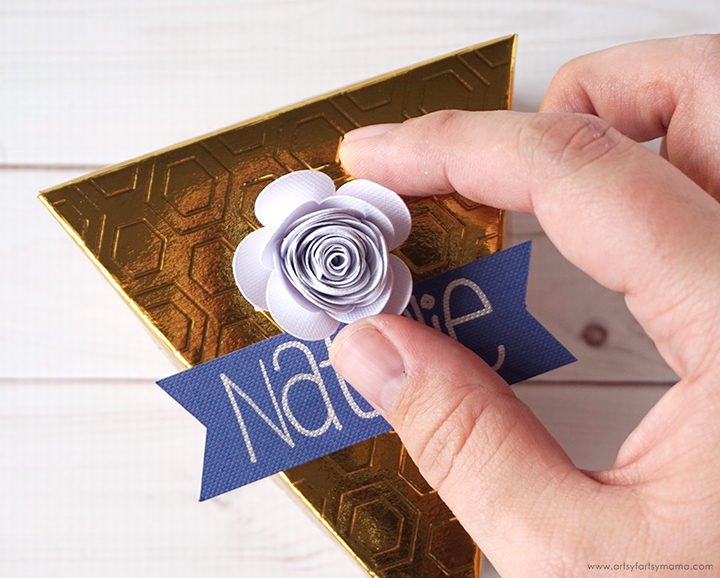
Next, place a Glue Dot or Tape Runner underneath the flower and place it just above the name tag on top of the box.
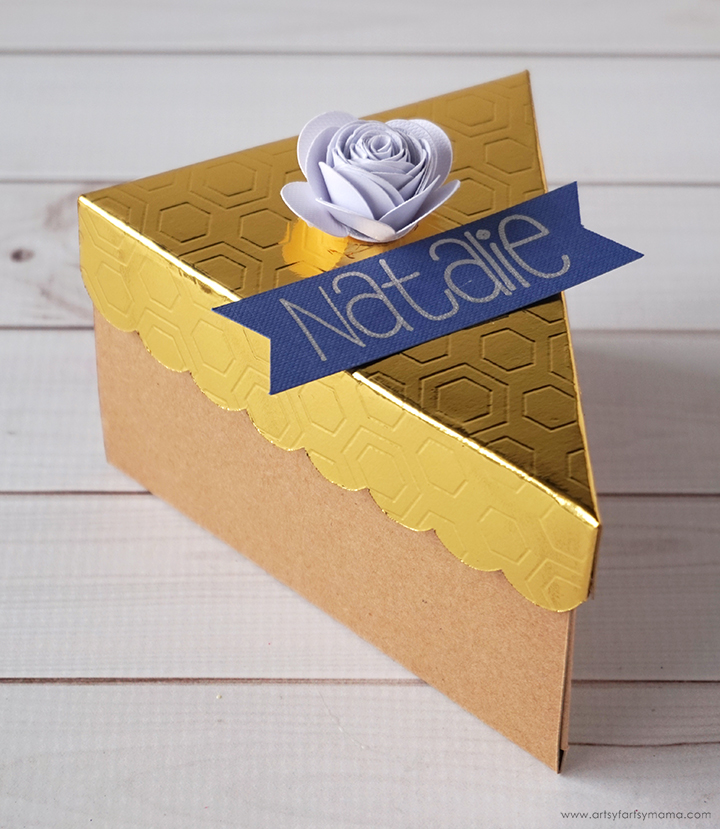
I love how the flower looks so chic, but it also resembles a dollop of whipped cream! Repeat the assembly process for all of your Pie Slice Boxes.

Fill the favor boxes with all kinds of Thanksgiving treats, nuts, and other surprises. These favors work as a great place setting at your table and as a small treat to enjoy before the feast. At the end of your meal, you could also fit a small slice of actual pie inside the boxes for your guests to take home!
Don't forget to Pin, Like, and Share!
What goodies would you add to the Thanksgiving favor boxes?


Fantastic idea, I can also see making these boxes for weddings or baby showers. Again, a lovely design.
ReplyDeleteGreat pie box, but link won't open for me. It says link is not currently active. Thank you.
ReplyDeleteThank you for letting me know! I have updated the project links.
Delete