Follow this tutorial to make your own farmhouse-style sign using whatever quote you want!

Making farmhouse-style signs has been on my to-do list for years, and I can't believe how easy they are to make now that I've actually done it! This tutorial is going to help you to make some signs for yourself or as gifts (hello, holidays!!) using whatever sayings you want!
I decided on the "You're My Kind of Weird" phrase because, well, I'm weird. Actually, we're all weird in our own ways though, right? Life is a lot better when you surround yourself with those who are the same "kind" of weird as you are. I wanted some new wall art for my home, so I created this sign to dedicate to my perfectly weird, little family!
I'm excited to be a Plaid Creator this year, and to share the best Plaid products with all of you! This post contains affiliate links for your convenience. As always, I only share products that I use myself and truly recommend!

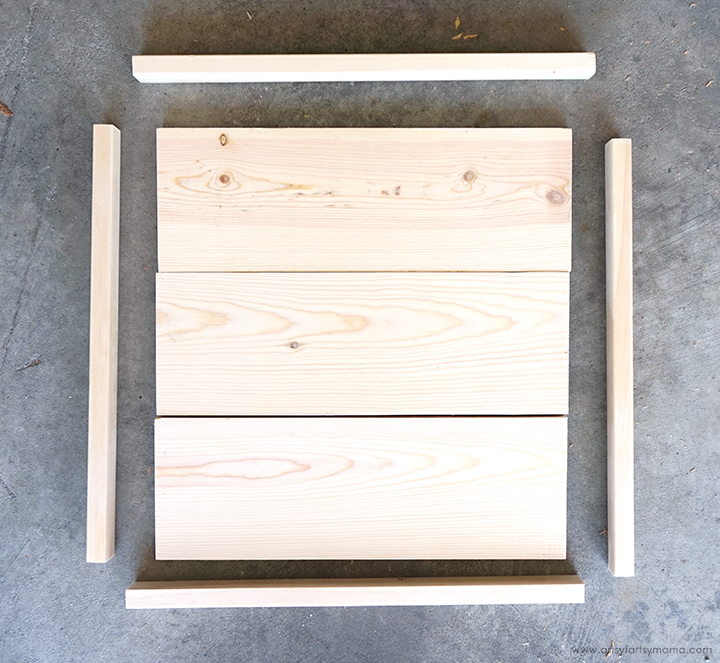
Decide on the size you want your sign to be. I would recommend using 1" x 6" common boards for the background of your sign. If you already know the size before heading to the hardware store, you can ask them to make the cuts for you. If not, cut the pieces of wood at home using a miter saw. Use a sander to make all of the edges smooth.
Cut the frame pieces of the sign out of 1" x 2" common board. The sides need to be the exact same length as the background. The top and bottom pieces need to be 2" wider than the background.

Line up the background boards, and hold them together tightly. You can add a bit of glue in between the boards if you want, but it isn't necessary. Attach the side frame pieces to the background boards first using a nail gun. Add 3 nails to each side - center, and one at each end. For the top and bottom frame pieces, add 4 nails - space them out evenly, making sure to nail the frame pieces together at both ends.
That's it! I love that you can make these signs quickly and how easy it is to make them in any size you want! You can even change the background boards to lay vertically instead of horizontally, or use the smaller 1x4" common boards for a whole new look.


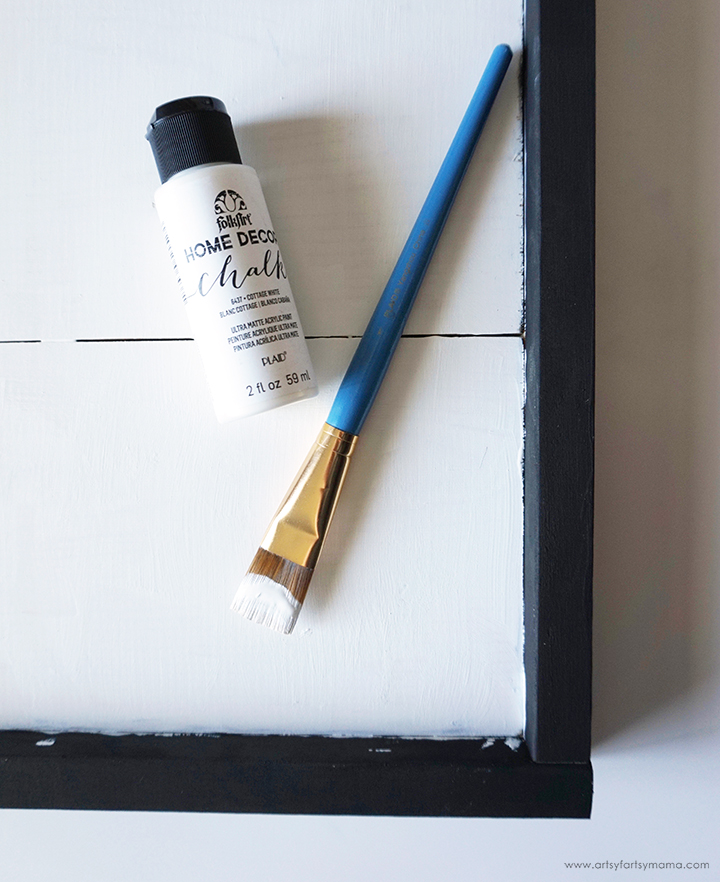
Use a wide paint brush to paint the frame with black chalk paint. This color of paint only needed one coat. Don't worry if you get any paint onto the background. Wash the paint out of the brush with soap and water.

Paint the background of the sign with white chalk paint using a wide brush. Make sure to let the first coat dry for about 2 hours before applying a second coat. While the paint is wet, you will see your brushstrokes, but they magically disappear as the paint dries. Any black paint marks that were made while painting the frame also disappeared like it never happened!

If you accidentally get any of the white paint onto the frame while painting the background, don't worry. Use one of the smaller detail brushes and cover up any mistakes with the black chalk paint.

I am a huge fan of vinyl, but I haven't hand-painted anything for a while. Plus, farmhouse signs are all about the paint! This is my go-to trick of painting wording and other detailed projects by hand that works for me every time.
Measure the inside of your sign and figure out how large your quote or phrase needs to be. Type it up in your favorite font* and size it to fit your project. Print out the design in "tile" format. Trim and tape the prints together to make a little sign.
*Font tips: I'm not great at hand lettering, so I love using handwritten fonts to give the look that I free-styled this whole project, wording and all! Also, if you are worried about making sure everything is straight (I do), choose a font that is a little offset. No one will notice (even you!) if the design is a bit crooked when it's applied.

Turn the paper sign over, and use a pencil (drawing pencils work great) and scribble all around the edges of the letters, making sure to be heavy on the graphite! You can also use carbon transfer paper for the same effect.

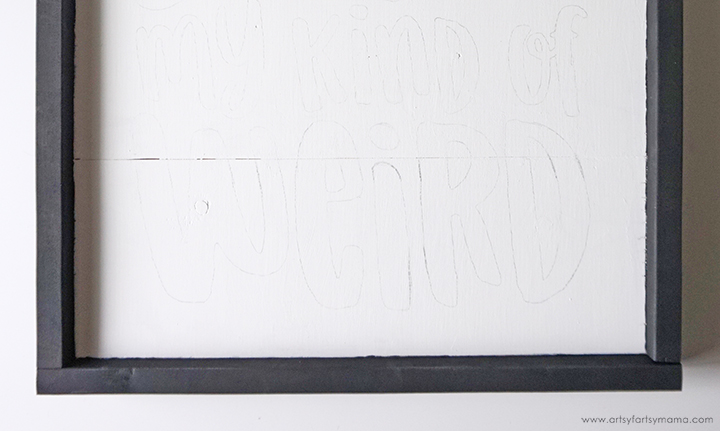
Center your paper "sign" on the background of your farmhouse sign. Tape the sides in place to keep the paper from shifting. Use a pencil and carefully trace all of the lettering. Make sure to press hard and to go slow.

Carefully remove the paper sign. You should see a light graphite impression left behind on the wood. If any part didn't transfer all the way, you can lightly draw it in by hand - it will be almost impossible to line the paper back up exactly the same way again.

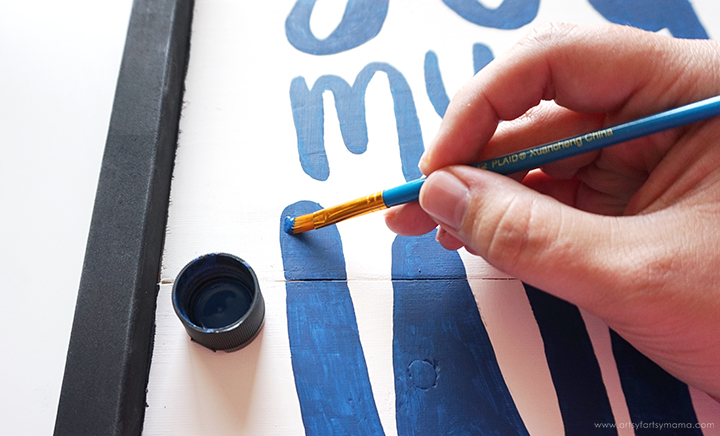
Use a small detail brush to paint in each of the letters, following the pencil guidelines. Be careful around the edges of the letters, but don't panic if you make a mistake. Let the paint dry, and you can fix the mistakes later.
This is kind of untraditional, but I like to shake up the paint really well, and then use the paint that is in the lid instead of pouring paint out to work with. Do whatever works for you and makes you most comfortable.

As you can see from the difference between the "Y" and "O" that the paint needed a second coat. After you paint the first layer, give the paint about 2 hours to dry before doing the second coat. If you make any mistakes, you can go back over with white to do small touch-ups.

Let all of the paint dry for at least 2 hours, then use some fine sandpaper to distress the sign. Carefully blow or wipe away the dust with a cloth.

Stir (not shake) the FolkArt Home Decor Wax and paint a thin layer over the entire sign, including the frame using a wide brush. The wax is kind of watery and will look white and a bit grainy as you paint it on. Don't worry - that's totally normal!
Once the sign is covered, leave it undisturbed overnight (or about 12 hours) to dry. You'll know that it's dry once it is completely clear and no longer tacky.

Use a lint-free cloth to wipe the sign and "buff" the wax. The more you wipe down the sign, the more of a satin-sheen finish you will get on your project! Check out these video tutorials for helpful tips and tricks on using FolkArt Home Decor Waxes.

Now the sign is complete! You can stand a smaller sign on a shelf, or add a sawtooth hanger to the back to hang on a wall. I had so much fun making this sign for my home, and can't wait to make more for the holidays. What do you think?
What quote or phrase would you put on a sign?
Don't forget to Pin, Like, and Share!


I love this! And so much better than vinyl lettering!!
ReplyDelete