Learn all about the four NEW tools for the Cricut Maker adaptive tool system!

Earlier this month, Cricut announced four more new tools for the Cricut Maker machine: Perforation Blade, Wavy Blade, Fine Debossing Tip, and Engraving Tip! I'm so excited to share all there is to know about them and a few project ideas using these tools to inspire you to get creating.
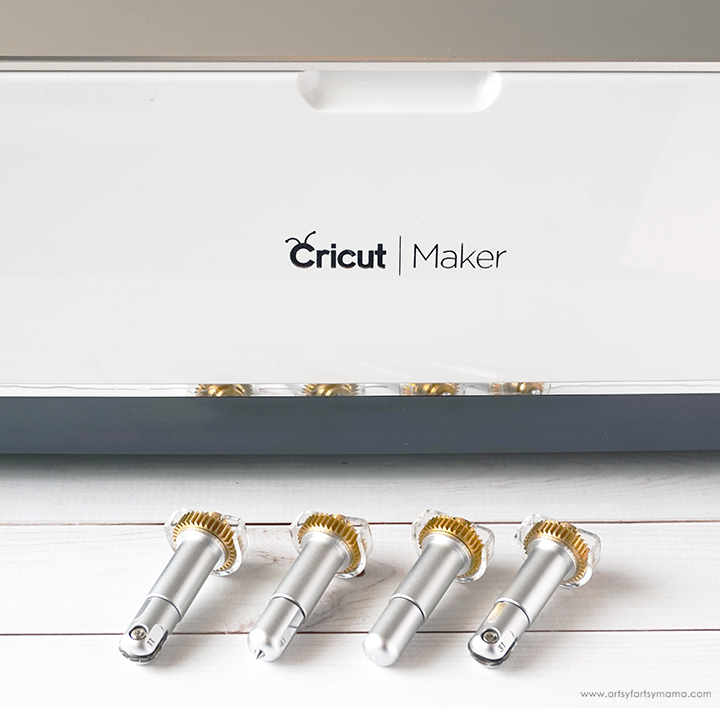
So far the Knife Blade, Rotary Blade, and Scoring Wheel have been a ton of fun to work with, so I was thrilled to try out these newest tools in the Maker collection. Another great thing about these tools is that they all have the Quickswap Housing System, which allows you to swap out blades/tips without having to change the housing.
Not only does this make it easier to create multi-dimensional projects, but it can be more affordable, too! As long as you have one tool with the housing, you can just buy the other blades and tips. This can definitely make a difference. The pricing for the housing with tips range from $44.99-$49.99, where the tips alone are around $24.99-$29.99!

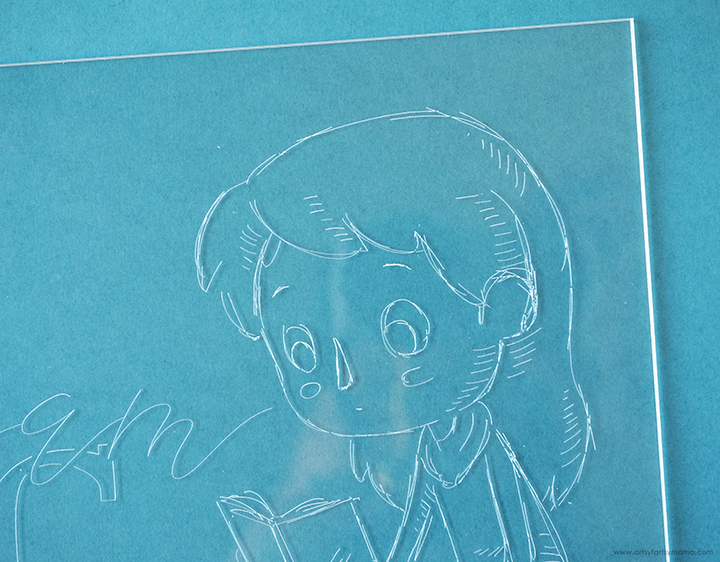
From what I've heard, the Engraving Tip is the one tool most people have been asking for for a long time. With this tool, you can engrave monograms, designs, embellishments and more on to the most delicate materials including acrylic, aluminum and more without cracking or damaging the material.

Tape your material down to the mat, just like you would with the Knife Blade, to ensure the material doesn't shift during the engraving process. Throughout the engraving process, the engraving tip may lift up and spin every few minutes. This is totally normal and is done to prevent the tip from getting dull. You may also notice black wear marks on the side of the tip over time. These are normal and will not affect how the tip works.


The Perforation Blade makes evenly spaced perforation cuts to make tear-offs without the need for folding before, and is especially great for shapes with curves. This blade is perfect for making projects like raffle tickets, countdown calendars, tear-off projects and more!

Once the engraving process is finished, remove the acrylic from the mat and use a dry brush and/or a sticky roller to remove any loose shavings. Do not use your hands, otherwise you could get cuts or splinters!

There are a ton of things that you can do with your newly engraved project, but I decided to put this Dream Big (Design Space project) into a frame with a colorful piece of cardstock behind it.


My husband loves finding new ways to encourage kids in his class to read, so we came up with these "Super Reader" Bookmarks (Design Space project) cut out of kraftboard, Perforation Blade, and Cricut Pens!

Kids will love keeping these superhero bookmarks! When they reach their goal, like finishing a book or reading for a certain amount of time, simply tear off the tab along the perfectly perforated edge and turn it in for a reward!

The Wavy Blade gives a whole new dimension to your projects! It's great for original vinyl decals, iron-on designs, envelopes, cards, gift tags, collage projects, or any time you need fabulously finished edges and stylish design accents. Perfect for materials like iron-on, vinyl, paper, cardstock, fabric, and more.

To use the Wavy Blade, select the "Wave" option from the Linetype dropdown menu. The shapes won't look "wavy" in the preview, but your blade will do all the work for perfectly curved edges!

Then all you have to do is load your material and place the Wavy Blade into the machine to make gorgeous, wavy cuts in half the time!

The Wavy Blade rolls along a lot like the Rotary Blade, so keep in mind that it has a harder time working with small designs and tight turns. It’s best to make sure your cut is at least ¾”.
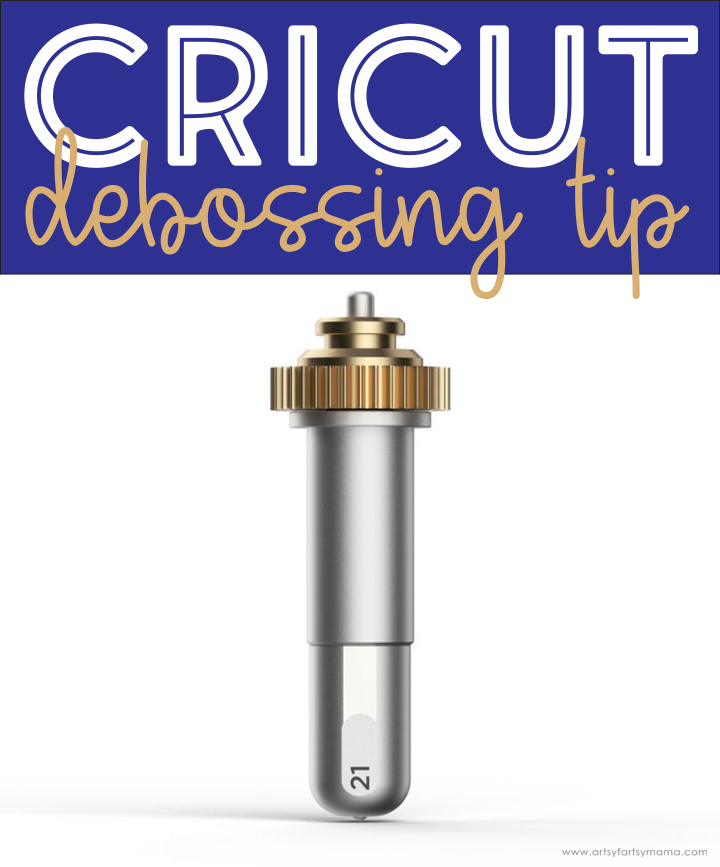
The Cricut Cuttlebug no longer available, but the Fine Debossing Tip can be used to add professional-looking debossed designs to invitations, envelopes, home decor projects and more. Instead of using folders with an embossing/debossing machine, you can choose where you want each debossing mark to go to create a truly custom, one-of-a-kind project!

Debossing is where the design is pushed into the material, where embossing is when it is raised up. You can deboss all kinds of materials, like paper, leather, basswood, and more! If you are using tooling leather, make sure to wet it with a damp towel first and allow to dry before you use the debossing tip.
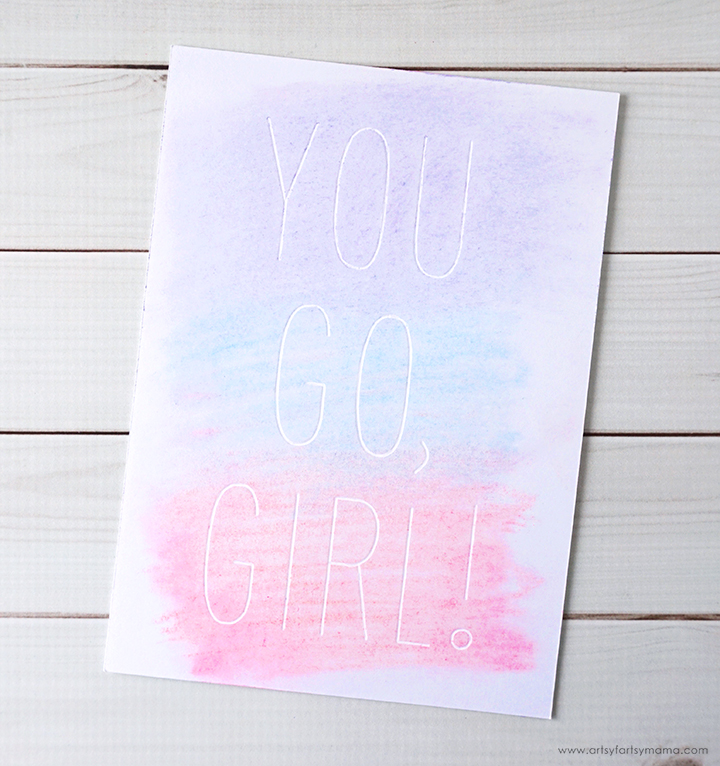
This You Go, Girl (Design Space Project) artwork was a lot of fun to make. I debossed some kraftboard, then rubbed some colored chalk over the words. When you do this, you have to be careful not to get chalk into the debossed areas. If you do, don't panic. You can use a Weeder tool to scrape the chalk away!
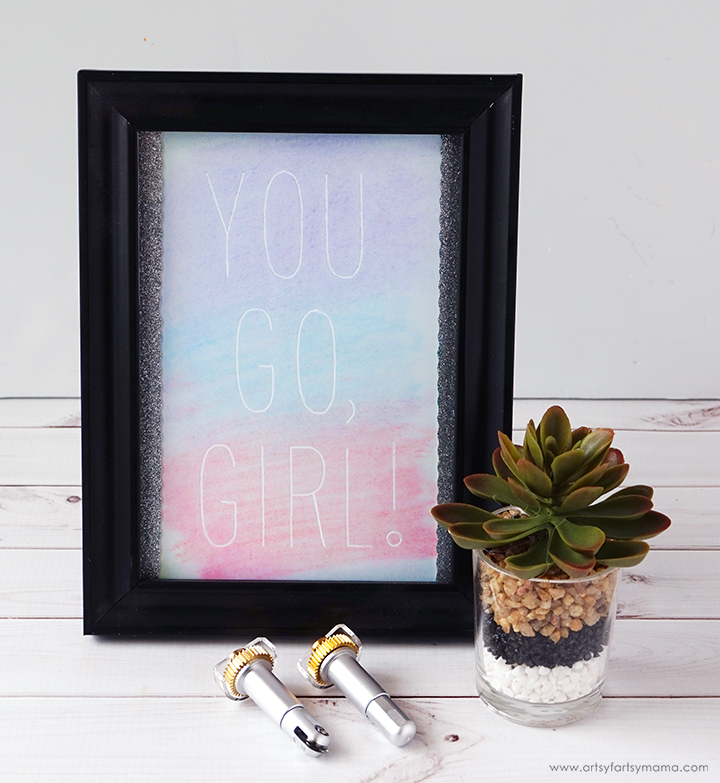
I put a couple of glitter cardstock strips cut with the Wavy Blade on both sides of the paper, then framed my project. I just love how it turned out.
Don't forget to Pin and share!

Which new Maker tool are you most excited about?
This is a sponsored conversation written by me on behalf of Cricut. The opinions and text are all mine.


