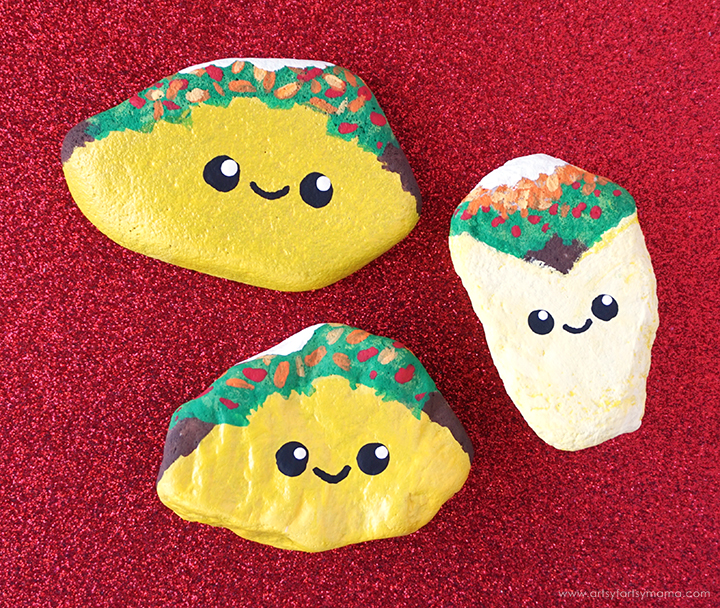
Live everyday like it's Taco Tuesday with these DIY Taco Painted Rocks!


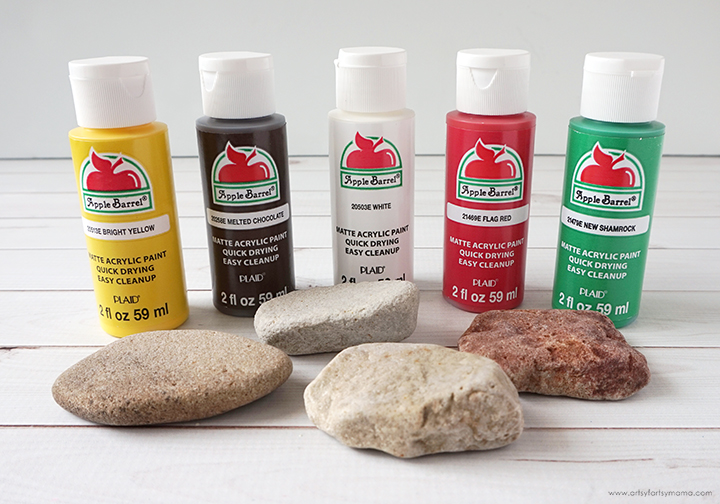
To make your own Taco Painted Rocks, you'll need these supplies:
- Rocks, washed and dried
- Apple Barrel Acrylic Paints
- Small Detail Brushes
- Paint Palette
- Brush Basin
- Outdoor Mod Podge or Clear Spray Paint
Finding rocks is probably the hardest part of this project. We found ours while on a walk near our house. Look for rocks in nature, from the craft store, or even in home improvement or landscaping stores.

Once you've found the rocks you want to use, wash them with soap and water and let them dry completely. To make a taco, use a flat brush to paint a semi-circle using Bright Yellow acrylic paint on the rock. For a burrito, mix a little bit of white and Bright Yellow acrylic paint in a paint palette. Paint about half of the rock, and then paint a "V" shape toward the top, like the rock is wearing a little v-neck shirt. Let the paint dry completely, and then add about 2-3 more coats until the rock is no longer showing through the paint.

Next, add some "meat" to the taco using some brown (Melted Chocolate) acrylic paint on the bottom sides of the semi-circle, and then in the "V" area of the burrito. Use some green (New Shamrock) acrylic paint to fill in the rest of the space above the semi-circle, and above the brown on the burrito to make "lettuce". I added a little bit of texture to the lettuce by dabbing on some light green acrylic paint over the darker green.

Dip the end of a paint brush into some red (Flag Red) acrylic paint and add little blobs for tomatoes.

Use a pointed detail brush to add small lines of orange (Jack-O-Lantern) acrylic paint for cheese. I also mixed a little bit of orange paint with the light yellow from the burrito to add some lighter lines of cheese. On the burrito, I put all of the cheese just above the layer of lettuce and tomatoes.

Next, I used some white acrylic paint to the top of the lettuce on the taco and filled the rest of the empty space in on the burrito as add a dollop of sour cream. I also decided to add a layer of yellow Color Shift acrylic paint over the taco shell for some shimmer. Let the paint dry completely.

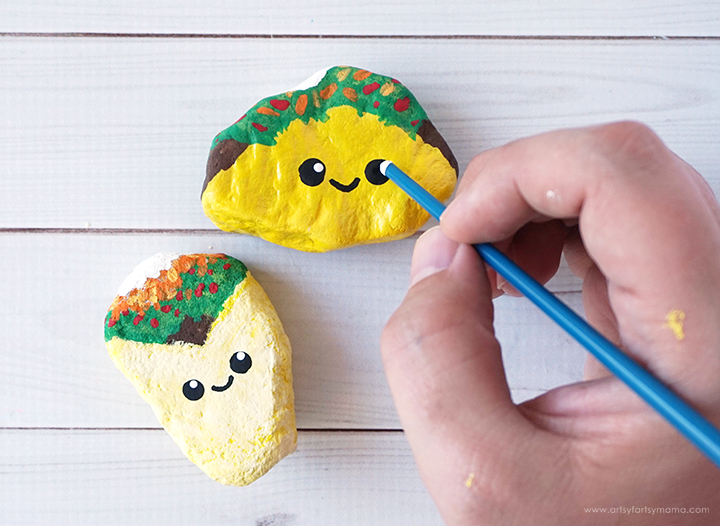
I just couldn't resist adding a little face to these tacos!! You can use a black Sharpie marker to do this, or use some black acrylic paint and a small detail brush. If using the brush, dip the end of the brush into the black paint and carefully dab the rock until the eye circle is the size you want. Repeat for the second eye. Use the pointed detail brush and carefully add a little smile in between the eyes. Let the paint dry completely.

Last, but not least, add a little highlight to the eye circles. Dip the end of a small brush into some white paint and then use that to add a small dot in the eye. It's a small detail that just brings these little guys to life!

Once the paint has dried, cover the rocks in Outdoor Mod Podge or Clear Spray Paint to protect them from getting ruined in the weather. I hope you have fun making some of these Taco Painted Rocks for yourself or to hide for others to find! Need more inspiration for rock painting? Check out this fun book on Rock Painting for Beginners!!
Don't forget to Pin and share!


