This post is part of a social shopper marketing insight campaign with Pollinate Media Group® and Universal Pictures Home Entertainment, but all my opinions are my own. #pmedia #TrainYourDragonAtWalmart http://my-disclosur.es/OBsstV
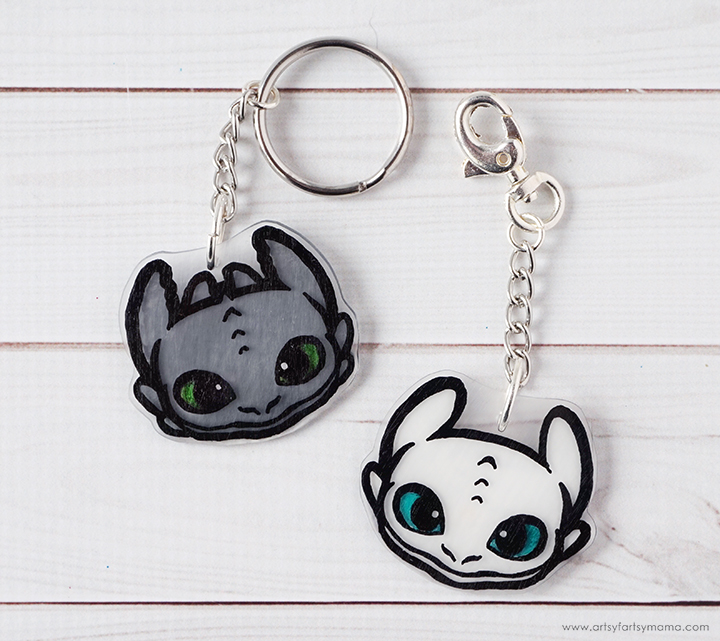
When a new movie comes out, my family enjoys spending time together having a movie night filled with snacks, activities, and of course, watching the movie together. The How to Train Your Dragon series has been one of our favorites, and after seeing this last movie, I'll admit it's a little bittersweet seeing the series come to an end. To celebrate the DVD release of How to Train Your Dragon 3, we decided to make some How to Train Your Dragon Shrink Charms that can be made while watching the movie at home!
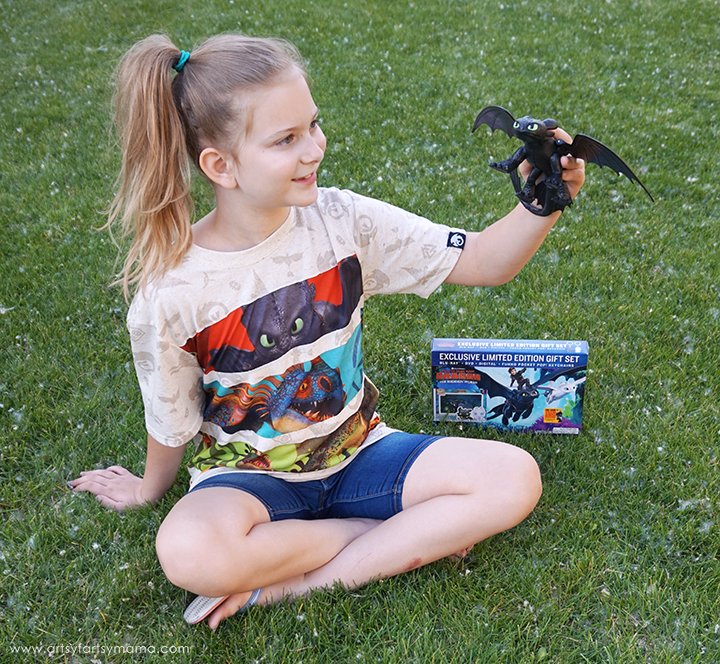
One of our favorite things about How To Train Your Dragon 3 is seeing how strong the bond is between Hiccup and Toothless. Now that the characters are older, the movie also shares a message about growing up and learning to let go, which can be a tough thing for all of us. Along with the How To Train Your Dragon 3 movie, we also found a ton of How To Train Your Dragon toys of our favorite characters, like Toothless, Hiccup, and Astrid! We also found a super fun How To Train Your Dragon shirt with images of our favorite dragons my daughter says will remind her "that dragons are real!"

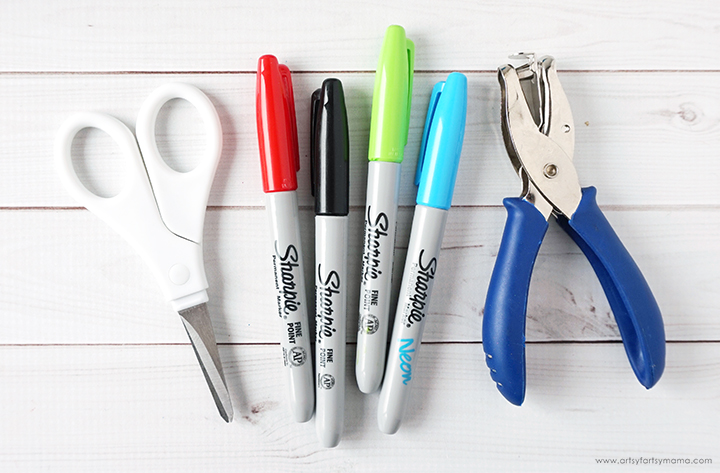
To make your own How to Train Your Dragon Shrink Charms, you'll need these supplies:
- How to Train Your Dragon Shrink Charm Template
- Shrink Paper
- Clipboard
- Permanent Markers (black, green, blue, and red)
- Scissors
- Hole Punch
- Acrylic Paint (white, silver/gray)
- Small Paint Brush
- Jump Rings
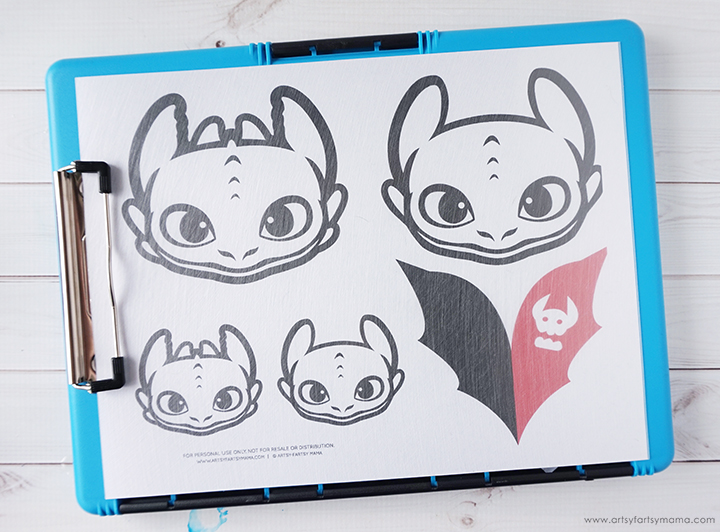
Download the How to Train Your Dragon Shrink Charm Template and print it out on regular copy paper. Place a piece of shrink paper on top of the print and clip both papers to a clipboard so they won't shift.
Some things you should know before downloading:
*Artsy-Fartsy Mama printables are for PERSONAL USE ONLY (okay for home, school & libraries).
*You may NOT modify, sell, redistribute, or claim the design as your own.
*Please do not remove the credits/watermarks.
*If you'd like to share this project, you may use ONE photo and credit must be given to Artsy-Fartsy Mama and linked back to this post.

Use a permanent marker to trace the How to Train Your Dragon images onto the textured sides of the shrink paper.


Carefully cut out the shrink paper drawings. Make sure to leave space around the drawing as you cut it out, and don't cut into the space between the ears/horns. To prevent having any sharp edges, try your best to round out any corners (especially on the Toothless tail).
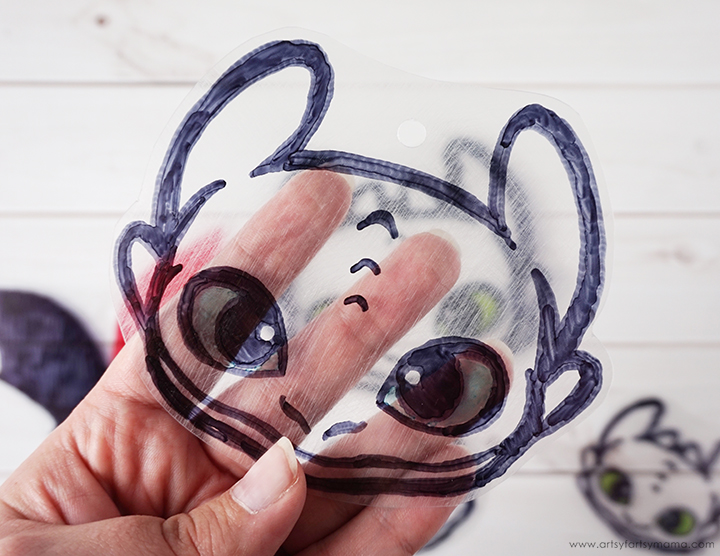
Use a hole punch to cut a circle in in between the dragon ears/horns if you want to make the shrink drawing into a charm.

This is the most exciting part, so turn on the oven light and grab a seat! As the shrink paper heats up, the designs will start to move and curl as they shrink down in size. Important: Do not panic or open the oven when they start curling up! They will flatten back out as they shrink. When they come out of the oven, they will be pliable for a few seconds. If you need to flatten them out, use these valuable few seconds to immediately press them down with the flat bottom of a glass or an untextured spatula. Caution: they will be very HOT!
The larger Night/Light Fury charms shrunk to about 1 7/8" x 1 5/8", and the smaller charms are about 1 1/8" x 1". The Toothless tail charm is about 1 3/4" x 1 7/8".

Once the shrink charms have completely cooled, cover the marker side with clear sealant to keep it from rubbing off or smudging.
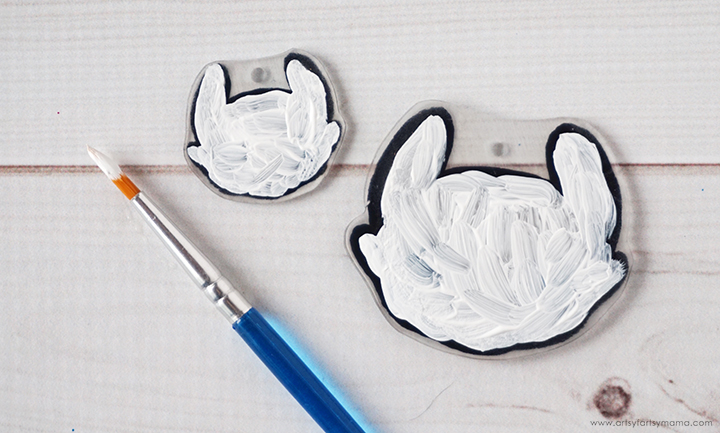
Turn the dragon charms over and paint over the dragon face, using white acrylic paint for the Light Fury, and a dark gray or silver for the Night Fury. If you use black paint, you will lose a lot of the drawn marker details. When painting the Night Fury, make sure to use white paint over the eyes to make the color pop! Again, feel free to change the colors completely to make your own custom dragon!
You will need to paint 2-3 coats of paint for complete coverage. It's also important to mention that each coat needs to dry completely before adding another. If not, the paint just peels off or will leave streaks that can be seen through the other side.

Once the paint is dry, give it a coat of clear sealant for an extra layer of protection, especially if the charms will be used for keychains or jewelry where they will be handled often.

The larger charms are the perfect size for keychains! Add a jump ring through the hole of the charm, and link it to a keychain. I love using both traditional split rings and lobster clasps for homemade keychains!

The smaller charms are a great size for creating a zipper pull on jackets, backpacks and purses. All you need to do is thread a jump ring through the hole in the charm and attach it to whatever zipper you want. If you put the charms on clothing, I would recommend removing the charms before washing.

To make your own How to Train Your Dragon jewelry, just thread a chain through the jump ring! How cute would a custom How to Train Your Dragon charm bracelet be?!

These shrink charms are addictively fun to make, and kids of all ages can participate! These are such a fun movie night activity, and would be a simple party craft that your guests are sure to love.

We have had so much fun making these charms while watching How to Train Your Dragon 3. My daughter is currently making plans to create more charms of all of the characters in the movie, especially of Astrid and Hiccup!
Pin this project to save for later:

Who is your favorite How to Train Your Dragon character?


